Today was a painful day, our class frog, Leo Don Frog, died. I approached the death of our little frog as an opportunity to instill healthy coping mechanisms, equipping them with a foundation with which to approach similar losses throughout their lives.
When faced with this situation, here are some strategies for turning this sad experience into an important learning opportunity:
Be sensitive to their feelings, and be ready to accept any and all emotions. Some children may voice sadness, while others are more curious. They might ask questions that sound callous– remember that especially if this is their first experience with death, children may have no context for what has happened. Try to get to the bottom of what they’re asking. The permanence of death is hard for young children to understand, and children might ask to see or touch the body to better comprehend. Children will likely ask days, weeks, or months later where the pet is, potentially bringing up that sadness again.
We used the correct terminology by simply stating that Leo Don has died. An accurate and brief explanation helps children understand what has happened. Using phrases like “he’s resting” or “he was sick” can worry children– will they one day rest and not get up? What will happen next time they have a cold or stomach bug? Communicate with families as well. Some families may be less comfortable with these discussions than others, and you’ll likely have a variety of spiritual beliefs within your group. Let families know what you discussed so they can add on their beliefs and reinforce children’s understanding at home.
Grief is a difficult process, but the sense of love in our classroom allows us all to have strength together as we experience the loss. Encouraging and facilitating conversations today was hard but we will hold little frog in our hearts.
There are lots of common birds in Indiana that stick around for winter. Many of these are colorful favorites that evoke a winter feeling. Our two picks were Cardinals and Blue Jays.
Bird feeders are lively places during the winter months and their presence is important. Feeding winter birds can be a fun and educational activity for kids; they can learn about different species while also learning about their habitats, diets, and winter survival tools.
How We Explored Our Winter Birds:
- Create a bird observation center in your play area by setting up bird feeder stations. You can build your own from recycled materials such as milk cartons, recycled jugs or pinecones or purchase pre-made bird feeders.
- Next decide what type of bird seed you want to use. Investigate what types of food will attract which birds, and offer the children a choice of which they’d like to try– or fill one feeder with one type, and a second with another, and encourage the children to compare which birds they see around each.
- Placing feeders by a window for indoor viewing is an excellent idea for those cold winter days. You can create a chart on a whiteboard or large sheet of paper so they can check off birds they see on it.
- After a few weeks, compile your observations looking for patterns in birds observed at your feeders at different times of the day. Discuss the results.
For more bird-bassed fun, try these:
- Make bird seed play dough for your table activity or sensory table. Try picking up seeds with different shaped tongs and notice which is the most successful for different kinds of seeds.
- Go on a bird feather hunt and research to identify the bird it came from. Record children’s hypotheses and look for a live match!
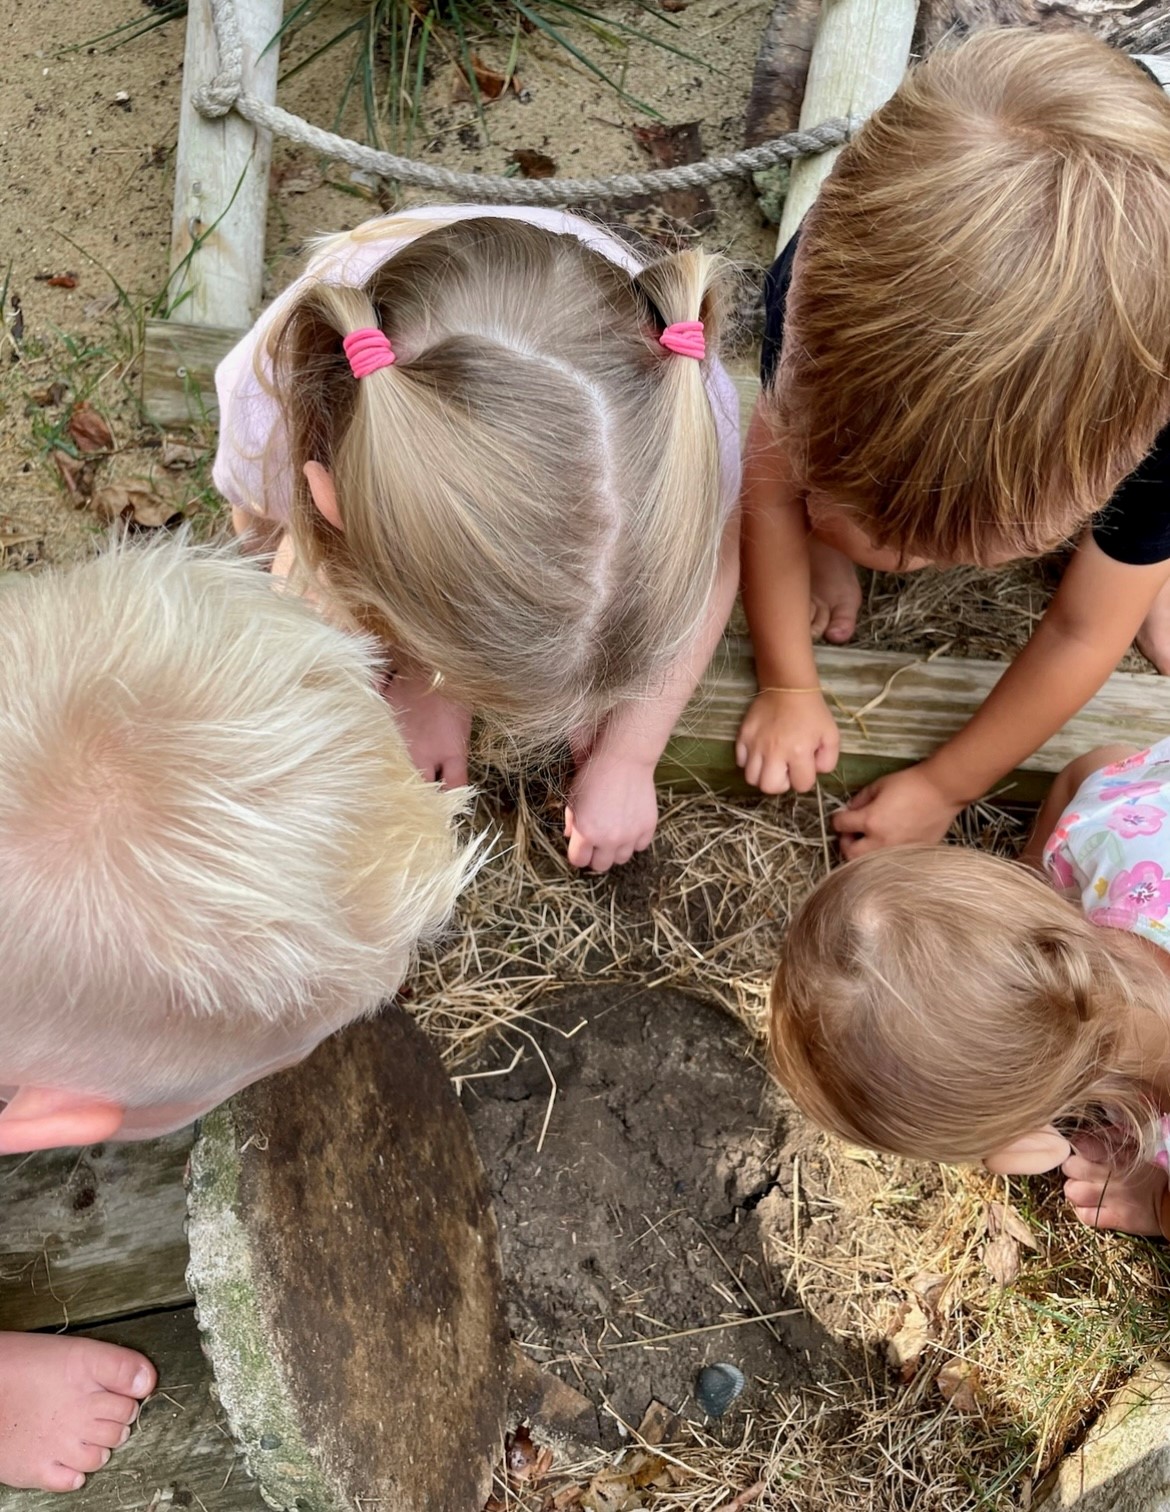
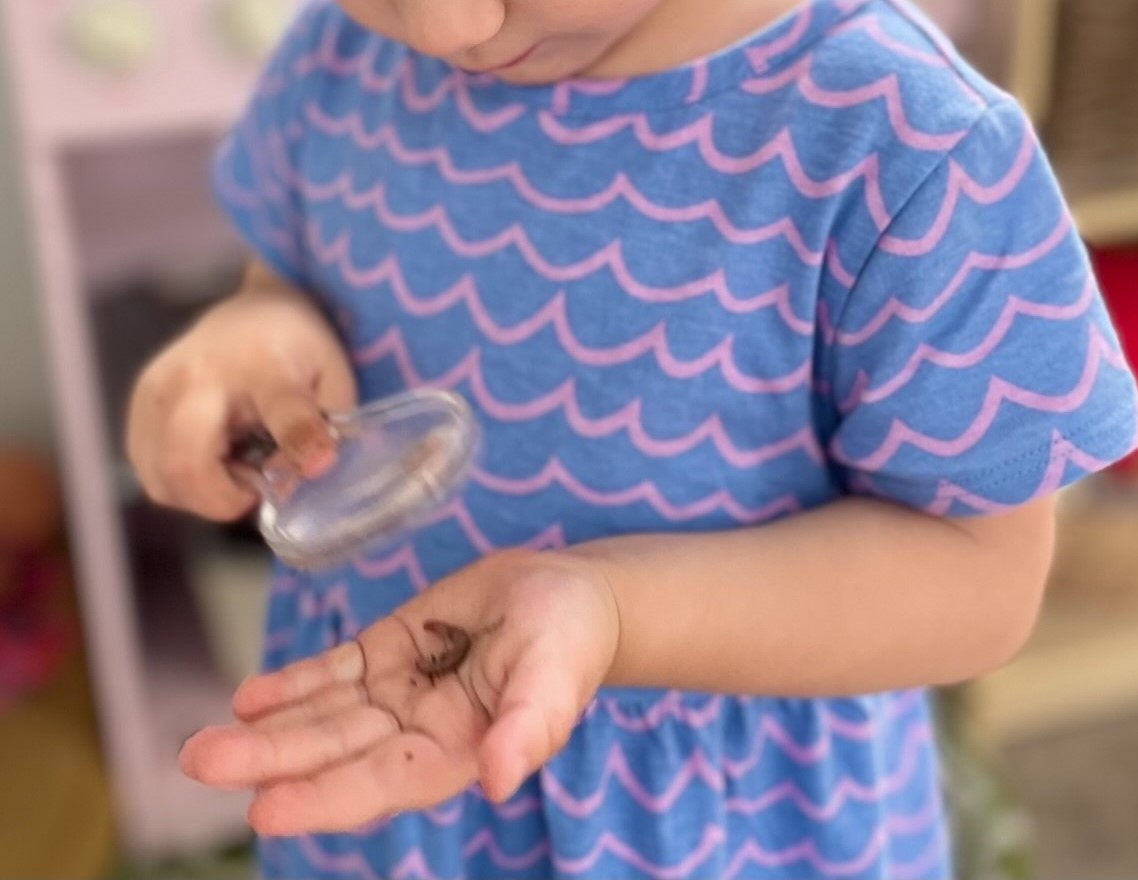
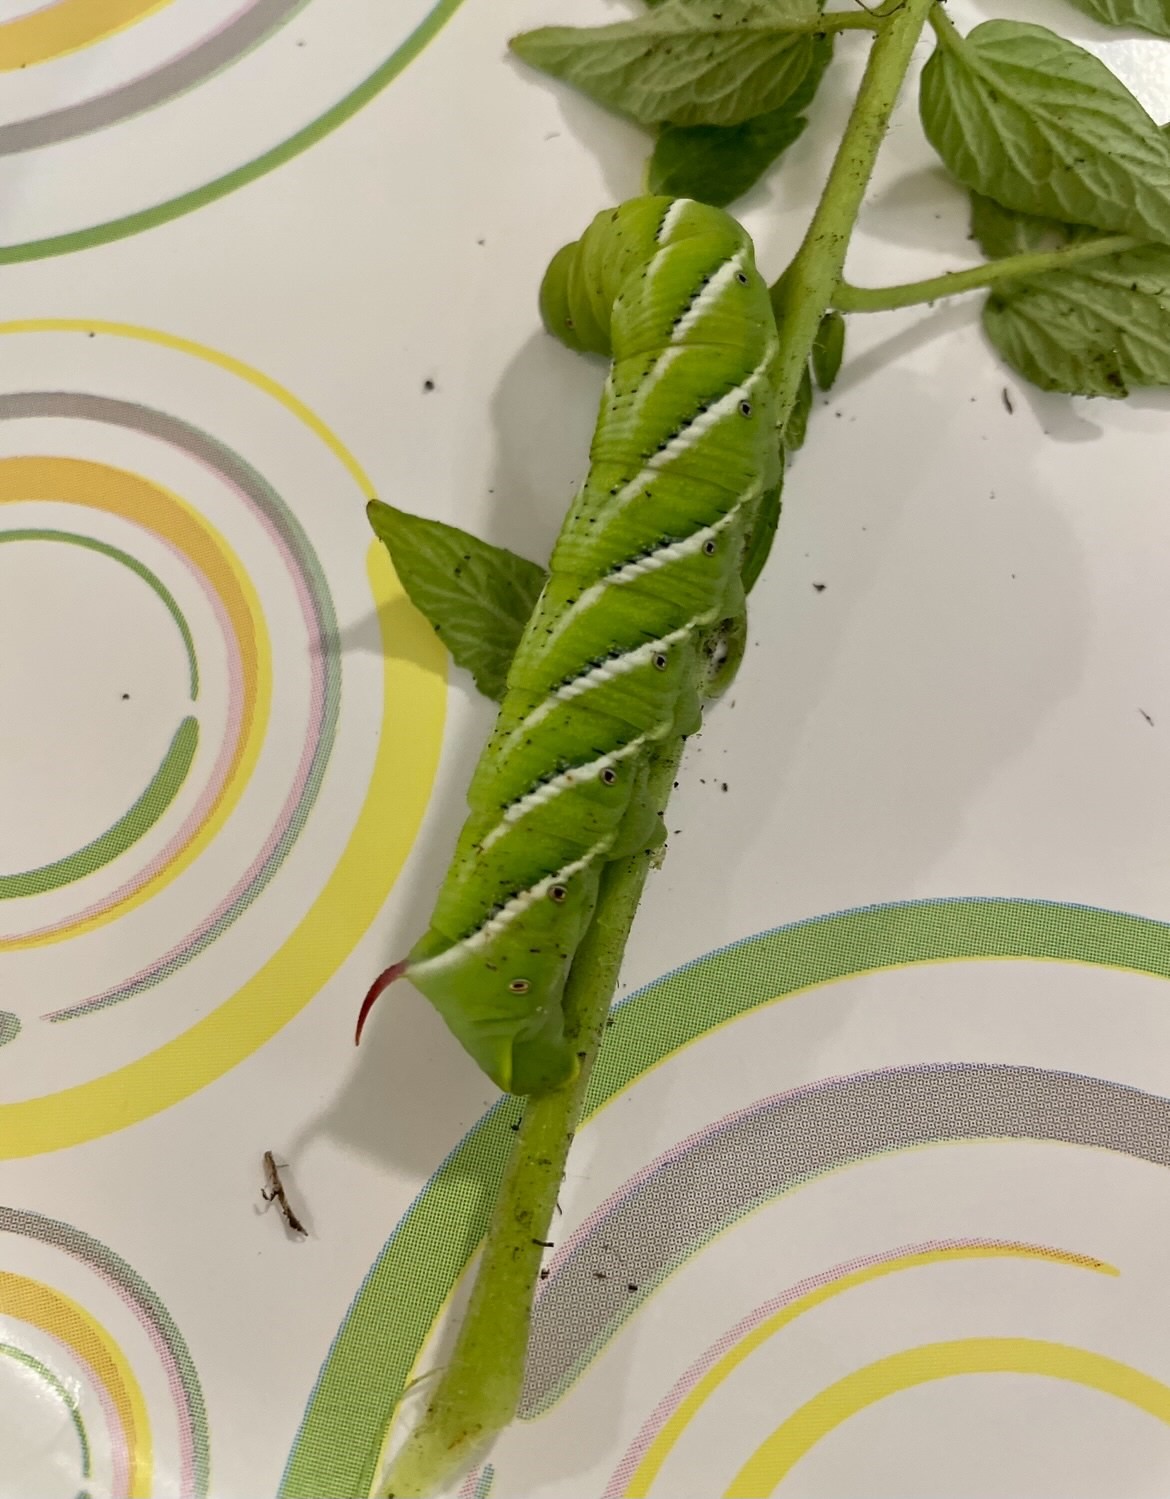
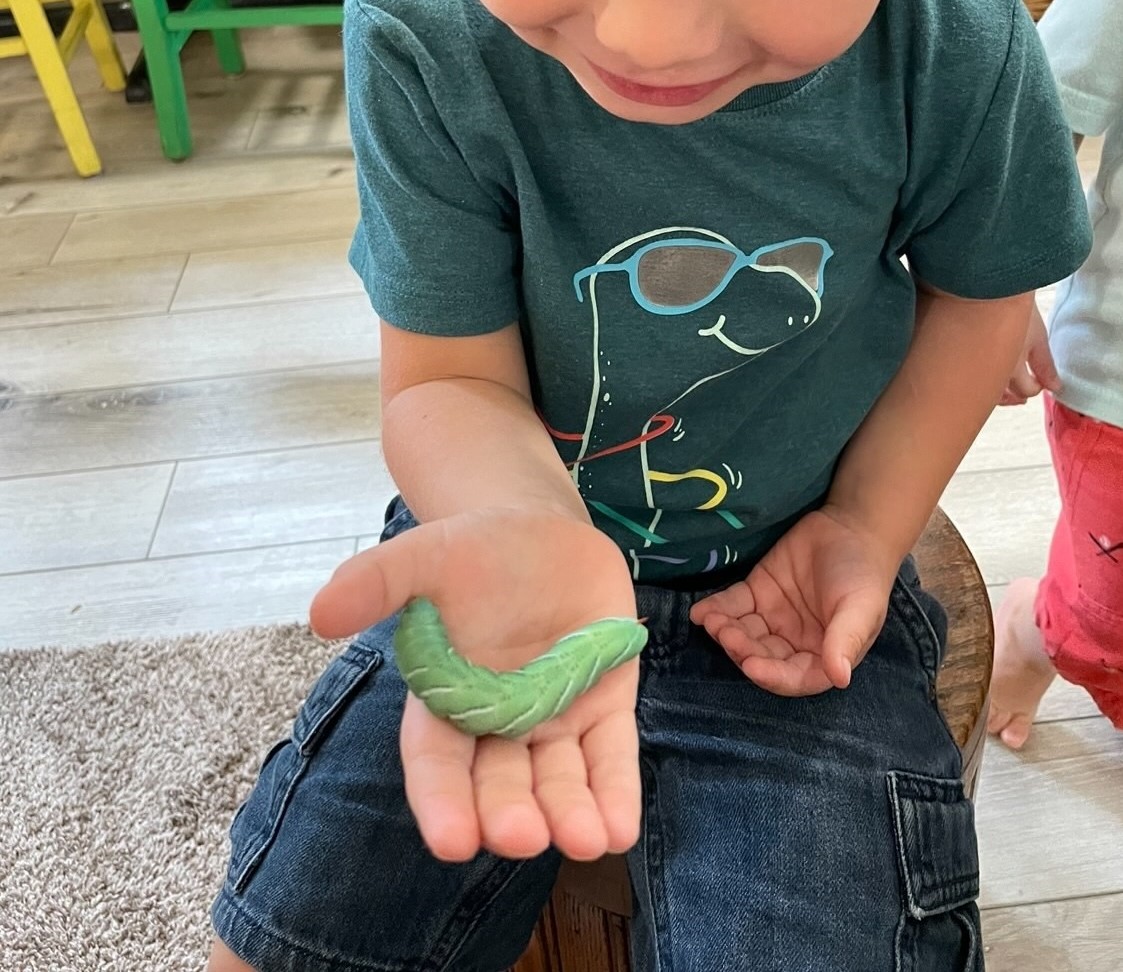
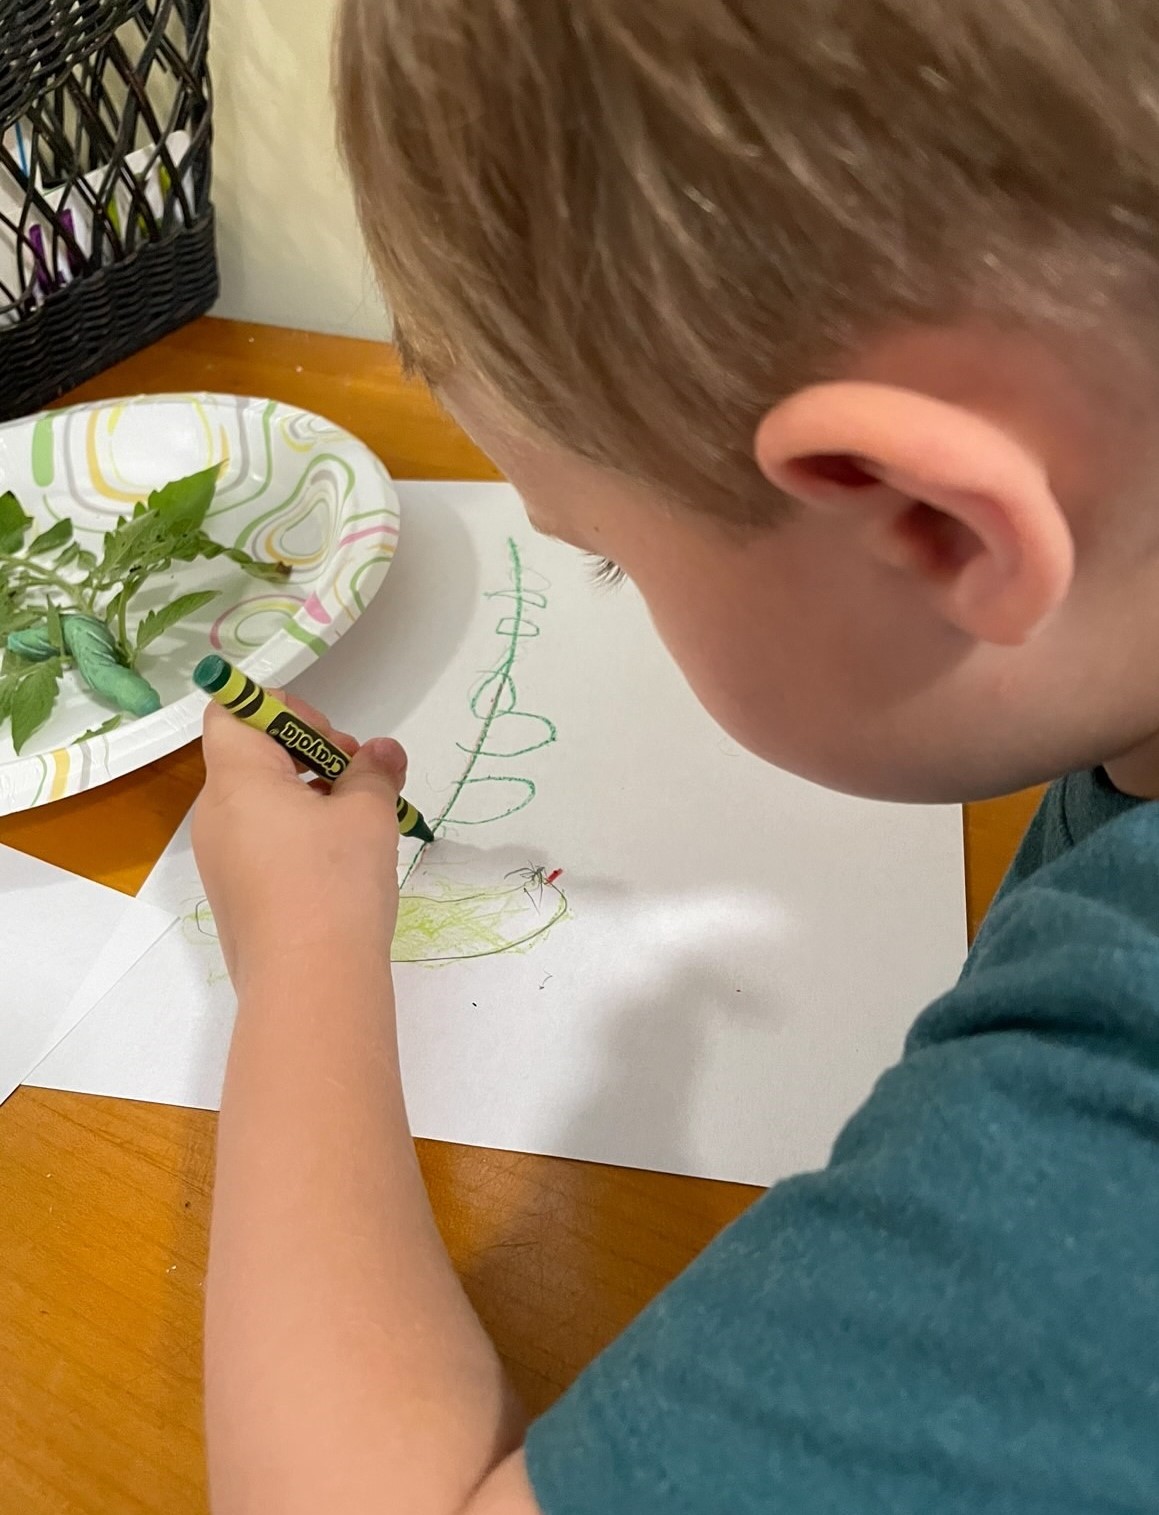
One of our favorite and must exciting activities is exploring worms. To start, we first figure out where worms live; often, children have seen worms out on the sidewalk or crawling on dirt and have a good idea of where to search for more. Exploring all the places in our outdoor space where they can live—asking children where they saw them and where they could have crawled under. By taking on this approach to finding the worms, we set the groundwork to learn more about worms’ habitat. Plus, it is fun to look for clues.
Once we decide where to look, the fun and messy part starts, children can use their hands, or I provide shovels so they can dig in the dirt. Figuring out what children are comfortable with is key; some will love to touch the dirt, while others may not want to. The same can be said for when we find a worm. Some children are curious and want to pick them up immediately. Others may want to see them from afar. We give children space and allow them to go at their own pace in the exploration.
If they are touching the worm, we talk about kindness, responsibility, respect, and compassion for the worm. Years ago, when we saw a worm or bug, I would immediately say, “look with your eyes, we might scare it or hurt it”. Over time I have learned the importance of having children experience holding insects, animals, and materials. I had to shift my thinking, and instead of avoiding the touching. I began to trust the children. Talking with them about how we treat animals and how we want to make sure we are caring for nature. Allowing them to take responsibility and feel proud of how they care for others helps them develop a great sense of self.
Stephanie Mckinstry from My Caterpillar Clubhouse, a Certified Nature Explore Classroom, shares how she incorporating books and images of nature into her program. Listen below for her tips.
August and September are big Sunflower months around here. If you happen to put sunflowers in your bird feeders, you likely have sunflowers all over, even some in strange places.I like to let most of my sunflowers live their long lives, but every once in awhile one pops up somewhere and I have to pluck it out. Also, at some point they all die off, and they can be quite unsightly. Instead of just composting the giants, I try to use these opportunities as teachable moments. Here are a few activities you can do with sunflowers.
Weeding/ Ages 3-99
Engage children in assisting in the removal process. Weeding requires a lot of gross motor skills. Using several muscles in unison, and stimulating brain activity. Children enjoy the satisfaction of pulling as hard as they can, and it’s great for them to see the progress of their efforts. Once pulled, help them remove the stem, the leaves, and the flower, and place the different parts into labeled bins to explore next.
Sunflower exploration/ Ages 0 – 99 / Fine motor skills, Scientific knowledge/ Math
Offer sunflowers to children with a variety of tools such as plastic knives, mallet, tweezers, water, different containers. Encourage the children to explore the sunflowers using the tools. Offer some safety guidelines if necessary. Then, let them go at it! As they are exploring you can scaffold their learning by asking questions or offering new techniques.
Sunflower painting / Ages 1 – 99 / Fine motor skills/ Creative Arts/ Early Math / Science
Create the art area by laying down an old sheet on the grass. Offer each child a canvas and a sunflower. Squirt desired colors of paint on canvas and encourage children to use their sunflower or hands to paint.
Seed counting / 2 -99 / Math
Use tweezers or fingers to extract seeds from flower head. This process alone is really cool! The textures of the sunflower are varied and interesting. Count seeds by 1’s, 5’s, and 10’s! Make up a recipe “We need 30 seeds to bake our bread!”
Cooking! / 2 -99
After you have counted, painted, smashed, and tweezed the sunflower pieces, cook with them! Flower petals look gorgeous on a mud pie, and children will love having new textures to work with.
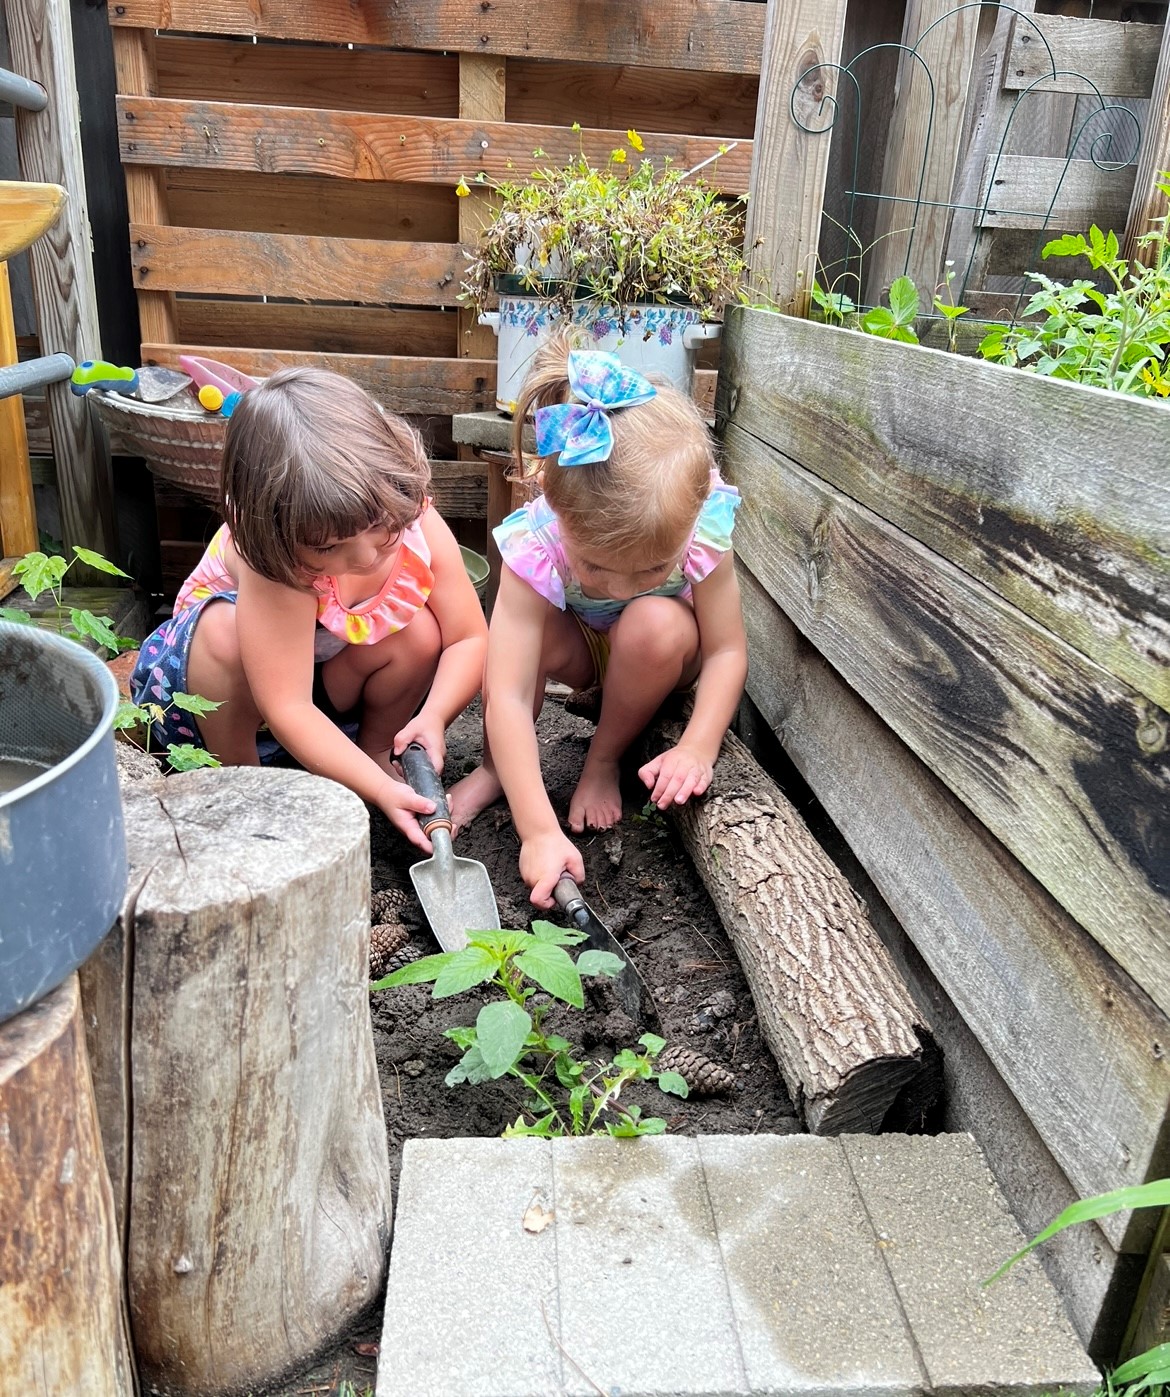
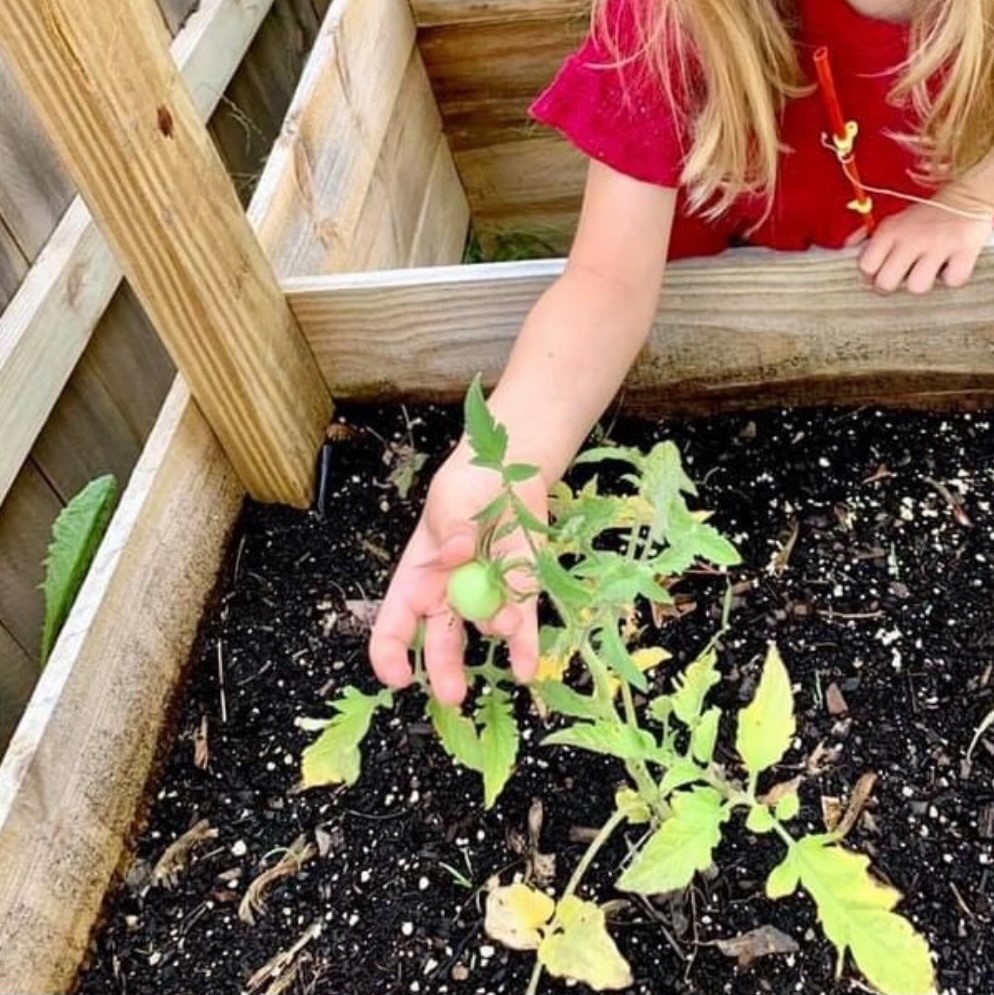
Our garden
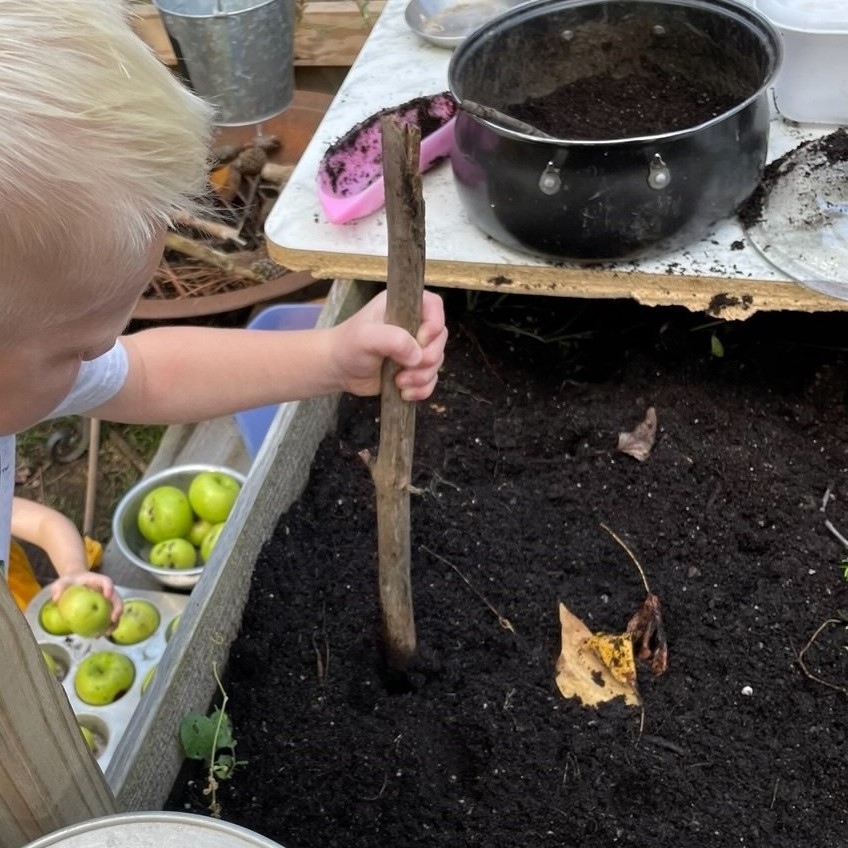
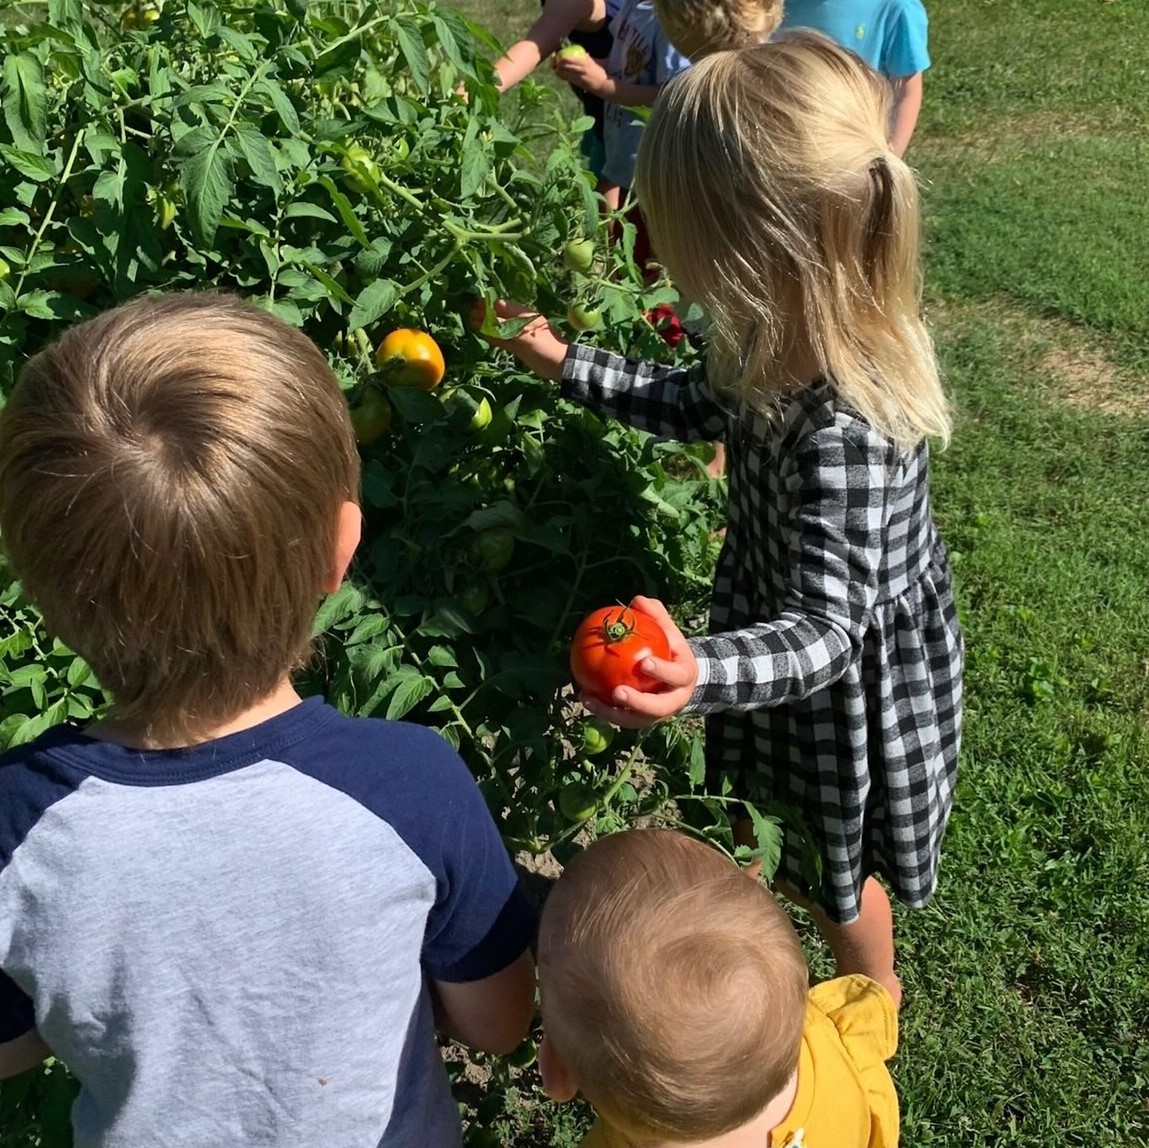
In our garden, we focus on learning together, caring for each other and our planet, and helping children develop a sense of belonging to a community and the natural world. We learn about growing our own food, composting, and recycling.
Here are just a few benefits of gardening with children:
- Sensory Development. Gardening engages many aspects of sensory learning. Children get to see, touch, smell, and taste what they grow in their garden.
- Encourages Healthy Eating. Children develop an interest in their growing vegetables, which leads to their keen interest in eating them.
- Responsibility & Patience. Gardening is a great way to teach responsibility, as children learn how to care for plants. The process of harvesting does not happen overnight. Children learn to be patient when waiting for the vegetables to grow as children observe and care for their plants.
- Expanding learning: Gardening helps with a wide range of learning, including learning about the seasons, weather, life cycles, animals. It also helps develop numeracy and literacy skills. Following sequential steps, seeing print in labels, drawing and writing to document growth, measuring the plants, counting the seeds and vegetables.
- Develops Social Skills: Especially here at Caterpillar Clubhouse, gardening can be a very sociable activity. Children learn to work together and enjoy discussing different types of veggies and their process of taking care of their plants. Gardening presents wonderful opportunities for children to bond and help one another look after and nurture their garden.
- Helps self-regulation: Studies have shown that having contact with dirt, whether it’s through gardening, digging holes, or making pies out of mud, can significantly improve a child’s mood and reduce anxiety and stress, even boost immunity which we all need.
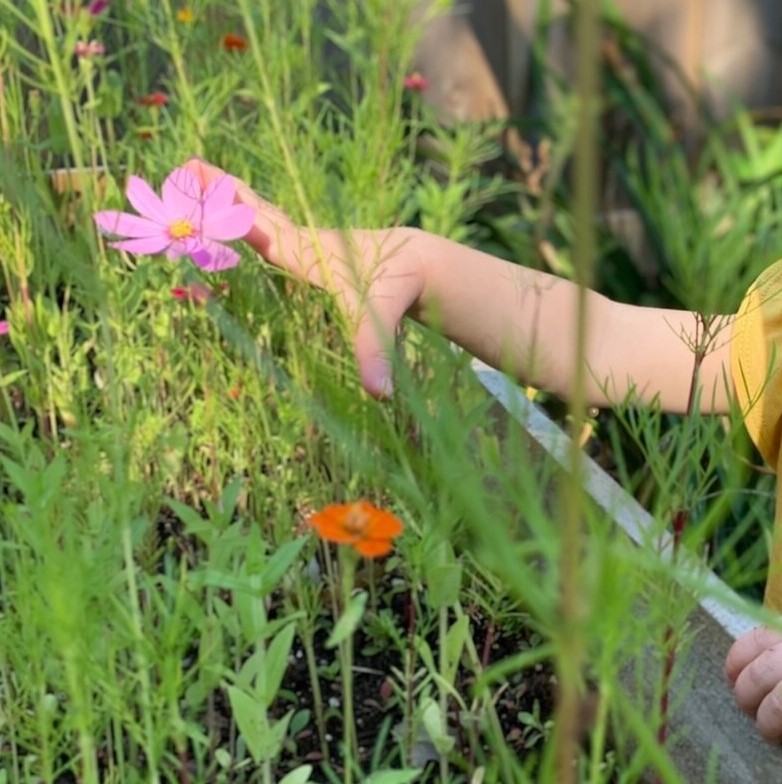
We talk about all the flower parts, exploring each part by touching and smelling!
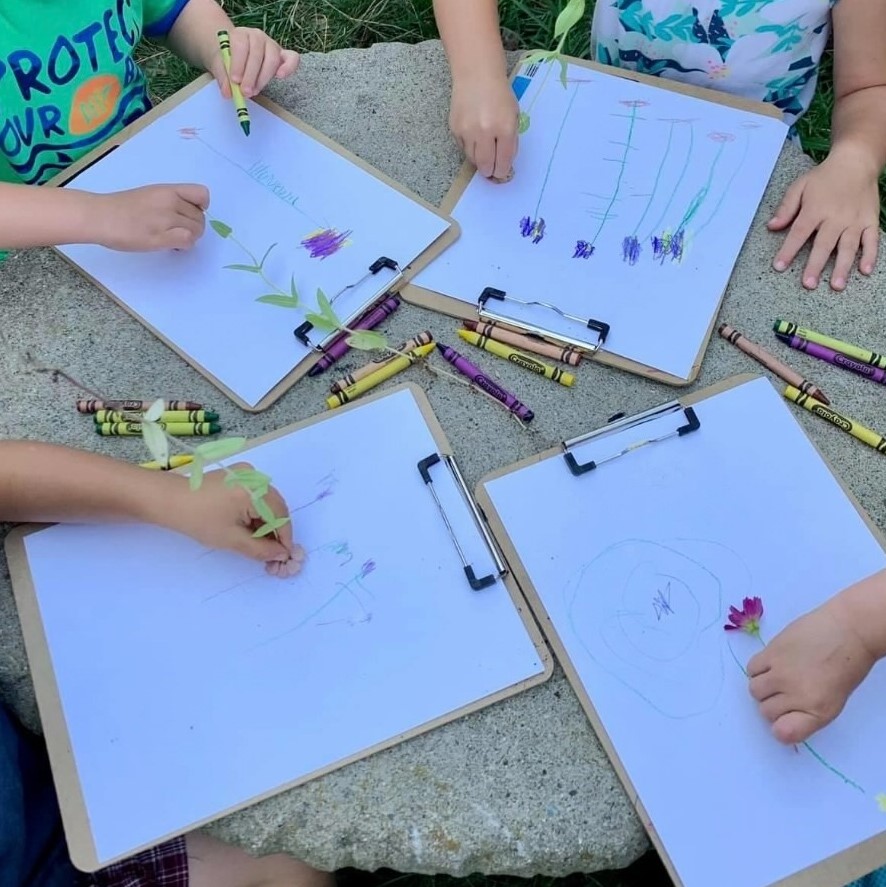
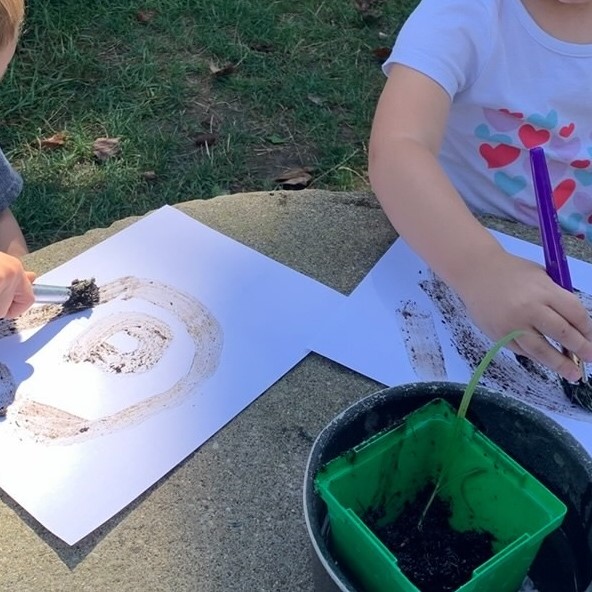
We observe and document using different materials!
Now we explore and eat!
We are protectors!
I often remind the children of the great privilege and responsibilities we have when we spend time in nature.
I am a true believer that a child exposed to the natural world will have heightened respect and deep regard for that world.
Teaching your child to be kind to even the smallest creature is a value they can carry with them throughout their whole lives.
Exposing your child to bugs early on is less about education and more about empathy and understanding; It’s about teaching love and kindness, acceptance and tolerance.
The kids loved getting eye level with all the new little creatures and explore their worlds.
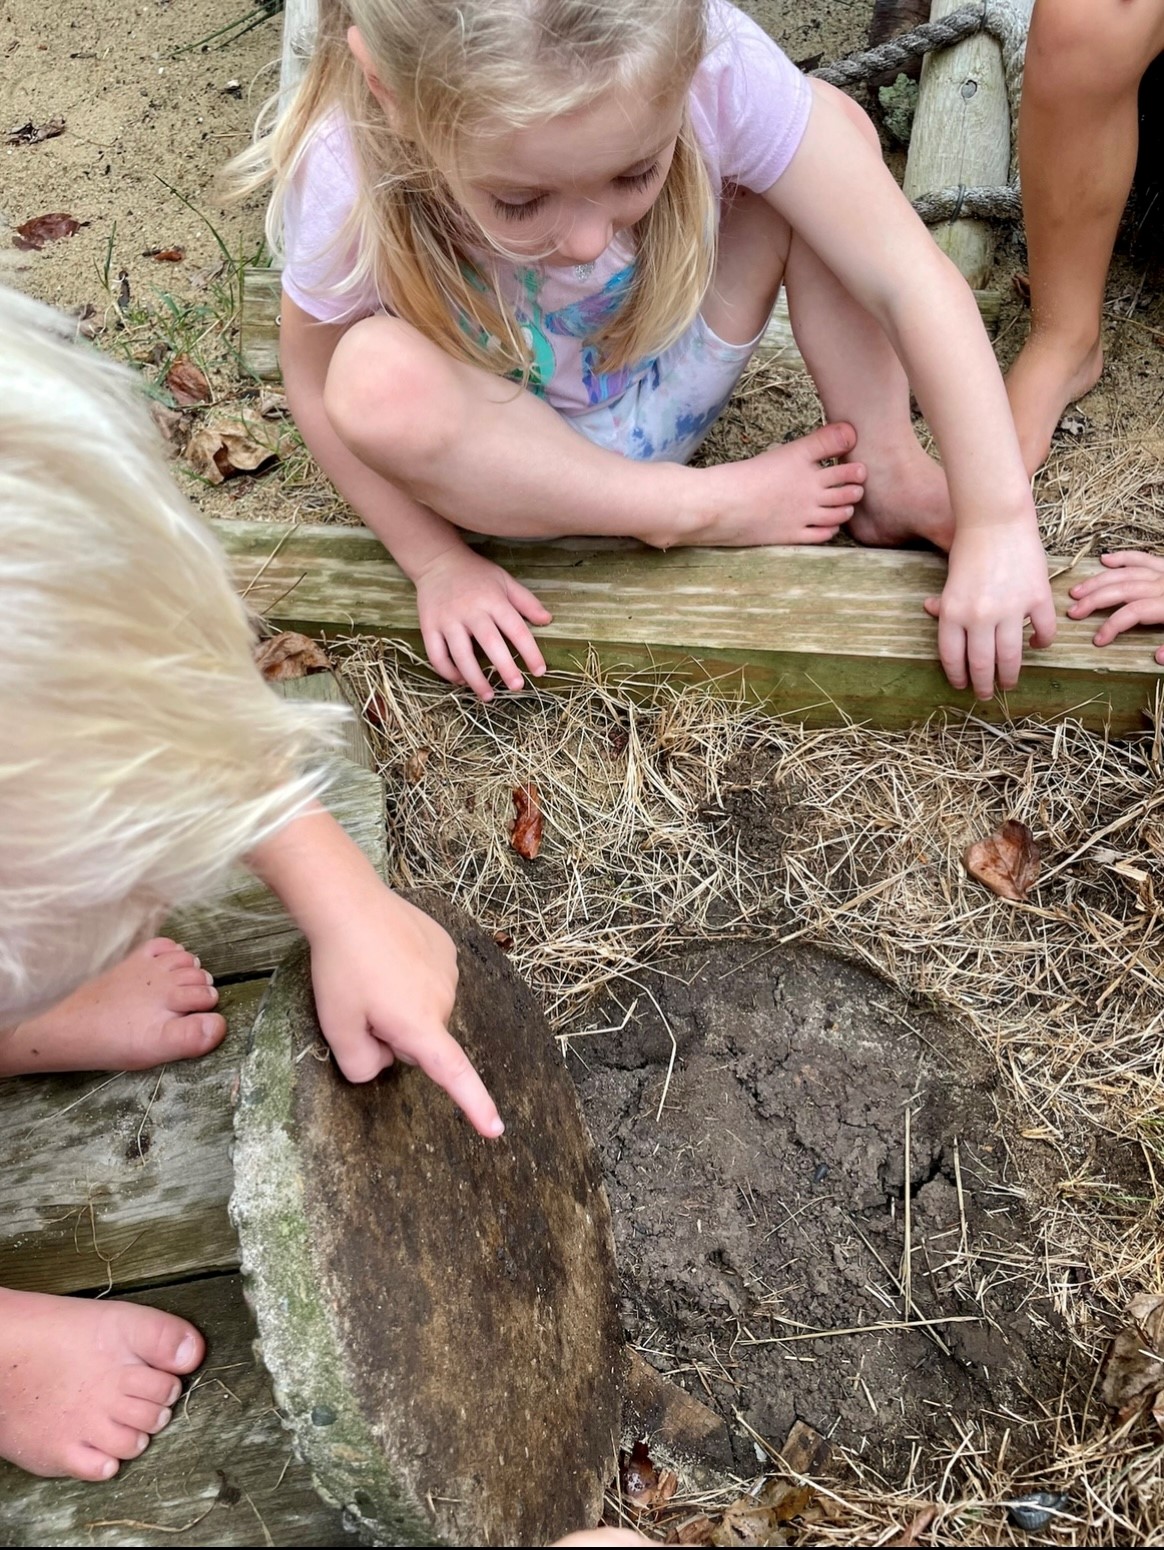
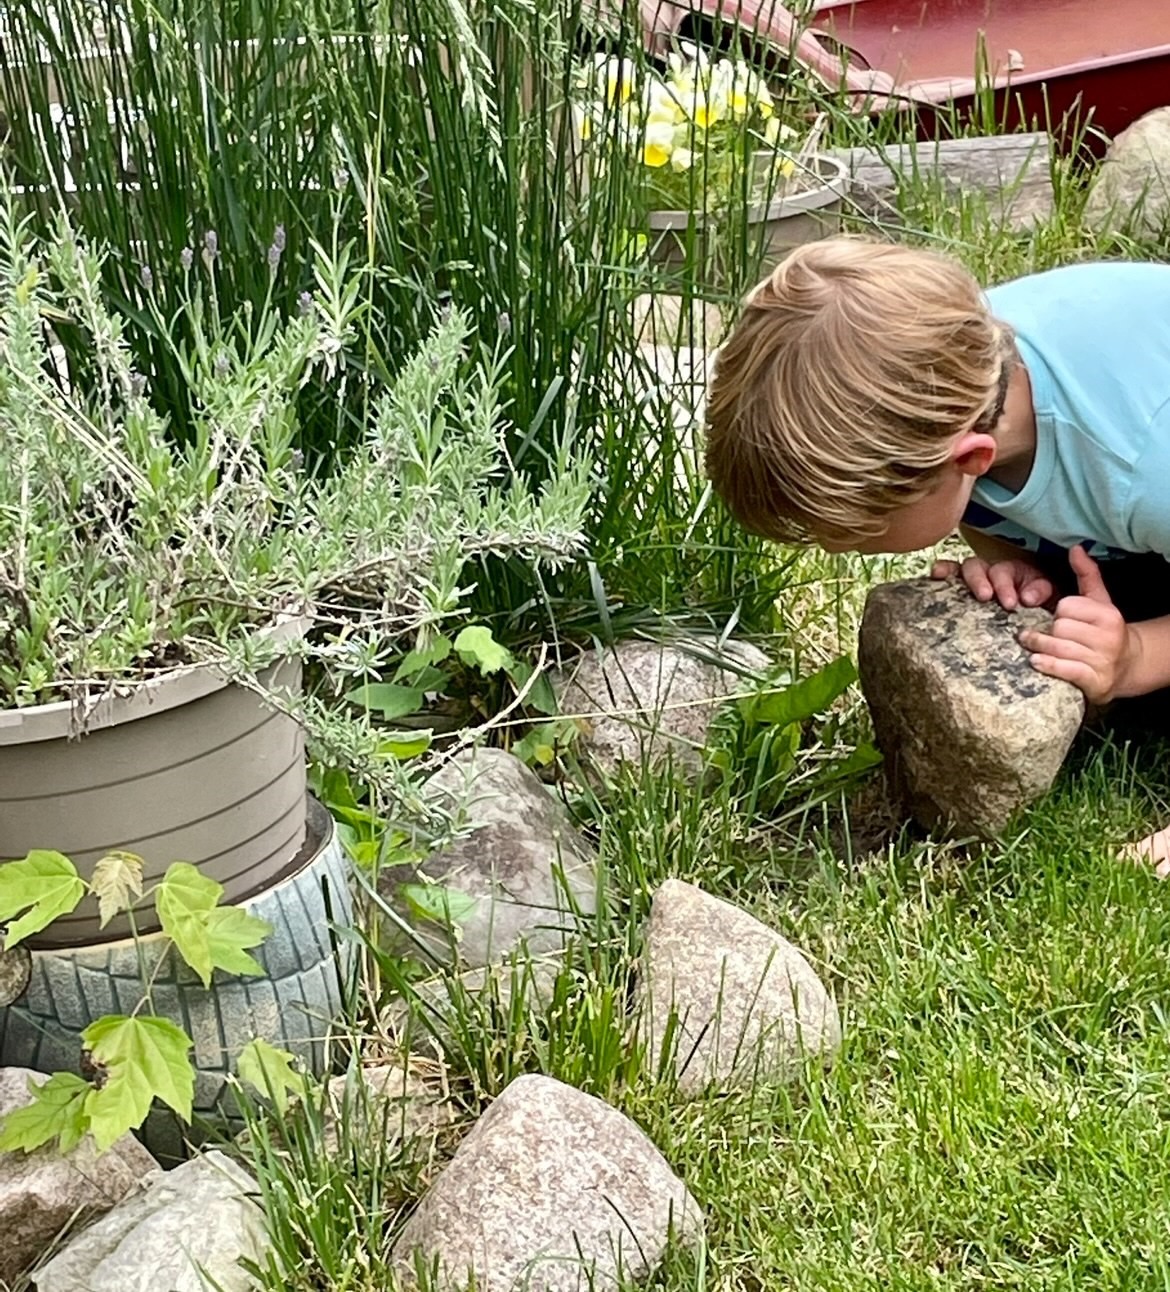
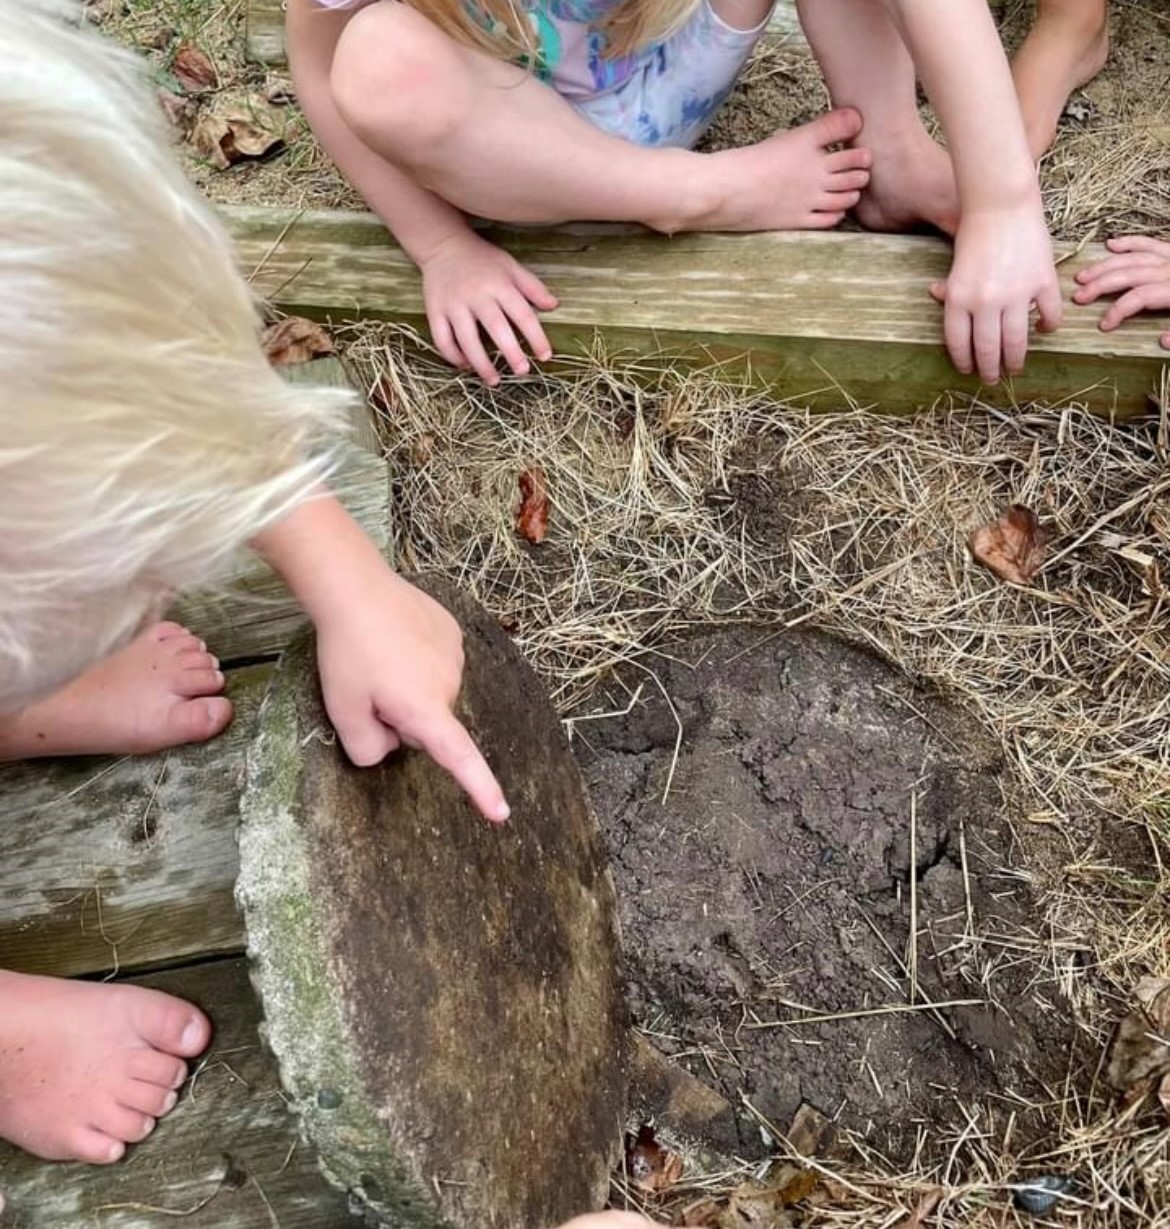
Today we did many kinds of bug boards to flip over and discover what their habitat looks like.
We did bug logs, rocks, stumps, boards, pavers.
While teaching the kids about bugs, I want them to understand insects can be useful and are needed in the environment. We talked about how to be respectful to the bugs. It’s normal to see interesting bugs outside because that is their home, but we have to be gentle and respect their space. Sometimes we can put them in an indoor habitat and observe them, and sometimes we observe them in their outdoor habitat.
How I guide their interest:
- Allow them to explore
- Encourage them to use their senses, observe, touch, smell
- Ask questions!
How I expand their learning:
- Counting the legs and talk about how all true bugs have six legs.
- Identify the parts of the insect: head, abdomen, and thorax.
- Discuss how bees and butterflies help plants grow, and fruit ripen

In the book The Last Child in the Woods, Richard Louv (2005) links the lack of nature in the lives of children to being part of a “wired generation.” He says attention disorders, depression (yes, in children), and more disorders are all due to a “Nature Deficit.” This is an amazing book and a great resource for teachers. I encourage you to read it and bring more nature into your work with children
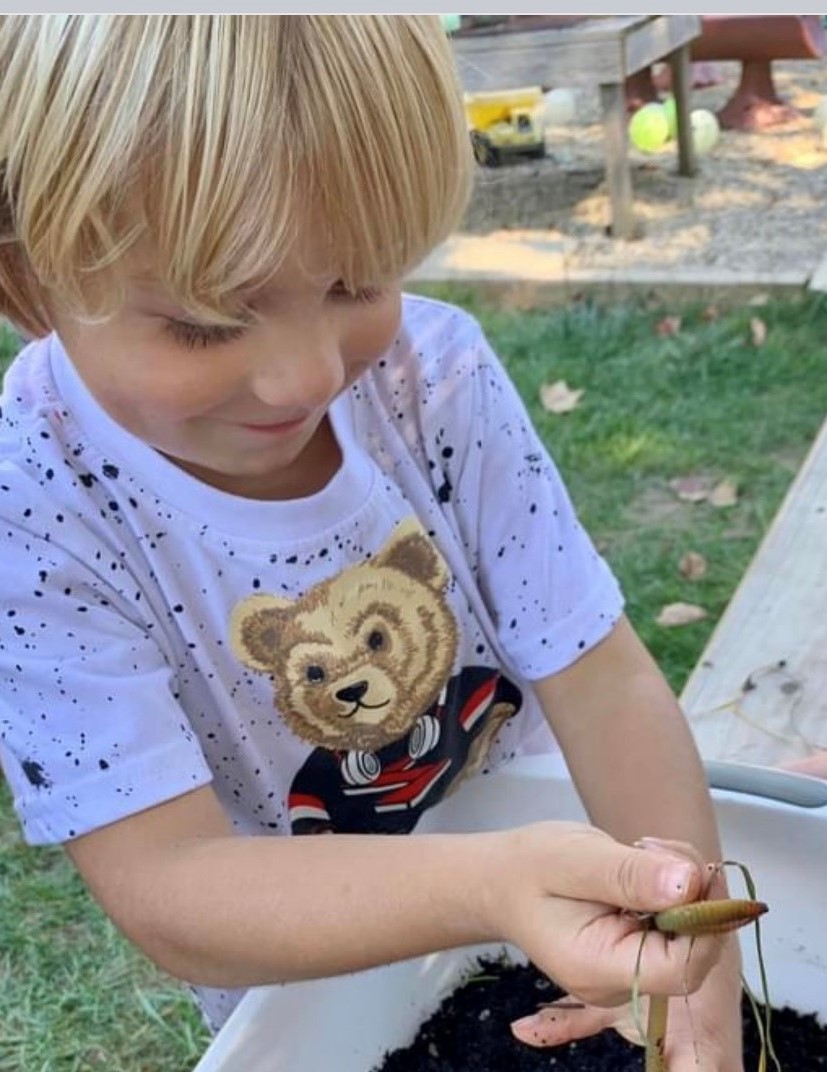
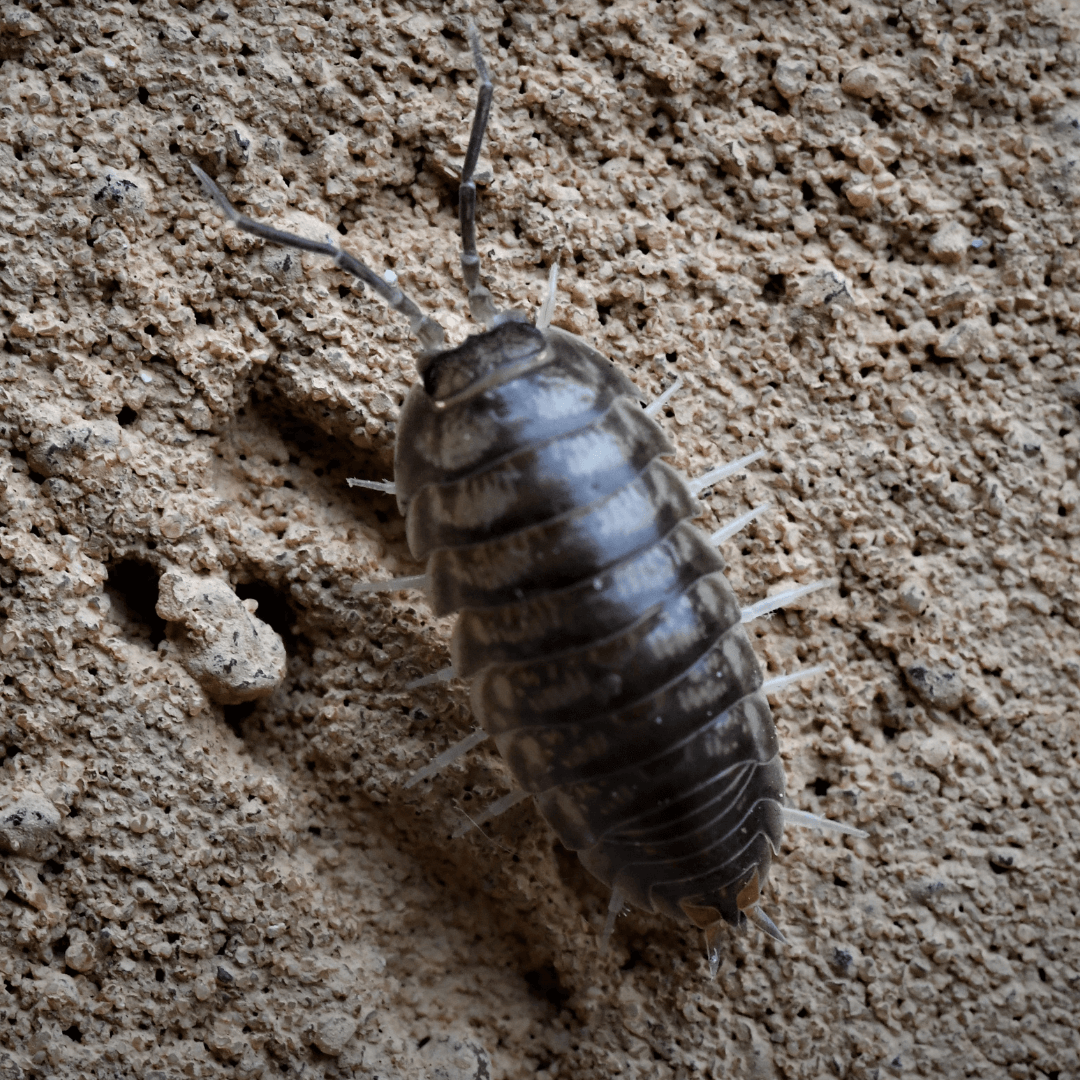
Kids love to dig and what’s more exciting than finding a Roly Poly? Supply the kids with shovels, magnifying glasses and bug containers and let them go to work. I purchased all of my supplies at the Dollar Store making it very reasonably priced. You could use recycled food containers and spoons found in your kitchen if you don’t have access to these materials.
Here are some fun facts about roly polies that you may not know:
- They are found in most regions of the world and live in moist dark areas, under rocks, bark, leaves and logs.
- They like to eat decaying plants or other vegetation. (What other creatures eat this type of food? Extend your science activity by setting out a fresh carrot with a rotten carrot and see which one the Pill Bugs will eat.)
- Pill bugs have three body parts, seven pairs of legs, two antennae and two eyes. They are ¼ to ½ of an inch in length and can roll into a ball when frightened. These are great facts to discover with your children. Bring out the magnifying glasses!
- Pill bugs are actually not bugs, they are crustaceans. They are related to shrimp and crayfish, breathe with gills, and need humidity or moisture to survive. You can explore other types of crustaceans with children as well.
- The pill bug goes through two stages of development: egg and adult. The female can lay up to 100 eggs, which are held in a pouch (like a kangaroo). After about two months as an egg, they hatch and emerge as a tiny adult. They grow by molting (shedding their skin) and can live up to three years. Good information to research with children. Try checking out a book about pill bugs.
You can explore habitats of all kinds of animals, bugs, or crustaceans. Try creating a roly poly habitat with children out of found materials. However, you also want to help children respect animals and their natural habitats. So make sure they know you ALWAYS put animals back in their natural habitats at the end of every day.
This resource is a great guide to using the scientific method with young children by following their interests. Steps for scientific inquiry (question, observe, predict, experiment, discuss) are outlined and suggestions for how to support children’s thinking during each step are given. Get ready to follow the child’s lead and support them in the inquiry process!
Using the Scientific Method Handout
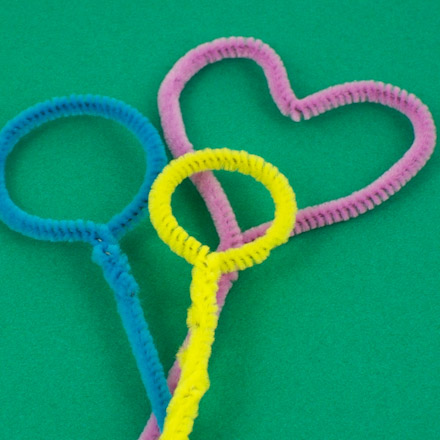
Make homemade bubble solution with liquid dish soap and water. Start with a cup of water and a tablespoon or two of dish soap (Dawn seems to be the most popular choice for making bubble solution) and mix. You can add a little corn syrup or dissolve some sugar in the water to make the bubbles last longer. You can use wands you already have or children can create their own with pipe cleaners or flexible wire.
Goal: Children will experiment with creating bubbles that are different sizes and observe changes from the bubble solution to bubbles to bubbles as they pop.