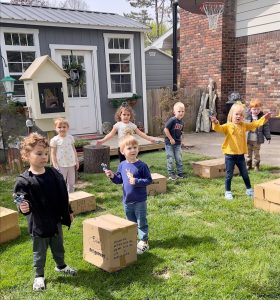
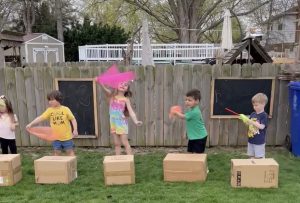
Bringing or building musical instruments outside can be a great way for children to practice coordination, creativity, rhythms, and tones in a setting that allows them to create a great range of auditory experiences.
To deepen children’s thinking, encourage them to hit different parts of their drum with the stick to see if the sound changes; note when they make louder/softer sounds, and how the achieved it; and help them to create and test hypotheses about how changing their instrument will change the effect (i.e. what would happen if you put a leaf on your drum, and hit that with the drum stick?). By exploring these different traits of the music they create, children are learning about differences in tone and volume, two important concepts within musicianship. As they drum and dance, they are also practicing bilateral coordination (moving both sides of their bodies at the same time), a big skill for pre-writing.
Your instruments don’t need to be complicated. Some boxes and sticks can go a long way! Consider also including recycled cans (with sharp edges covered!), making shakers from water bottles and beads, or wooden spoons —see LOTS more ideas for a variety of ages here.
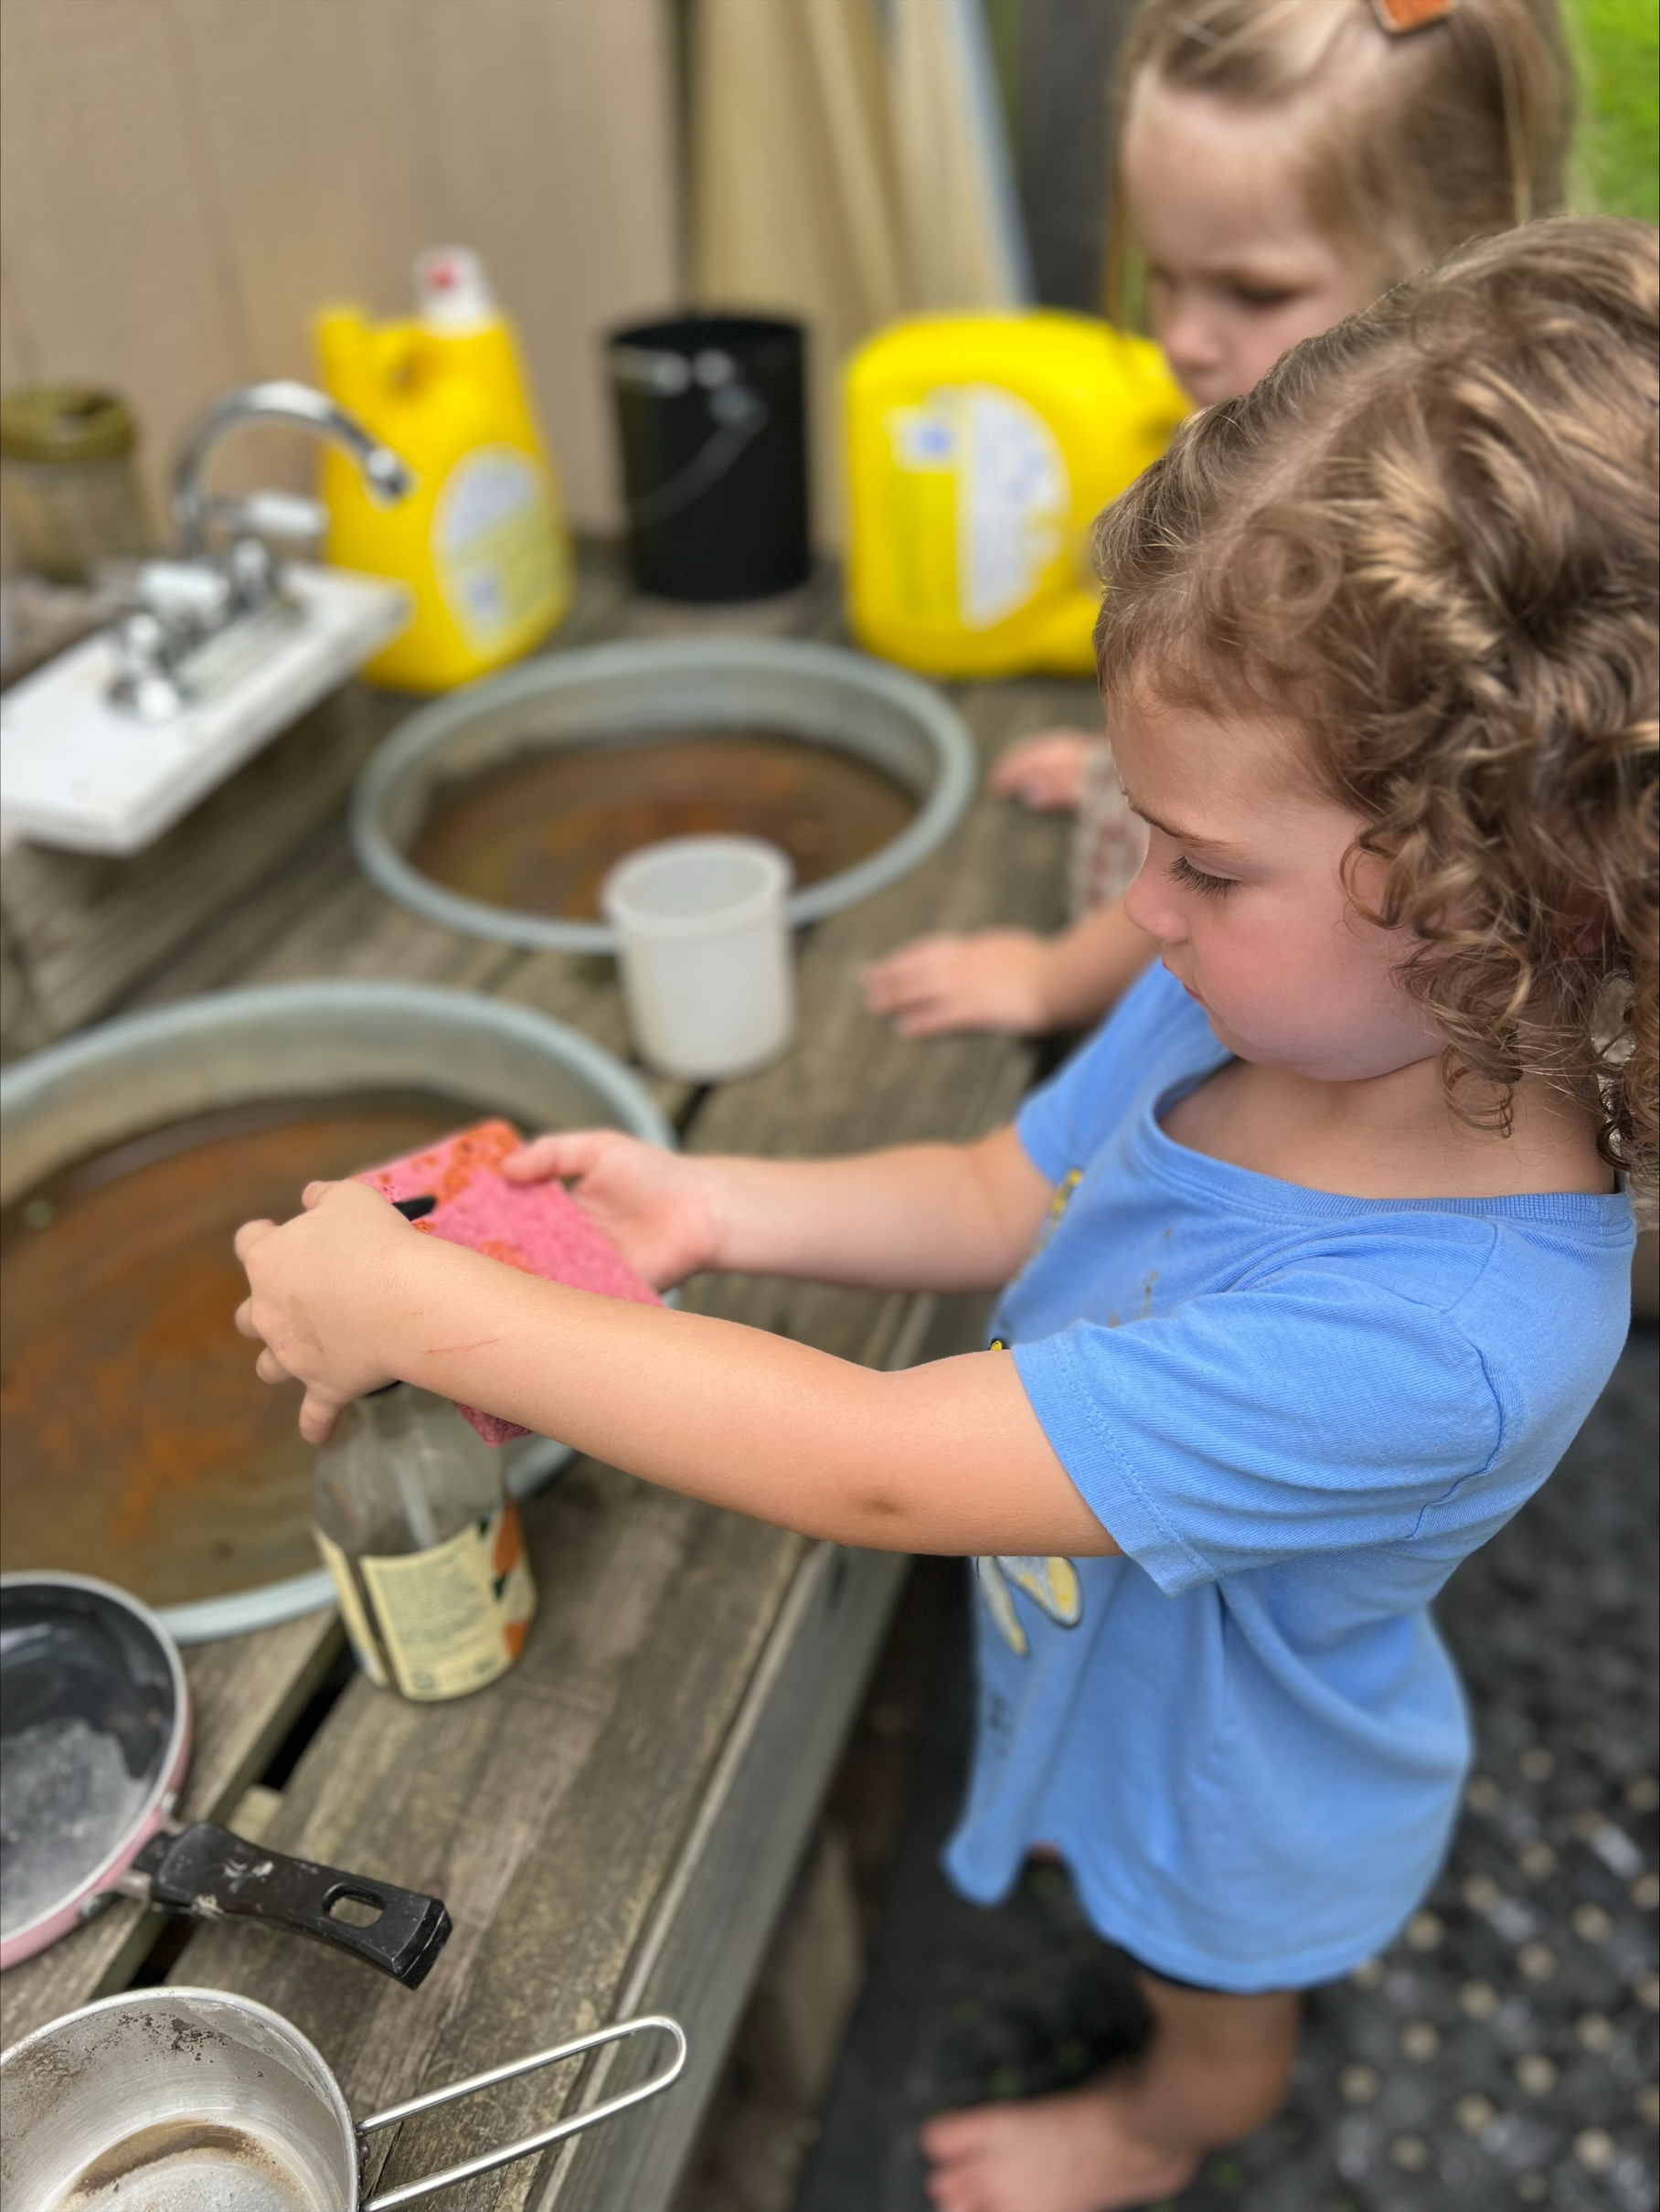
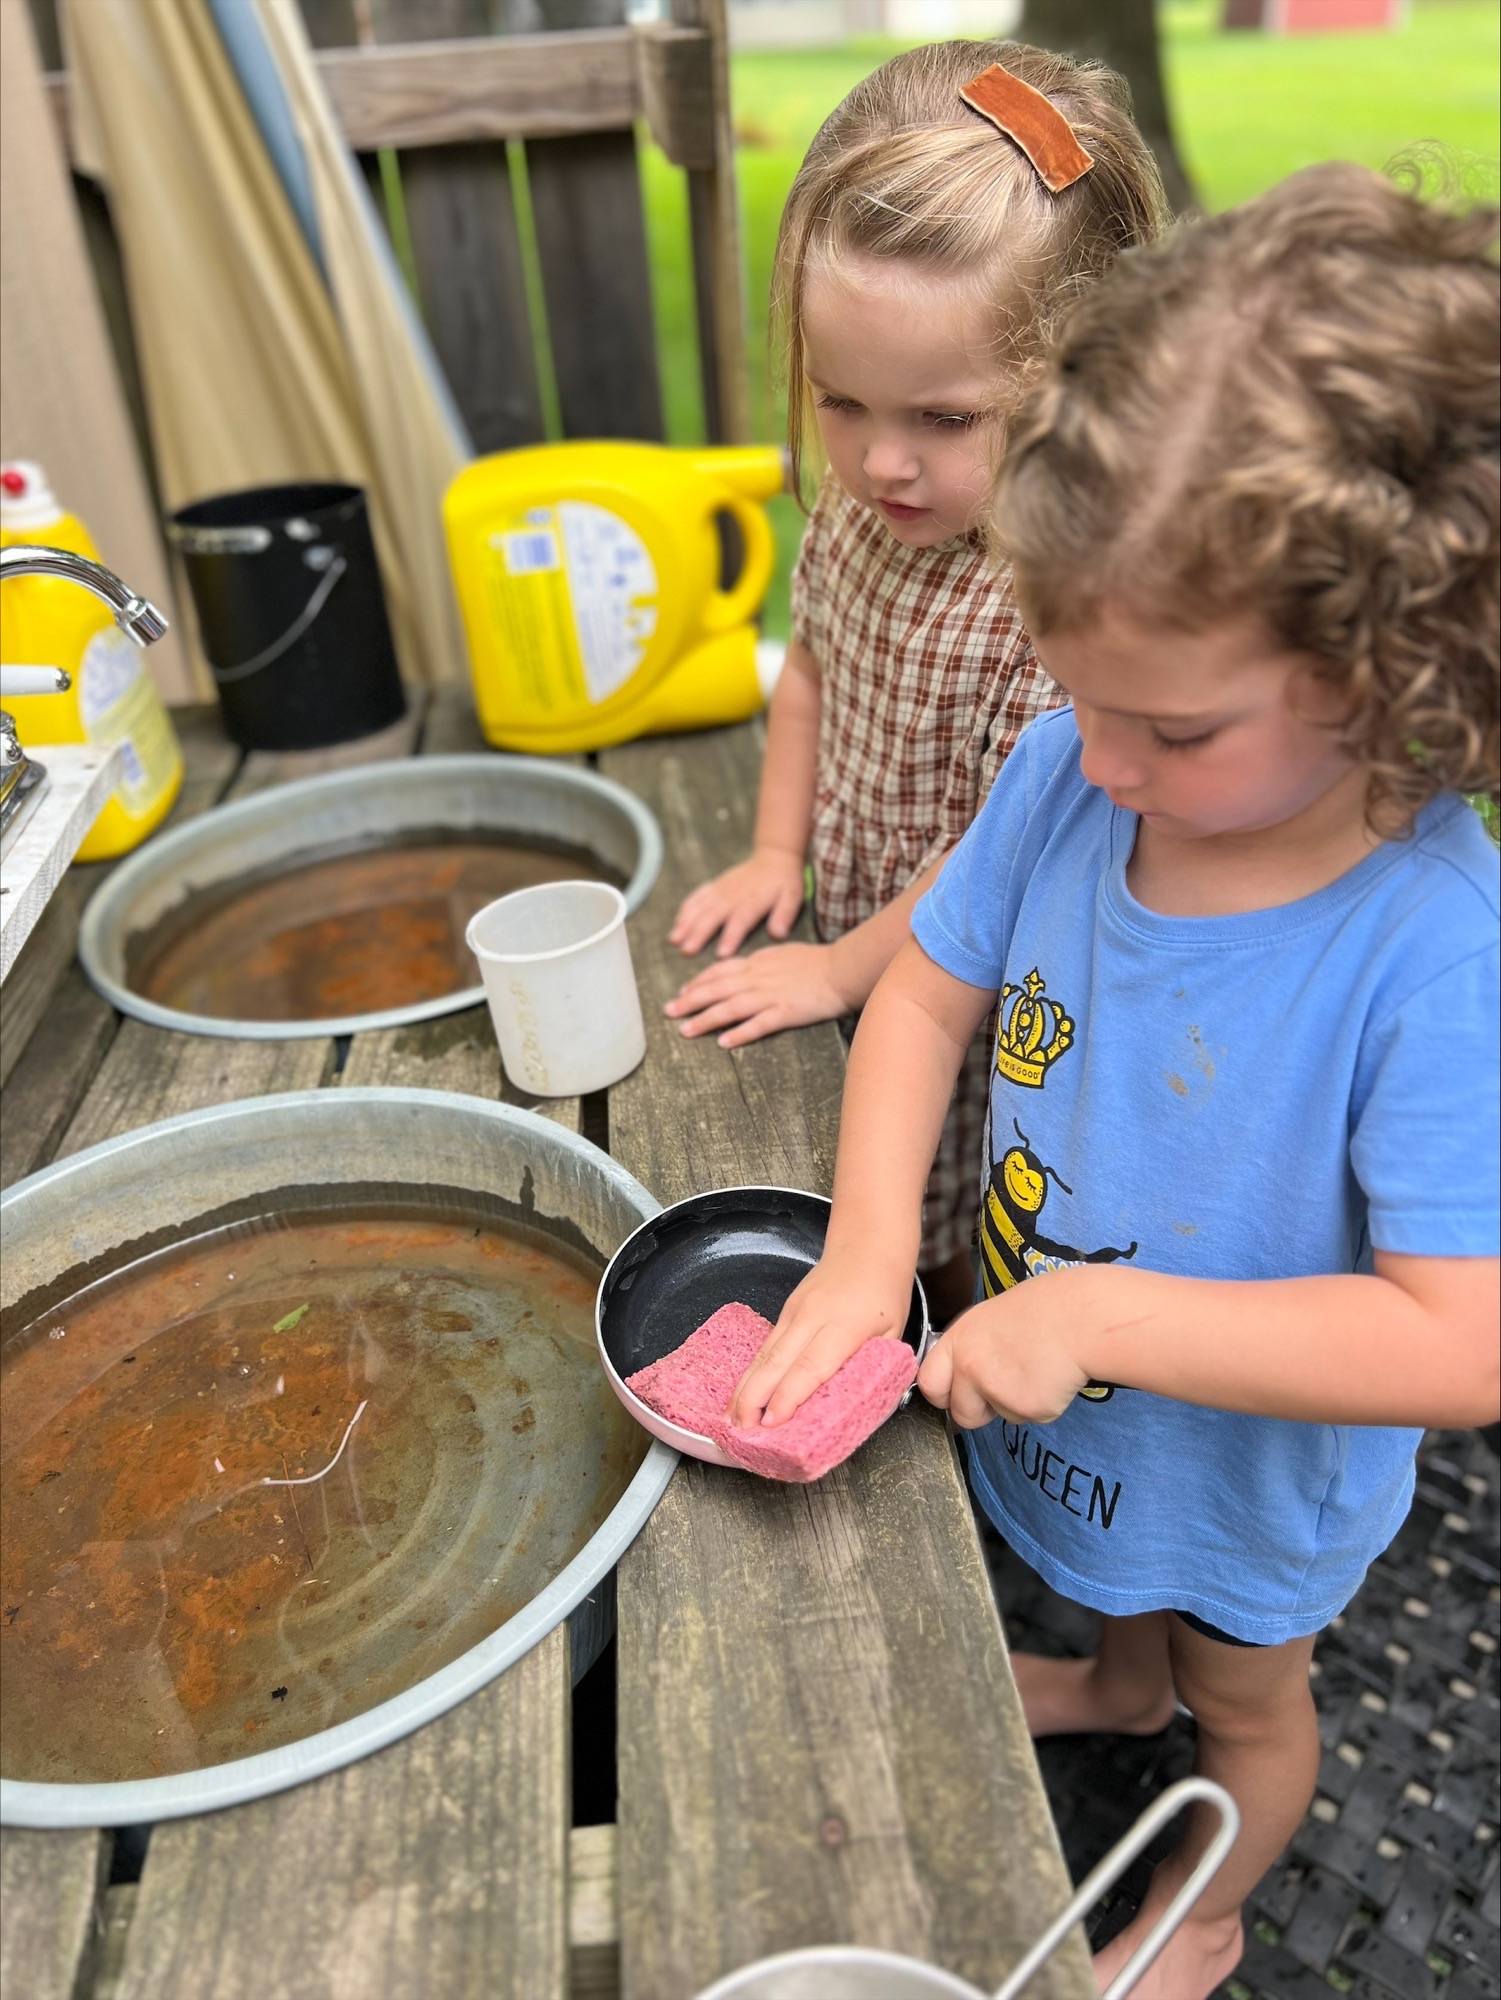
When children are given the responsibility to wash dishes, they are able to develop essential life skills such as responsibility, independence, and self-care. Allowing children to participate and contribute to the family household tasks instilling a sense of accomplishment and belonging.
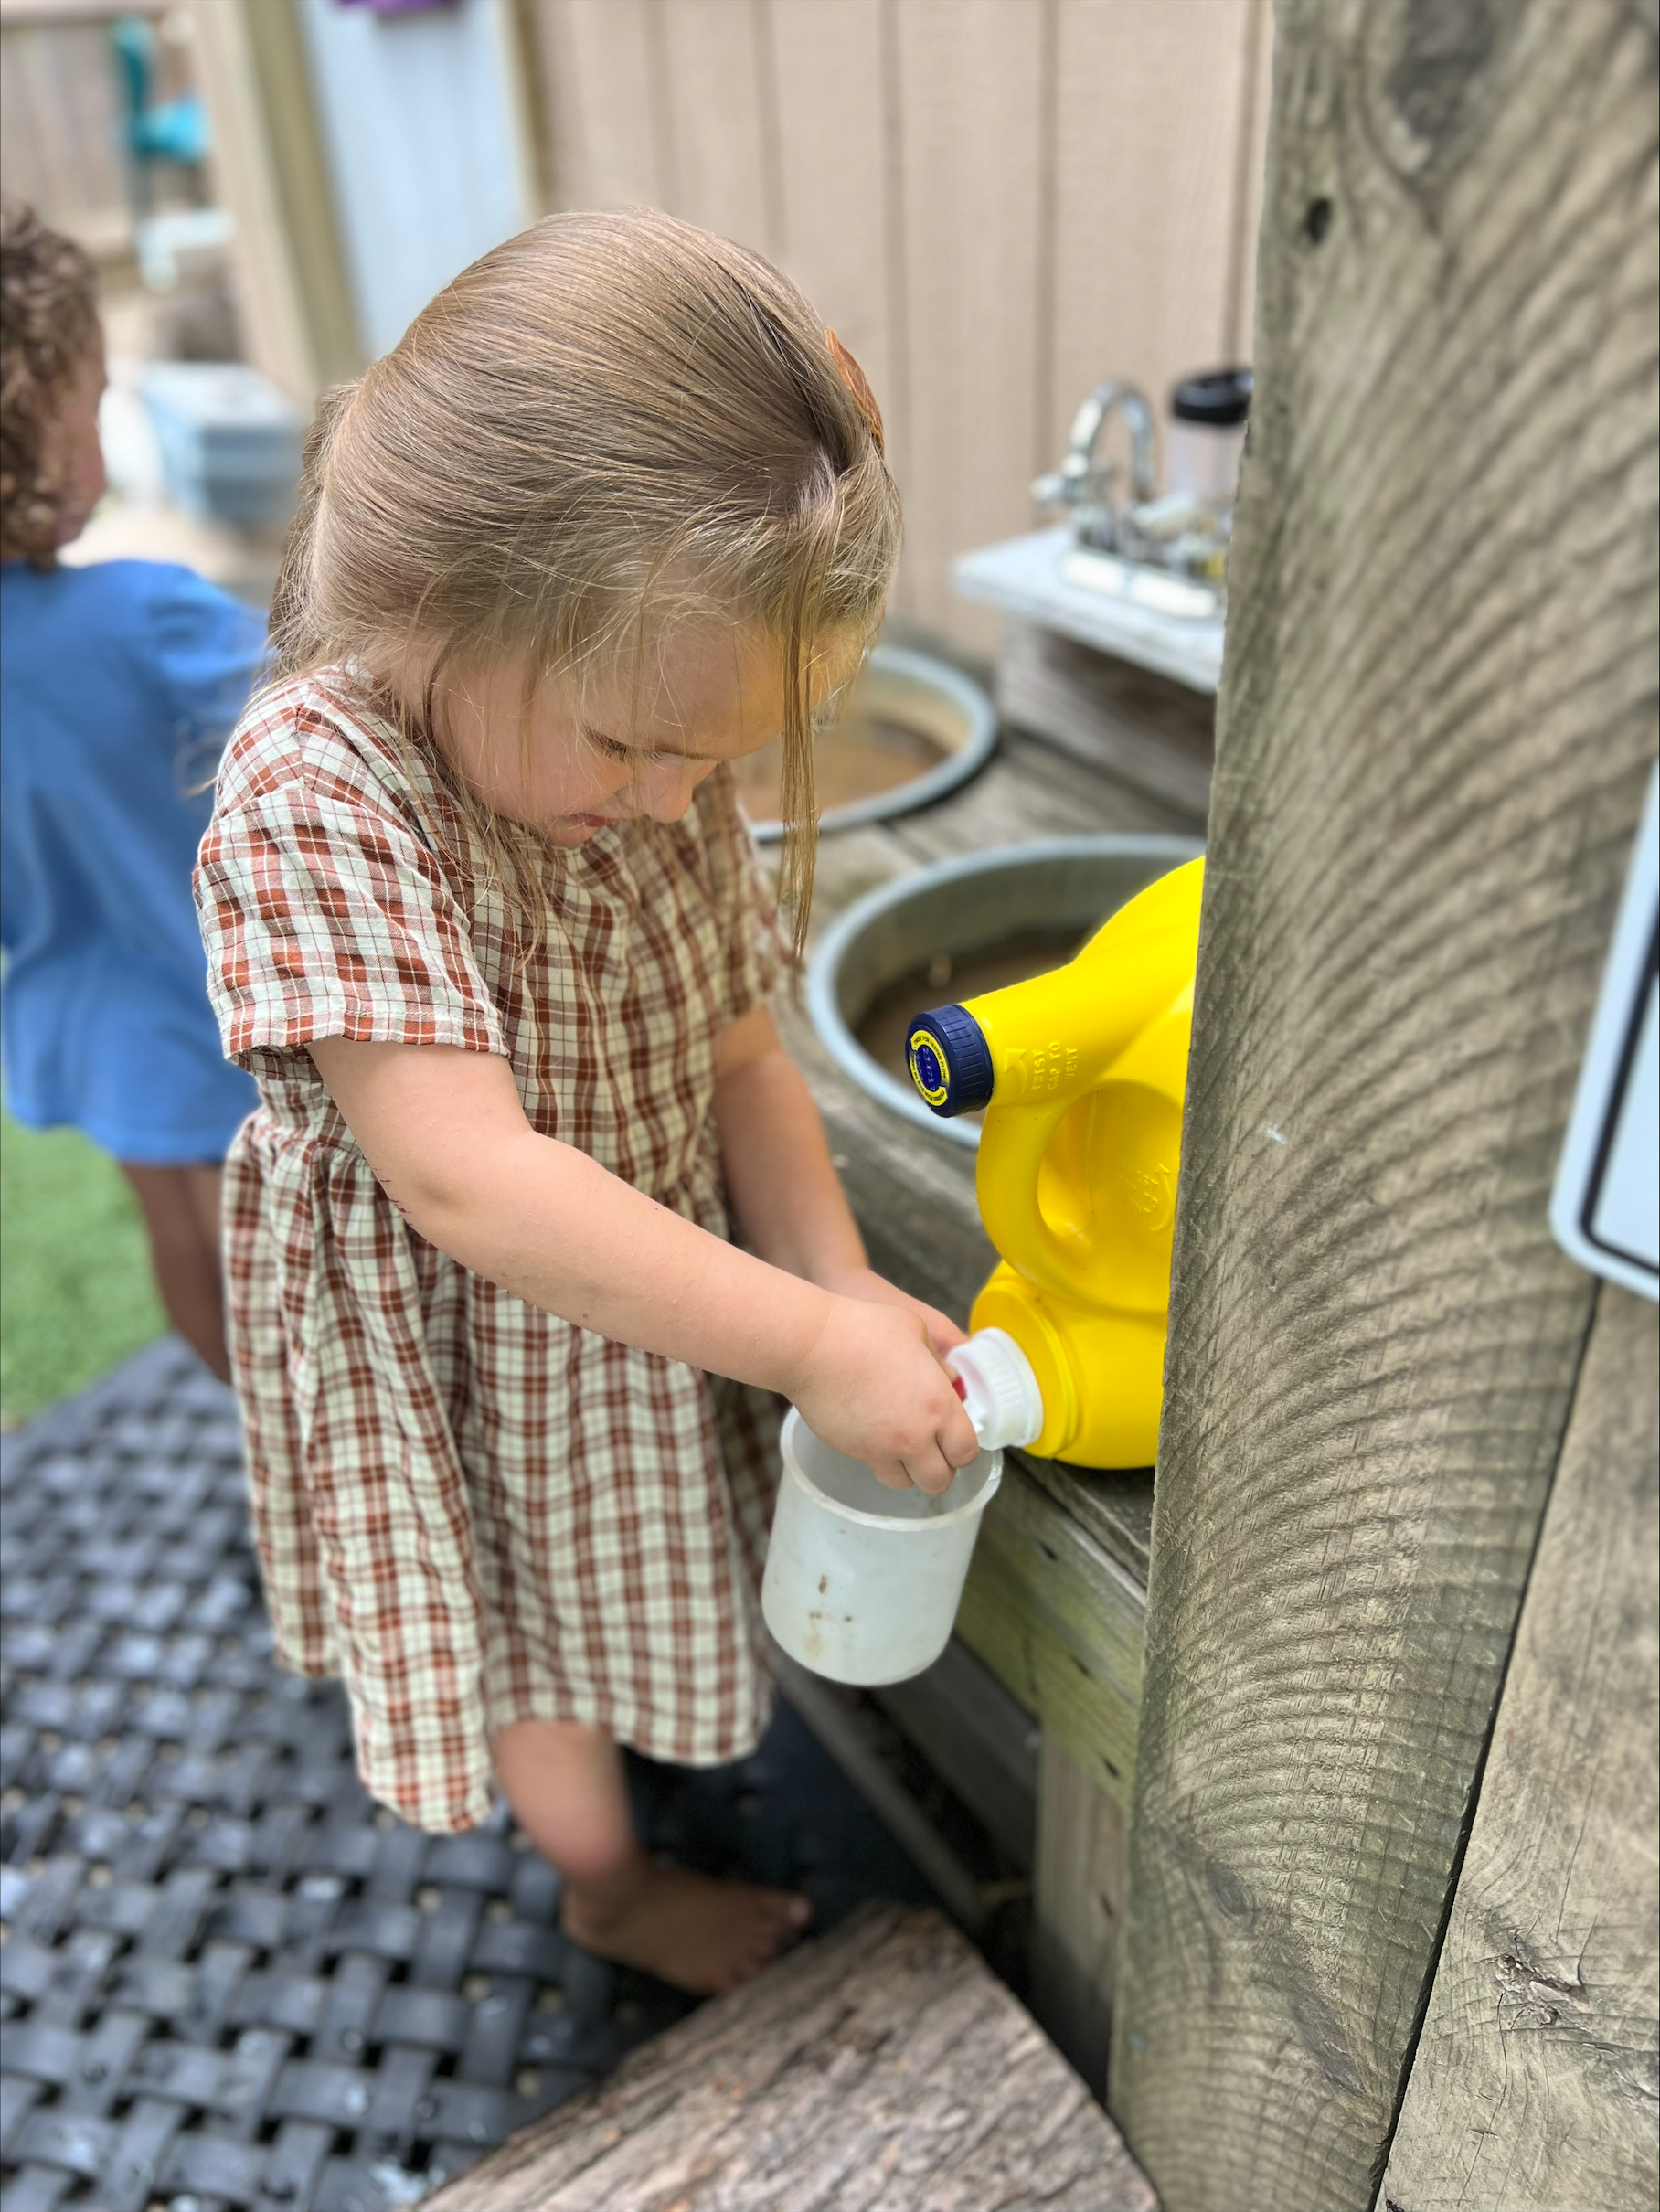
To get started, set up a simple pretend sink or washing station with two basins – one with dish soap and warm water, and another with clean rinse water. Have a water source nearby so that children can add more water as needed. It’s important to establish a process for emptying and refilling the basins. As children explore and wash the dishes, they will learn how warm water creates suds while cool water cuts suds, how much water is needed to clean, and how to use a sponge to scrub and ensure cleanliness.
Through dish washing, children develop an internal sense of order as they follow a long sequence of steps. It takes a high degree of self-control to only collect one pitcher of cool water and one pitcher of warm water to pour in the two basins. They also coordinate their whole body in walking back and forth to the outdoor play sink, sometimes carrying a full pitcher, and in balancing as they shift their weight moving the dishes from one basin to the other.
As with many Practical Life materials, the opportunity for repetition helps to develop strong concentration. Children not only learn how to care for their own belongings, but they also learn how to help others.
When preparing children for school, parents and teachers acquire all the tools that will be essential for their success in the classroom. Pencils, paper, crayons, blocks, baby dolls and books are all accessible for making the year successful. They are considered important pieces of the education process.
If you are fortunate enough to have a program that also provides fresh air and time for play outdoors in the winter months, consider yourself extremely lucky! However, your child will need a whole different list of supplies to make sure this time is equally successful.

Clothing is a crucial piece of the outdoor experience!
A few years ago it became clear to me that if I was supplying stumps, loose parts and the time to be outdoors in nature, our program had to have clothing available for backup. Clothing is a crucial piece of the outdoor experience. Teachers often ask me how long it takes to get everyone dressed to go outdoors? Trust me, the time it takes will get shorter and shorter very quickly. And the process is a learning lesson in itself. There is a sequential order involved. It is a lesson in self-sufficiency. What could be a better use of our time? With so many children attempting to get ready at the same time, children learn to independently get ready on their own. Our children love to play in the snow and they know that getting ready is part of the process. A few years ago I had a two year old that could Suit Up and Boot Up faster than her older counterparts.
I am always curious how others make this work in their programs. Like anything else in our classroom, I start with baby steps and tweak it as I go. I encourage you to try and get outdoors every day. It is so good for both our mental and physical health. However, you need the tools for this to be successful. If you have children who don’t bring their “pencils” to class, you must supply them.
Here is our version of Suit Up and Boot Up.
You can do this! Baby steps!
- I start by setting up stations or centers. There are many stages of dress and it can take a lot of space, so offer that space to keep peace in the room and the focus on getting dressed. You don’t want everyone standing on top of each other trying to get dressed. I start at one end of our room and lay the stations out ending at the exit door. You could also do a circle. After a day or two the children will help you lay out the stations.
- After everyone has gone to the bathroom, we are ready to get serious!
- We start with snow pants. Be aware that for some families this is an extra expense that they have not budgeted for or simply don’t understand because the adults quit playing in the rain and snow! We always try to have an extra set or two around. If we supply the blocks and dolls, we also need to supply back up winter clothing for those who don’t have what they need on any given day.
- Then we have stations for their boots, coats, hats and mittens. By now they are standing by the door for the last inspection and the help they may need with zippers, buttons, buckles or mittens.
Car mittens vs snow mittens
Which brings us to mittens or gloves. For the very young, I am a big fan of mittens, just because they are so much easier to get on. As the children get older though, sometimes they just need the flexibility and precision to build or pick things up with gloves. This is where I am on a one-woman campaign for new vocabulary words.

Car mittens vs Snow Mittens (gloves qualify but it ruins my campaign slogan!) Fleece and wool mittens are good for car rides, but if you are going to sled, build snowmen, eat icicles or just PLAY in the snow you need SNOW mittens or gloves. Any waterproof glove or mitten will work, but really great ones go up past your wrist. They allow you to play for longer periods of time and stay warm in the winter temperatures. I knew my vocabulary word was catching on when a four year old sadly walked in the door and announced, “I could only find my car mittens today.” Poor kid. He looked devastated. He knew the consequences. There are of course natural consequences to not wearing the proper clothing. You get wet, cold, tired and very crabby! Many times, children will not remember the snow play from a year ago. This is a brand new experience for them, even if they were outdoors daily last year! We want this to be a successful and enjoyable experience for them. We need to supply the tools for our day to be fun and stress free!
What do you do in the snow?
I often get asked, “What do you do in the snow?” We play! The night before the first predicted snowfall, I retrieve all the sand buckets and shovels and molds. These are great tools to add to snow play. If they are buried or frozen in the sandbox, it is an impossible task. Trust the voice of experience on this one!
Our little friends love to help shovel, build snow friends and snow angels. This is a whole new world of adventure and investigations for them. Just walking or running in snow is a new adventure! We have spent hours searching for ice and then working to remove it from whatever container it may have formed in. Slipping and sliding on ice? Ice skating without the cost of skates! Giggles galore, no broken bones to report! One hard fall will usually send a child off to find something else to do, but there are always a lot more laughs than tears. Trust the child! Jumping off any height only to land in a pile of fluffy white stuff to break the fall, can entertain us for long periods of time. Sliding down snow filled slides or jumping off a swing when the snow is just inches below it, are all new experiences. Finding animal tracks from brave squirrels, hungry birds or the neighbor’s cat can buy us a good half hour of fun. When the winter days are so short that the children are coming to us in the dark, and heading home in the dark, getting outdoors in sunshine or at least daylight is so very good for our mental health.
Don’t forget the clean-up!
After hours of play, the order is reversed. I set up laundry baskets and child size benches outdoors, with the last basket for boots next to the door so they can step right in on a dry floor. The children strip off their clothes and put them in the proper basket. This works well for separating wet clothing and boots away from our dry hats and coats. It also reinforces independence and sequencing as the children try to do this process on their own! (Those snow pants can be ornery sometimes!)
Of course nothing completes outdoor winter play quite like a big warm cup of soup or hot cocoa! If the temperatures cooperate and the sun is warming your soul, try an outdoor lunch. Hot soup, cheese and crackers, apples and carrots and milk! You can do this! Start with little steps and build your way up!
Remember, there is no such thing as bad weather, just bad clothing! It will change your winter play!
August and September are big Sunflower months around here. If you happen to put sunflowers in your bird feeders, you likely have sunflowers all over, even some in strange places.I like to let most of my sunflowers live their long lives, but every once in awhile one pops up somewhere and I have to pluck it out. Also, at some point they all die off, and they can be quite unsightly. Instead of just composting the giants, I try to use these opportunities as teachable moments. Here are a few activities you can do with sunflowers.
Weeding/ Ages 3-99
Engage children in assisting in the removal process. Weeding requires a lot of gross motor skills. Using several muscles in unison, and stimulating brain activity. Children enjoy the satisfaction of pulling as hard as they can, and it’s great for them to see the progress of their efforts. Once pulled, help them remove the stem, the leaves, and the flower, and place the different parts into labeled bins to explore next.
Sunflower exploration/ Ages 0 – 99 / Fine motor skills, Scientific knowledge/ Math
Offer sunflowers to children with a variety of tools such as plastic knives, mallet, tweezers, water, different containers. Encourage the children to explore the sunflowers using the tools. Offer some safety guidelines if necessary. Then, let them go at it! As they are exploring you can scaffold their learning by asking questions or offering new techniques.
Sunflower painting / Ages 1 – 99 / Fine motor skills/ Creative Arts/ Early Math / Science
Create the art area by laying down an old sheet on the grass. Offer each child a canvas and a sunflower. Squirt desired colors of paint on canvas and encourage children to use their sunflower or hands to paint.
Seed counting / 2 -99 / Math
Use tweezers or fingers to extract seeds from flower head. This process alone is really cool! The textures of the sunflower are varied and interesting. Count seeds by 1’s, 5’s, and 10’s! Make up a recipe “We need 30 seeds to bake our bread!”
Cooking! / 2 -99
After you have counted, painted, smashed, and tweezed the sunflower pieces, cook with them! Flower petals look gorgeous on a mud pie, and children will love having new textures to work with.
As we explore intentionality in incorporating nature into home-based care. We reached out to two family childcare professionals Diann Gano, Owner of Under the Ginkgo Tree Nature School, and Ashley Hugues, owner of Roots Nature School, to discuss the curriculum of a home-based nature program. We hope this conversation is a starting point to rethink nature in your program or help support your current practice.
Summer is here and if you have a safe space for children to play outdoors and have fun in the sun. This fact sheet from the Environmental Protection Agency (EPA) helps you understand how to protect yourself and the children in your care from over-exposure to the sun. It includes information on how to read the UV Index and how to be safe when in the sun.
In the book The Last Child in the Woods, Richard Louv (2005) links the lack of nature in the lives of children to being part of a “wired generation.” He says attention disorders, depression (yes, in children), and more disorders are all due to a “Nature Deficit.” This is an amazing book and a great resource for teachers. I encourage you to read it and bring more nature into your work with children
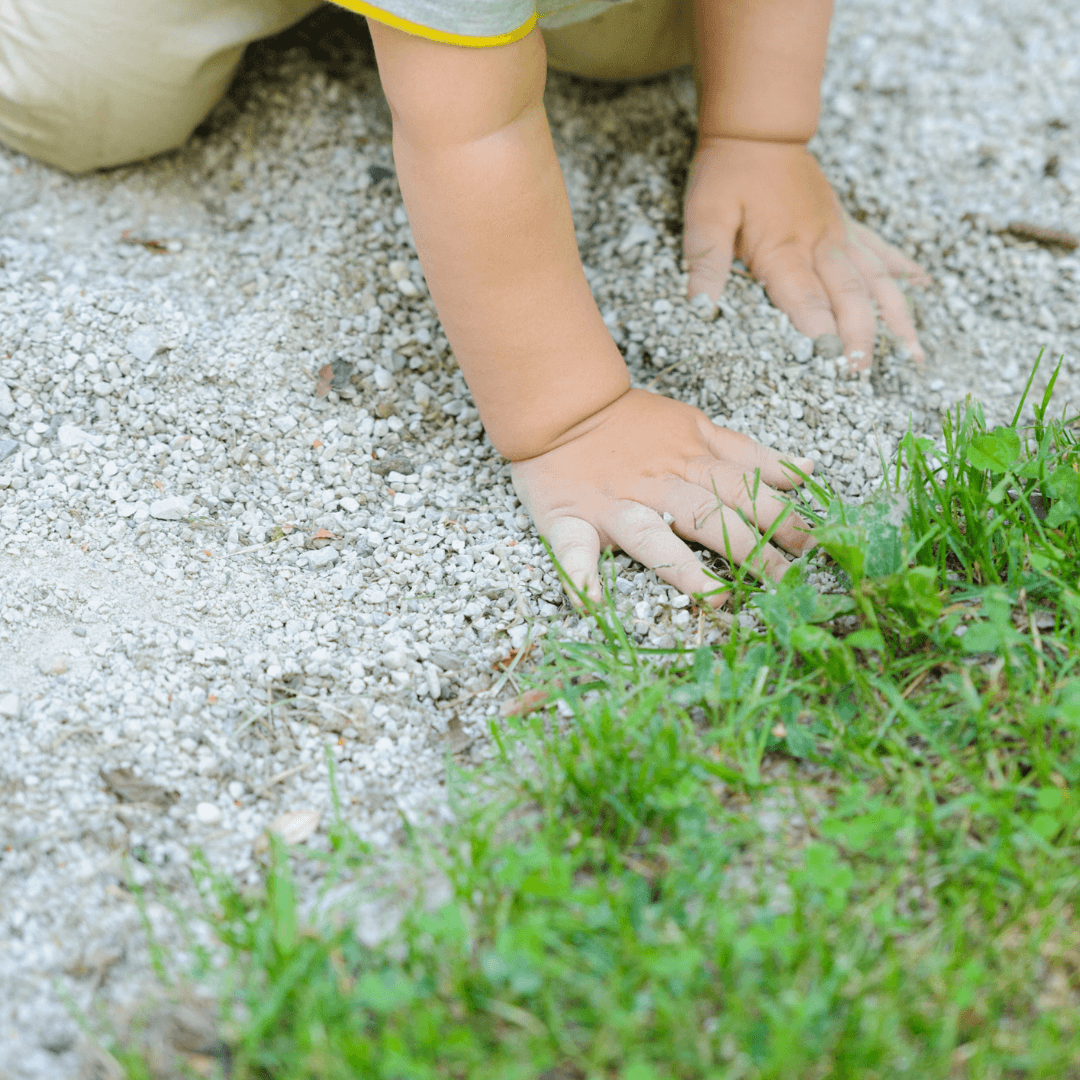
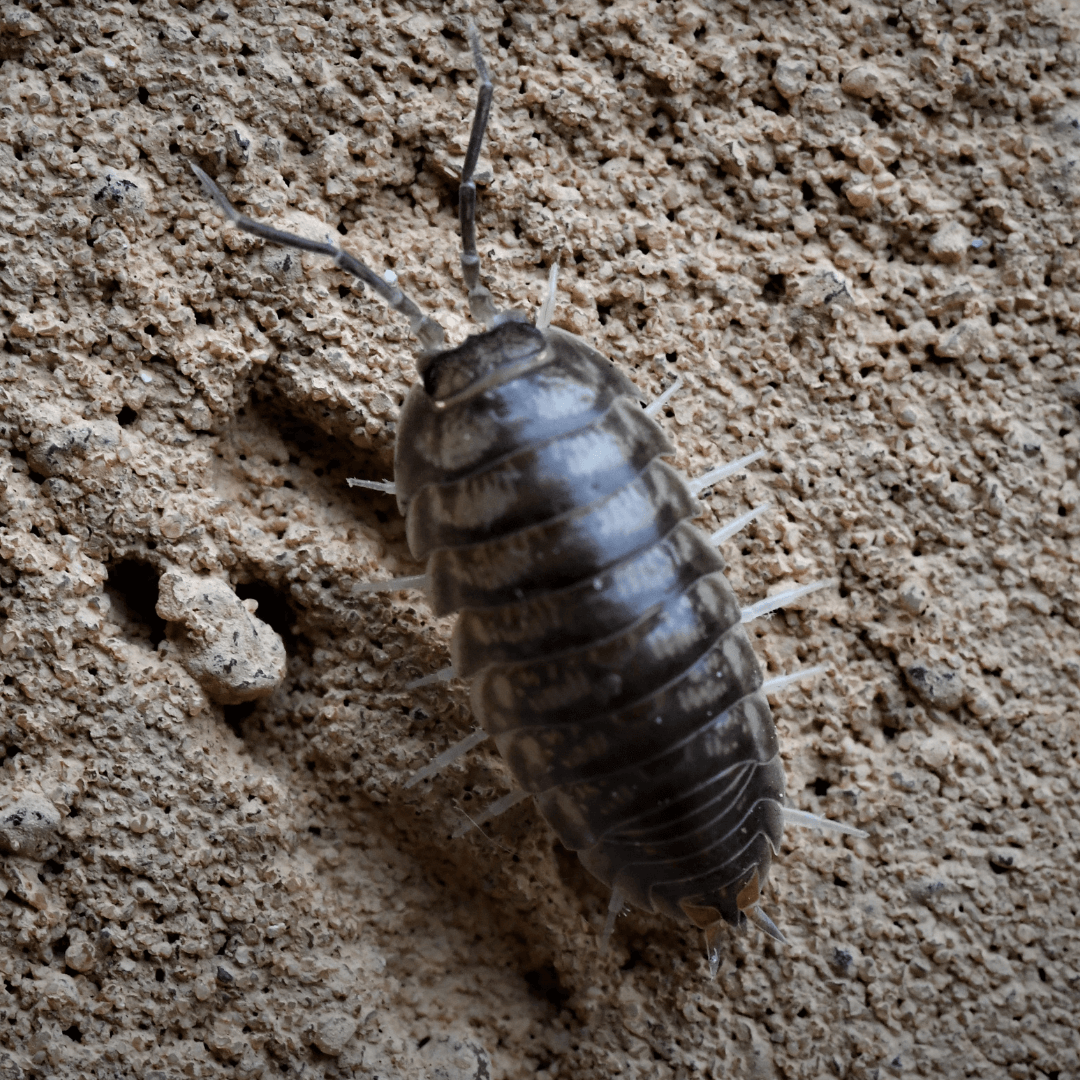
Kids love to dig and what’s more exciting than finding a Roly Poly? Supply the kids with shovels, magnifying glasses and bug containers and let them go to work. I purchased all of my supplies at the Dollar Store making it very reasonably priced. You could use recycled food containers and spoons found in your kitchen if you don’t have access to these materials.
Here are some fun facts about roly polies that you may not know:
- They are found in most regions of the world and live in moist dark areas, under rocks, bark, leaves and logs.
- They like to eat decaying plants or other vegetation. (What other creatures eat this type of food? Extend your science activity by setting out a fresh carrot with a rotten carrot and see which one the Pill Bugs will eat.)
- Pill bugs have three body parts, seven pairs of legs, two antennae and two eyes. They are ¼ to ½ of an inch in length and can roll into a ball when frightened. These are great facts to discover with your children. Bring out the magnifying glasses!
- Pill bugs are actually not bugs, they are crustaceans. They are related to shrimp and crayfish, breathe with gills, and need humidity or moisture to survive. You can explore other types of crustaceans with children as well.
- The pill bug goes through two stages of development: egg and adult. The female can lay up to 100 eggs, which are held in a pouch (like a kangaroo). After about two months as an egg, they hatch and emerge as a tiny adult. They grow by molting (shedding their skin) and can live up to three years. Good information to research with children. Try checking out a book about pill bugs.
You can explore habitats of all kinds of animals, bugs, or crustaceans. Try creating a roly poly habitat with children out of found materials. However, you also want to help children respect animals and their natural habitats. So make sure they know you ALWAYS put animals back in their natural habitats at the end of every day.
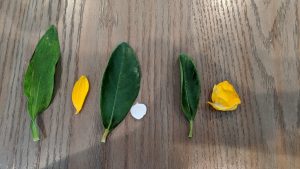
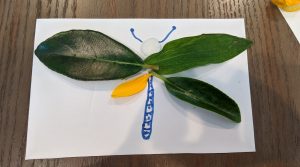
Explore your neighborhood or back yard if available and find leaf or petals, then once inside have fun with these 5 activities
- SORTING: Ask the children to sort the leaves and petals any way they want and then explain to the other children what their sorting rule was. (For example, one child might sort by color while another sorts by shape).
- COUNTING: Count the leaves and petals that each child has collected, or the number of leaves or petals in each category from the sorting activity above.
- RUBBING: Create leaf rubbing by placing paper on top of a leaf with the vein side up and using the side of a peeled crayon to rub over the leaf onto the paper and reveal the vein pattern.
- PRESSING: Have children arrange leaves and petals on a piece of waxed paper and place another sheet of waxed paper over the top. A grown up can use an iron to press the waxed paper pieces together sealing the leaves inside. (Clear contact paper could also be used).
- CREATING: Children can glue leaves and petals to paper in arrangements that look like insects, animals, birds, or whatever they imagine. They can use markers to add details to their creation.
Do you have a fence in your yard?
If you do, you can give children yarn, fabric scraps, streamers, paper strips, and more, to create a weaving in the fence. After children have a chance to explore and get the idea about how to weave the material in the fence openings, you can encourage them to create patterns or scenes.
Goal: Children will refine fine motor skills while creating a pattern through weaving.


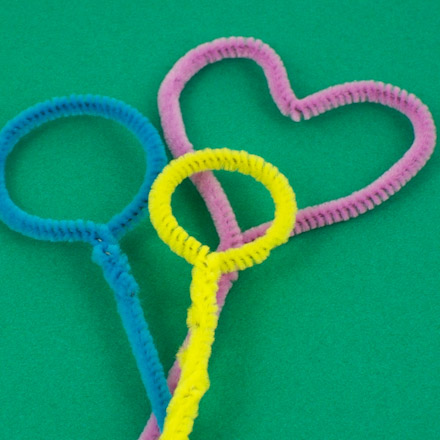
Make homemade bubble solution with liquid dish soap and water. Start with a cup of water and a tablespoon or two of dish soap (Dawn seems to be the most popular choice for making bubble solution) and mix. You can add a little corn syrup or dissolve some sugar in the water to make the bubbles last longer. You can use wands you already have or children can create their own with pipe cleaners or flexible wire.
Goal: Children will experiment with creating bubbles that are different sizes and observe changes from the bubble solution to bubbles to bubbles as they pop.
