
Looking for an interesting textural addition to your play dough? Add birdseed and try this no-cook recipe, written to use with young children. Note: Skip the food coloring you might normally use to allow children to really notice the distinct colors of each type of seed.
- 2 ½ cups All-Purpose Flour
- ¾ cup Salt
- 2 tablespoons Cream Of Tartar
- ¼ cup Vegetable Oil
- 1 ¼ cups Boiling Water
- 2 cups birdseed
- Help children measure the dry ingredients.
- In a large bowl, have each child add an ingredient then take turns whisking together the flour, salt and cream of tartar.
- Adult adds the vegetable oil and boiling water, and using a spatula, mix until combined.
- Once it’s cool enough to handle, bring the children back together to knead the playdough in the bowl until it becomes smooth, about 2 minutes. (It may appear wet at first but will dry as you knead and the water gets fully absorbed.)
- Form the dough into a “bowl” and add birdseed to the center. Help children incorporate the seeds into the dough.
The progression in abilities from first motor reflexes to intentional movement, from rolling to sitting to crawling, walking, running, jumping, and more. This also includes fine motor skills, the ability to control the small muscles in the hands and fingers to pinch clay, roll dough, and hold tools to make marks.
These Milestones from the CDC offer some clues to a child’s development:
2 Month Physical Milestones:
Open hands briefly; holds head up when on tummy; moves both arms and legs
4 Month Physical Milestones:
Holds head steady without support when being held; holds a toy when it is put in their hand; uses their arm to swing at toys; brings hand to mouth; pushes onto elbows/forearms when on tummy
6 Month Physical Milestones:
Rolls from tummy to back; pushes up with straight arms when on tummy; leans on hands to support self while sitting
9 Month Milestones:
Gets into a sitting position by themself; moves things from one hand to the other; uses fingers to “rake” food towards themself; sits without support
12 Month Milestones:
Pulls up to stand; walks while holding furniture; drinks from a cup without a lid, held by an adult; picks things up between thumb and pointer finger, like small pieces of food
15 Month Milestones:
Take a few steps independently; uses fingers to feed self some food
18 Month Milestones:
Walks without holding on to anyone or anything; scribbles; drinks from a cup without a lid and may spill sometimes; feeds self with fingers; tries to use a spoon; climbs on and off a couch or chair without help
2-Year-Old Milestones:
Kicks a ball; runs; walks (not climbs) up a few stairs with or without help; eats with a spoon
30 Month Milestones:
Uses hands to twist things, like unscrewing a jar or opening a doorknob; takes off some clothing independently, like loose pants or a jacket; jumps off the ground with both feet; turns book pages one at a time when being read to
3-Year-Old Milestones:
Strings items together, like large beads or macaroni; puts on some clothes independently, like loose pants or a jacket; uses a fork
4-Year-Old Milestones:
Catches a large ball most of the time; serves self some food or water, with adult supervision; unbuttons some buttons; holds crayons or pencil between fingers and thumb (not in fist)
5-Year-Old Milestones:
Buttons some buttons; hops on one foot
Exploring textures is an excellent activity for toddlers.
This simple activity encourages curiosity, the development of hand-eye coordination, and language development in describing textures. You will need a few materials to get started.
- An empty tissue box works best, but any box will work; just cut a hole in the top.
- Place a variety of objects inside the box. For example, shiny ribbons, scarfs, feathers, shells, rocks, bark etc.
- Encourage toddlers to explore the box’s content by using their senses. Model what this looks like, rub the fabric on your hand, smell it, rub two items together, and be sure to describe what you feel and see.
Have fun and alternate the material in the box to explore more textures!

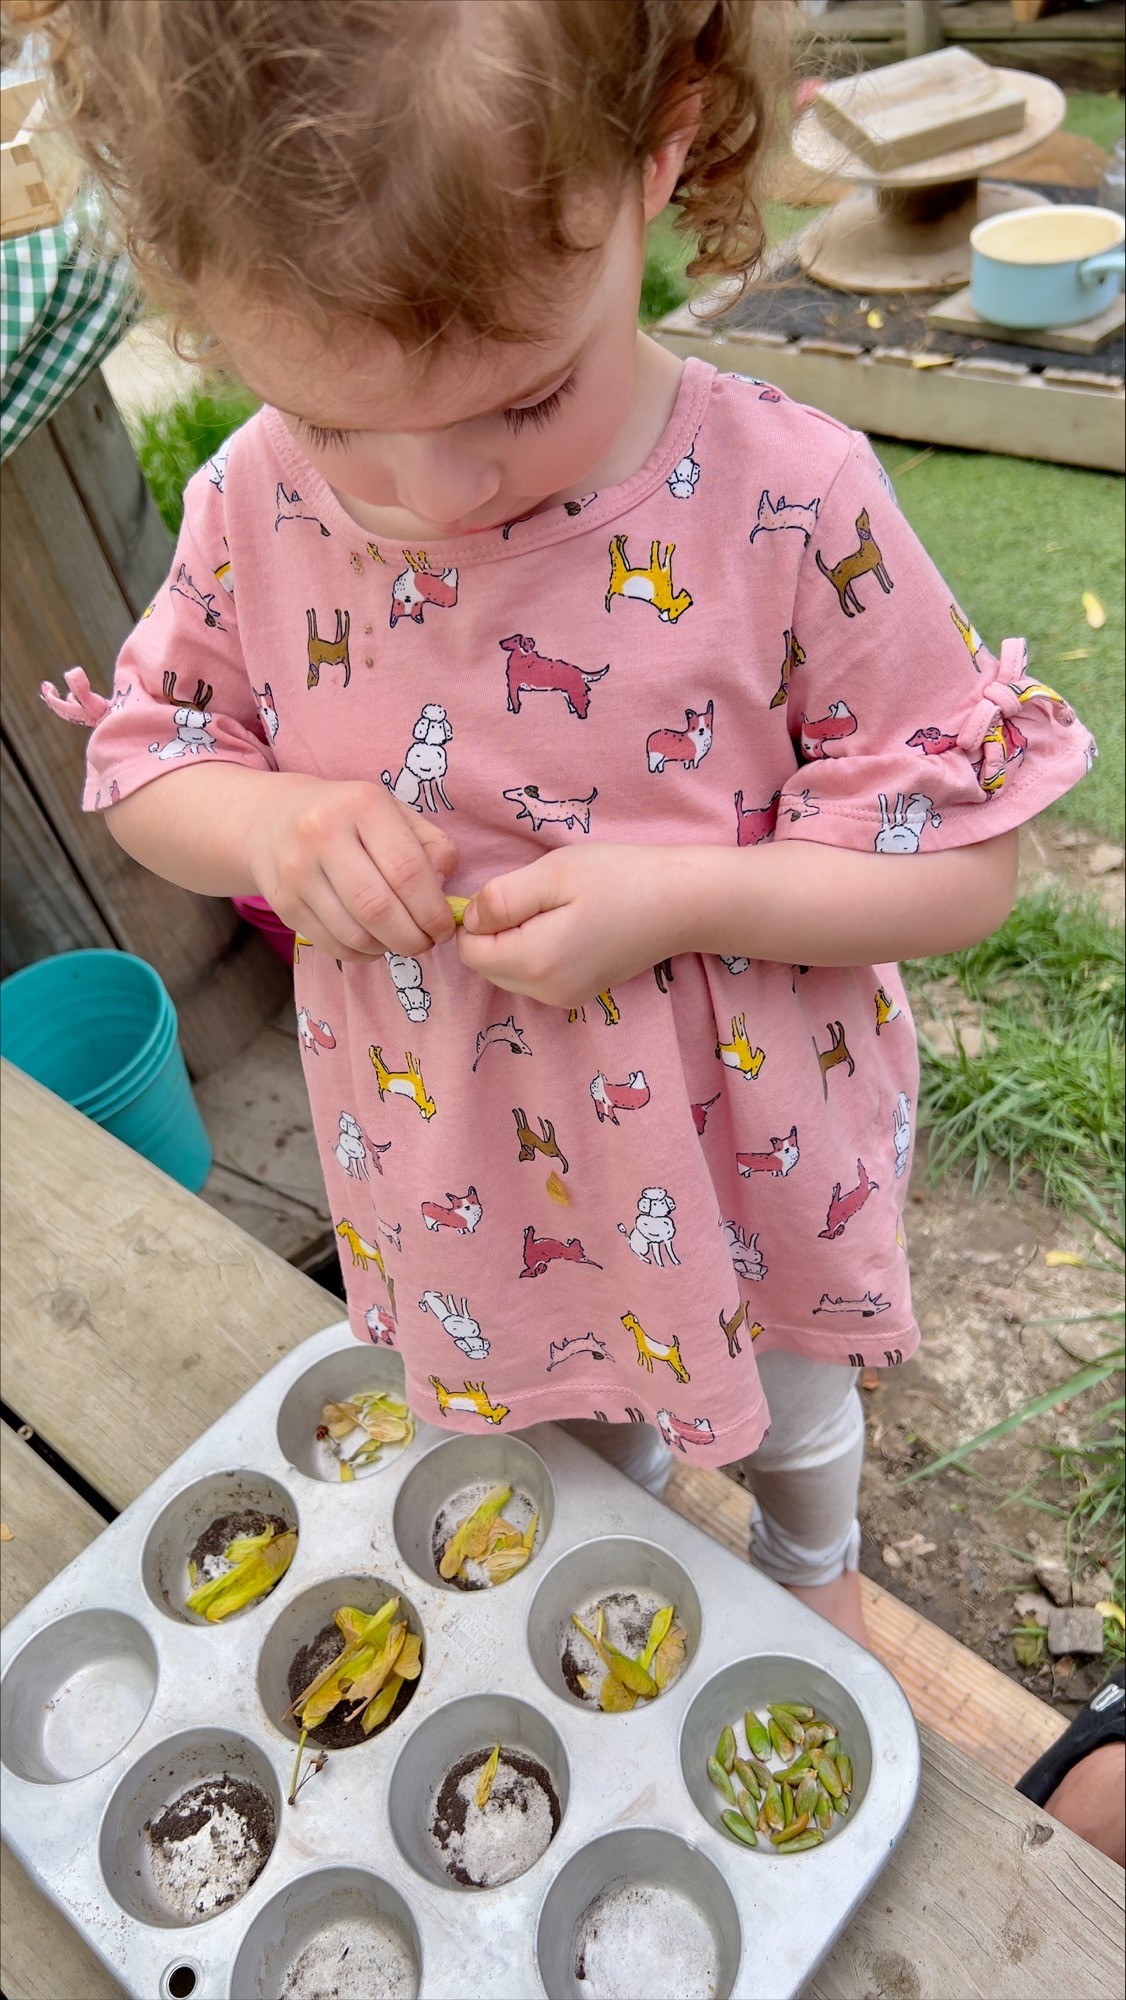
Maple samaras or helicopters are winged seeds of maple trees; because of their shape, it is fun to see them fall and twirl in the air. Stephanie Mckinstry of My Caterpillar Clubhouse shares fun ways to utilize these seeds in your program.
Start by collecting the leaves, having children gather as many leaves as possible, and then setting them out so they can explore.
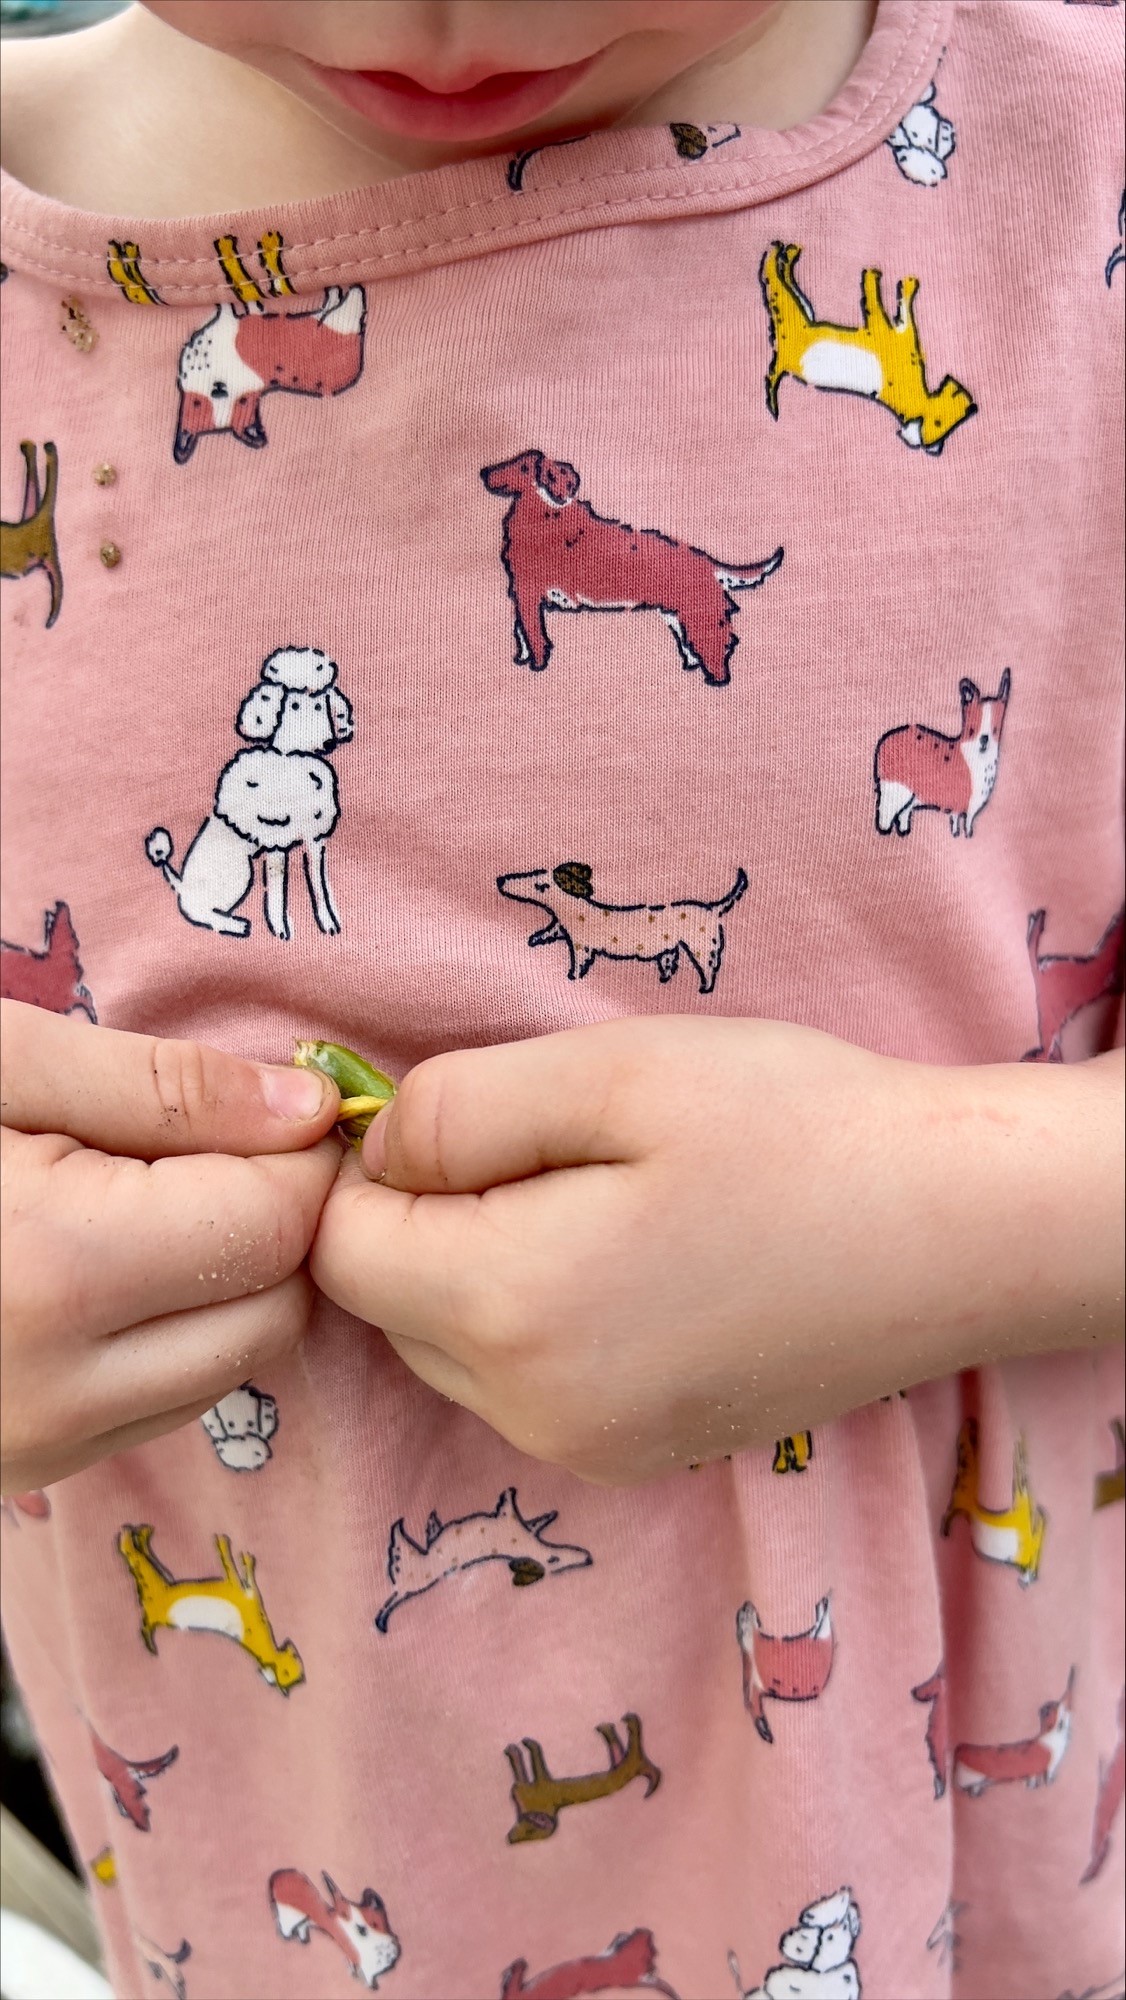
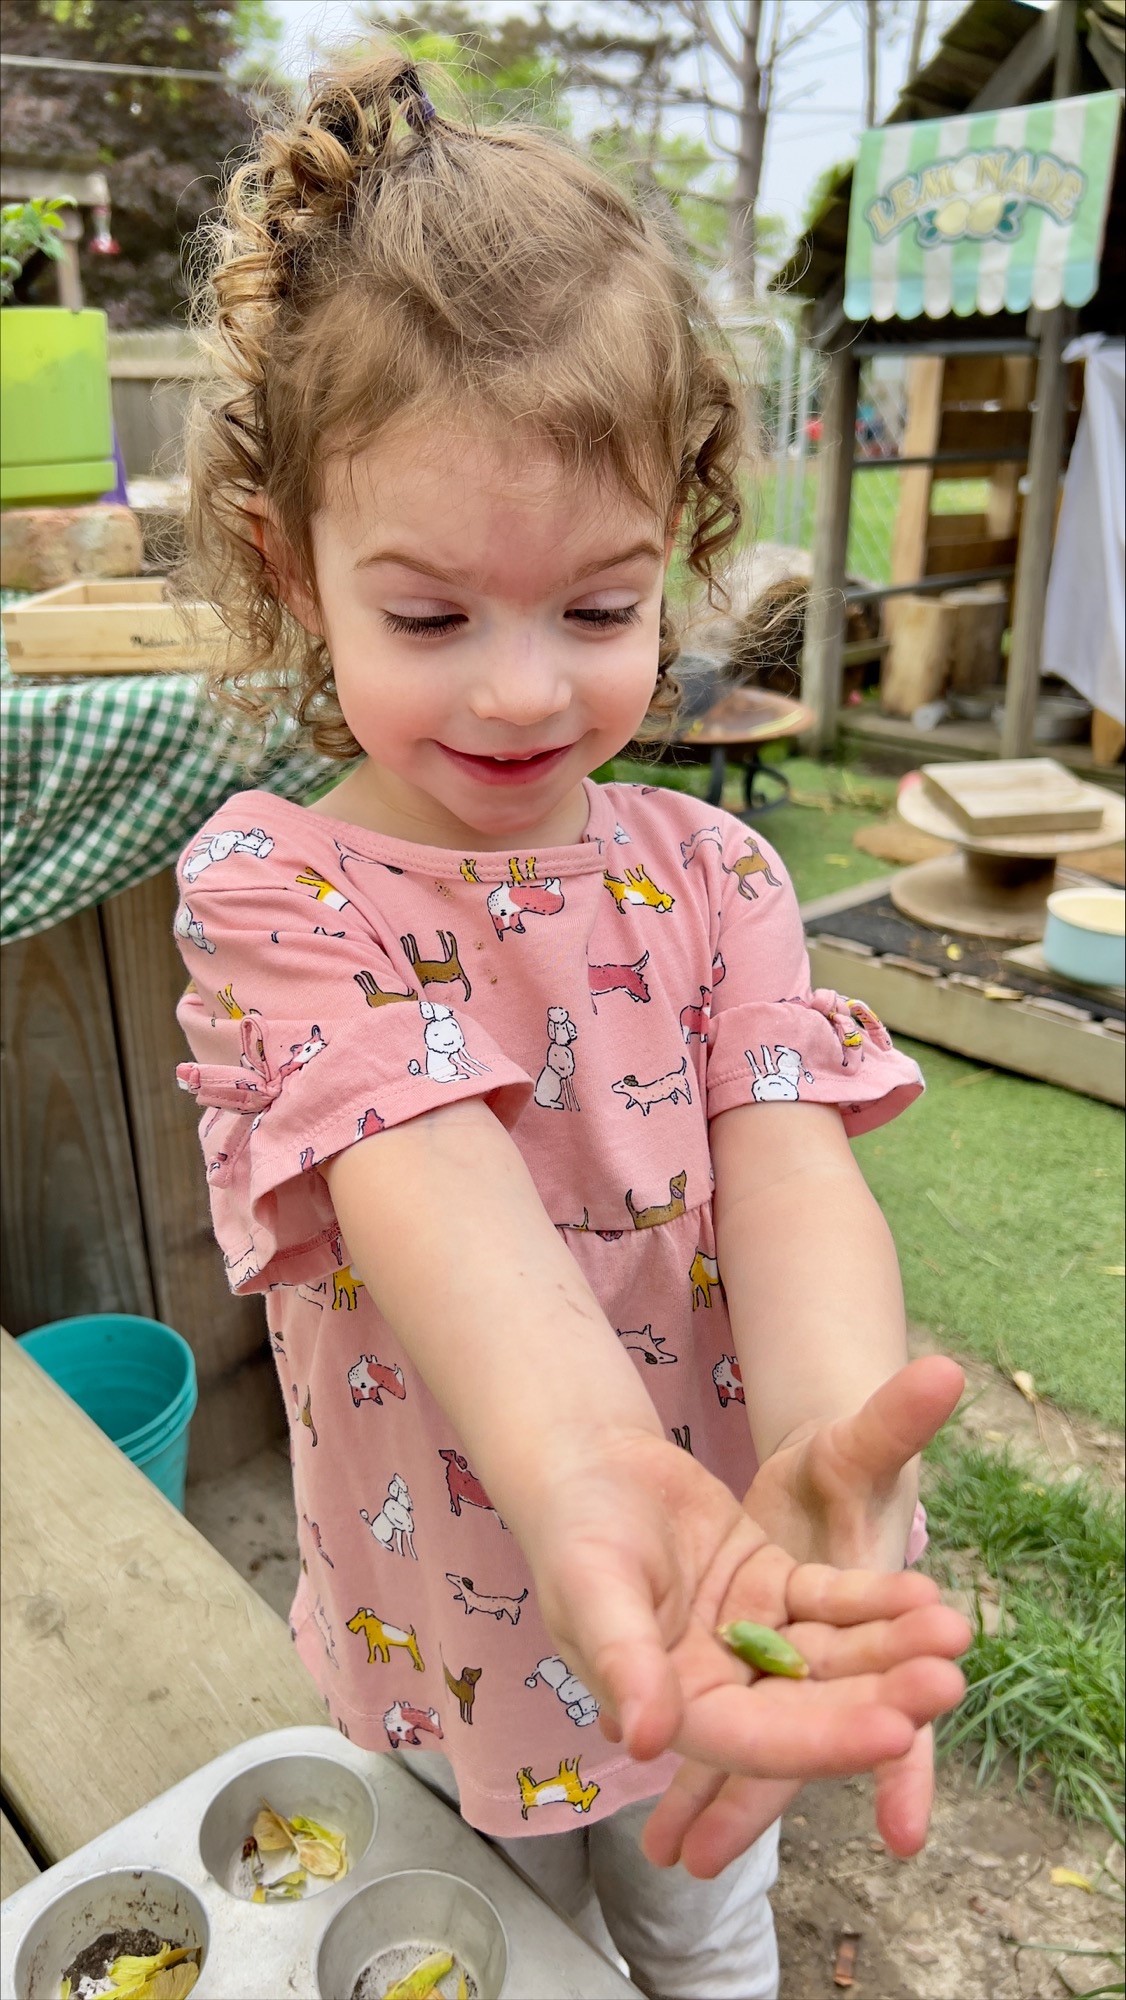
- Encourage children to toss them to see them twirl or to separate the leaf from the seed.
- Opening the seed and observing what they see, feel, and hear. You can also add a muffin tin or container to separate the leaf from the seed.
- They are a great addition to the mud kitchen, or incorporate them in your indoor dramatic play area.
- Use the seeds to count or create patterns.
- Once dried, they are an excellent collage material and can easily be glued or painted.
Get creative and encourage the kids to use their imagination!
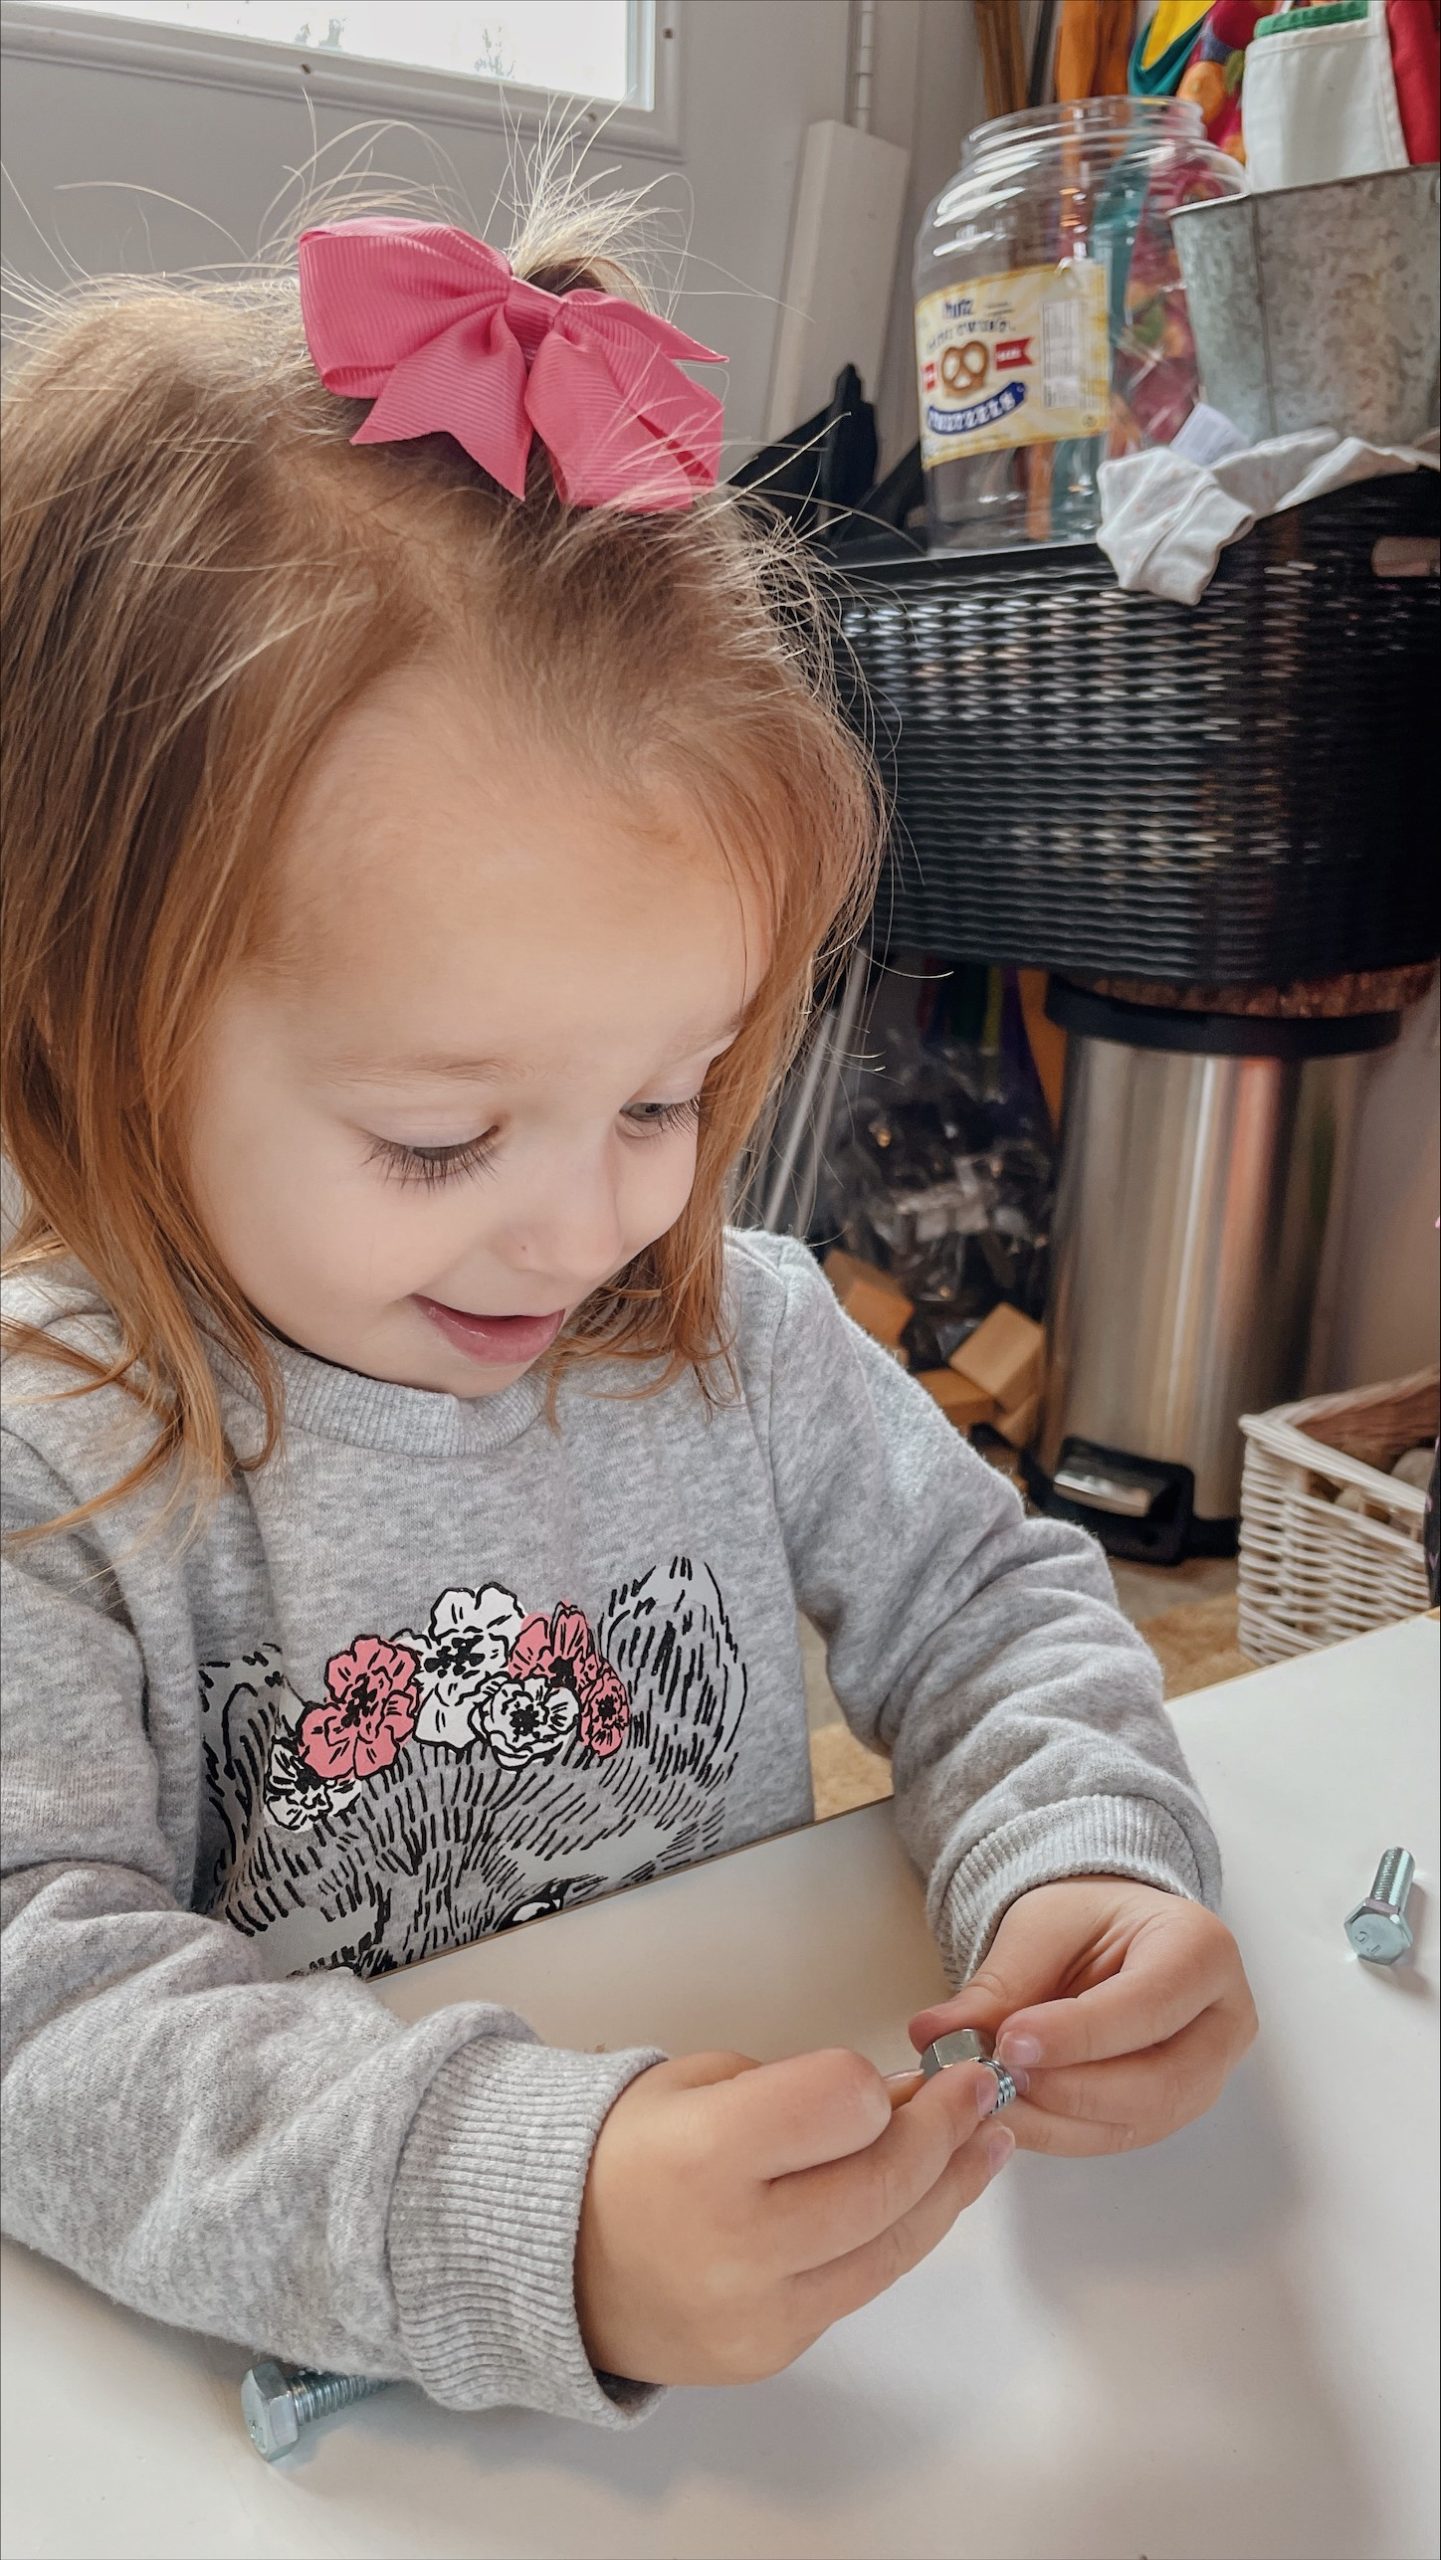
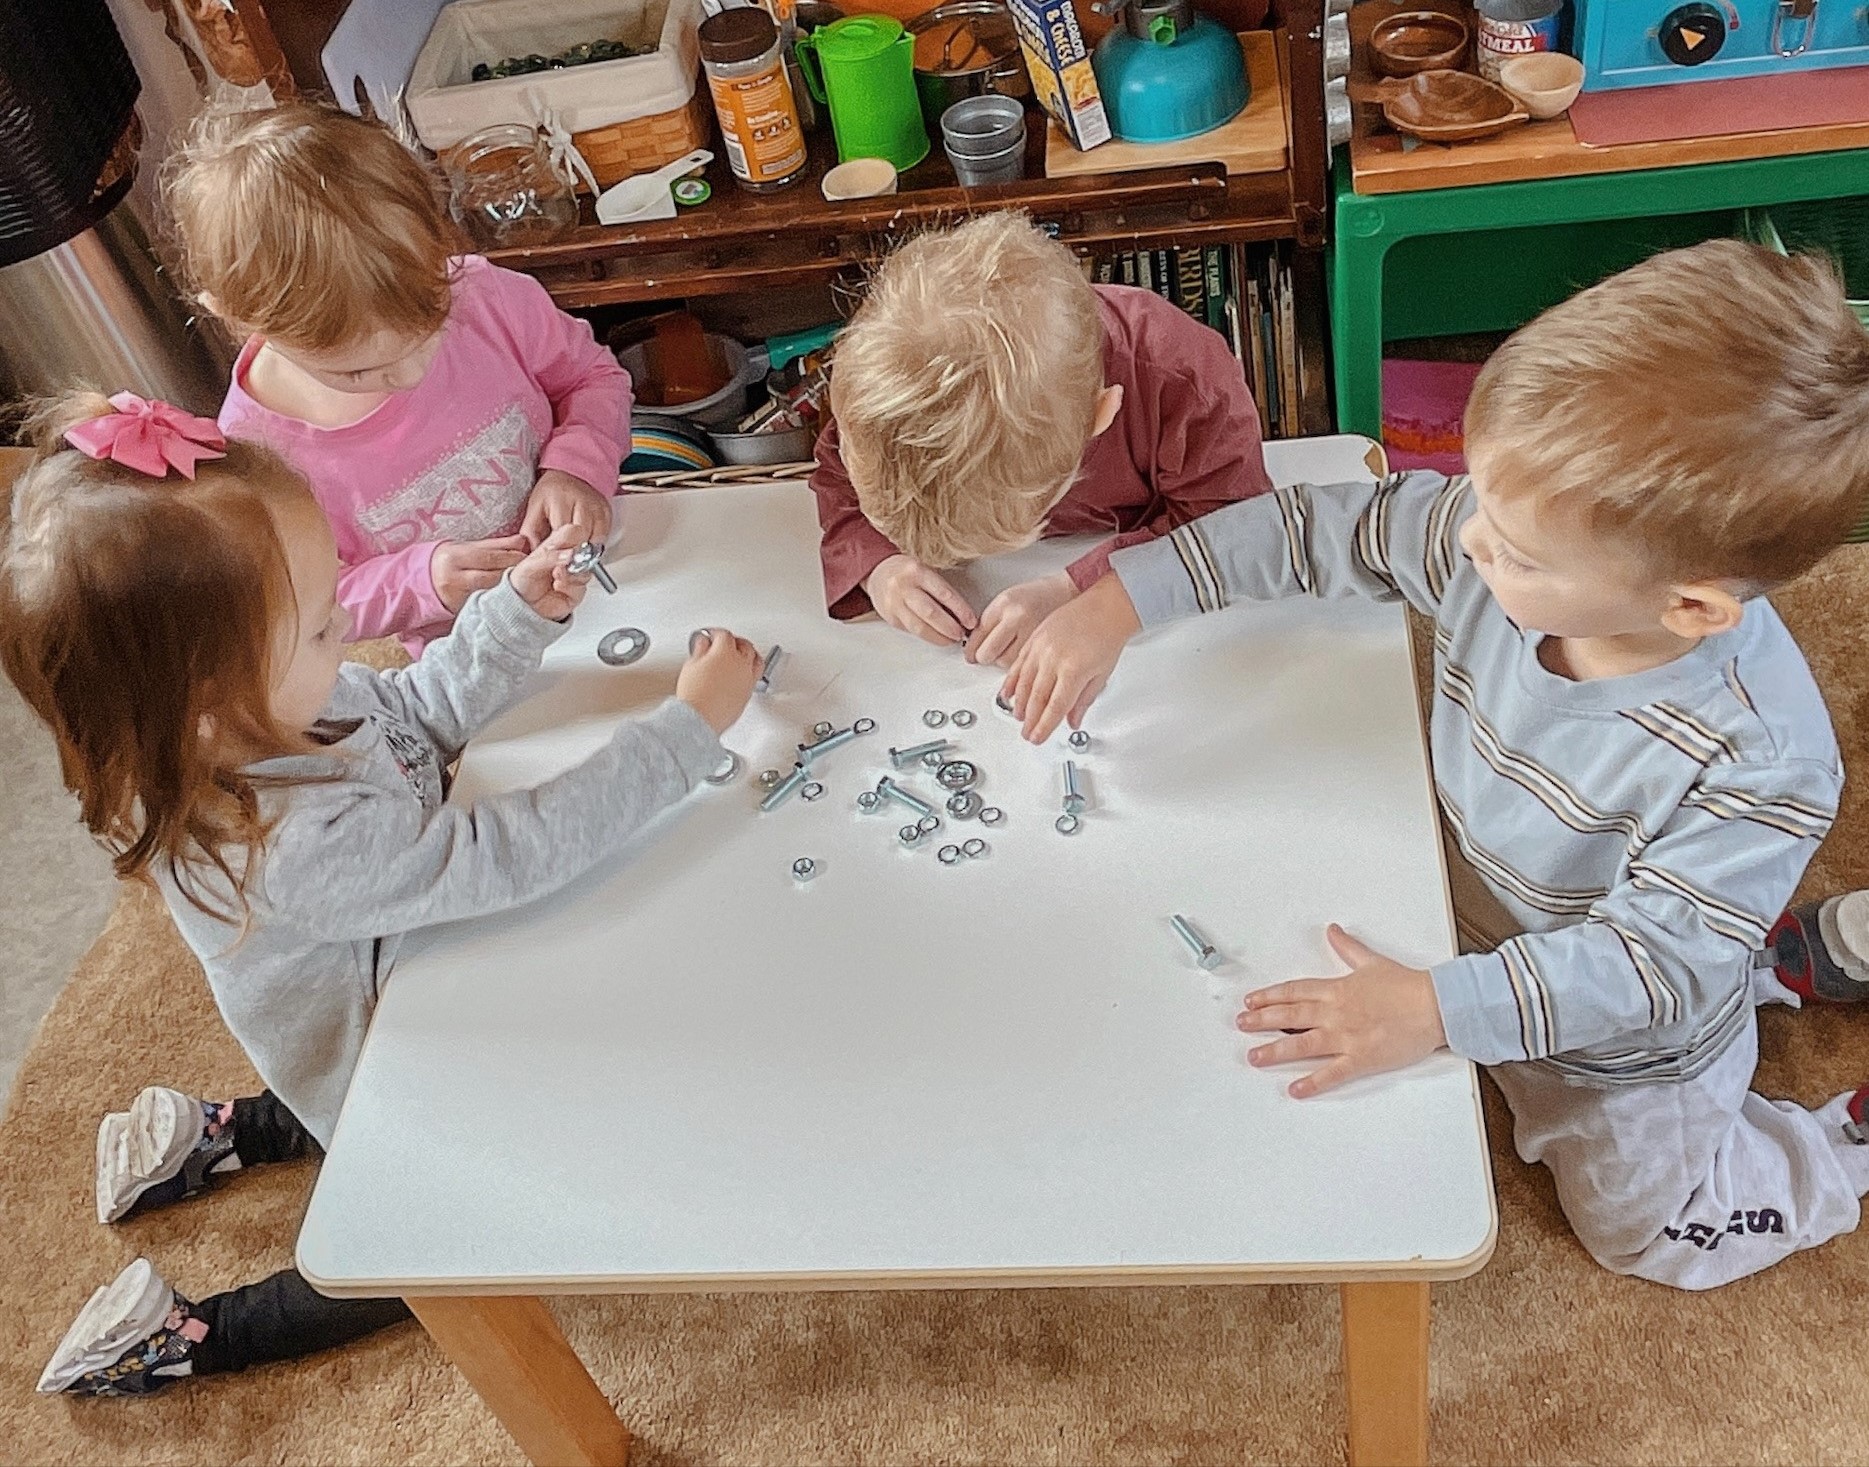
Playing with Nuts and bolts
Nuts and bolts may seem like a simple activity, but it provides children with many great opportunities to explore and build on their skills.
- Fine motor skills.
* Hand and eye coordination as children grasp and pick their selection of bolts and then attach the nuts and bolts.
* Twisting, pinching, rotating give fingers muscles a workout, skills needed later for writing
- Math skills
* Giving children a variety of bolts and nuts allows them the opportunity to sort, match, categorize as they make a selection and plan how to use them.
* Create patterns, count and describing of different attributes including size
- Language skills
* Back and forth conversation as they work with other children
* Exploration and explanation of their creation and learning to others
- Creativity
* So much creativity as children came up with new ways to create and play, testing their ideas.
- Sensory experience
* Different textures, weights, sizes, and materials can be incorporated, experimenting with touch and sound.

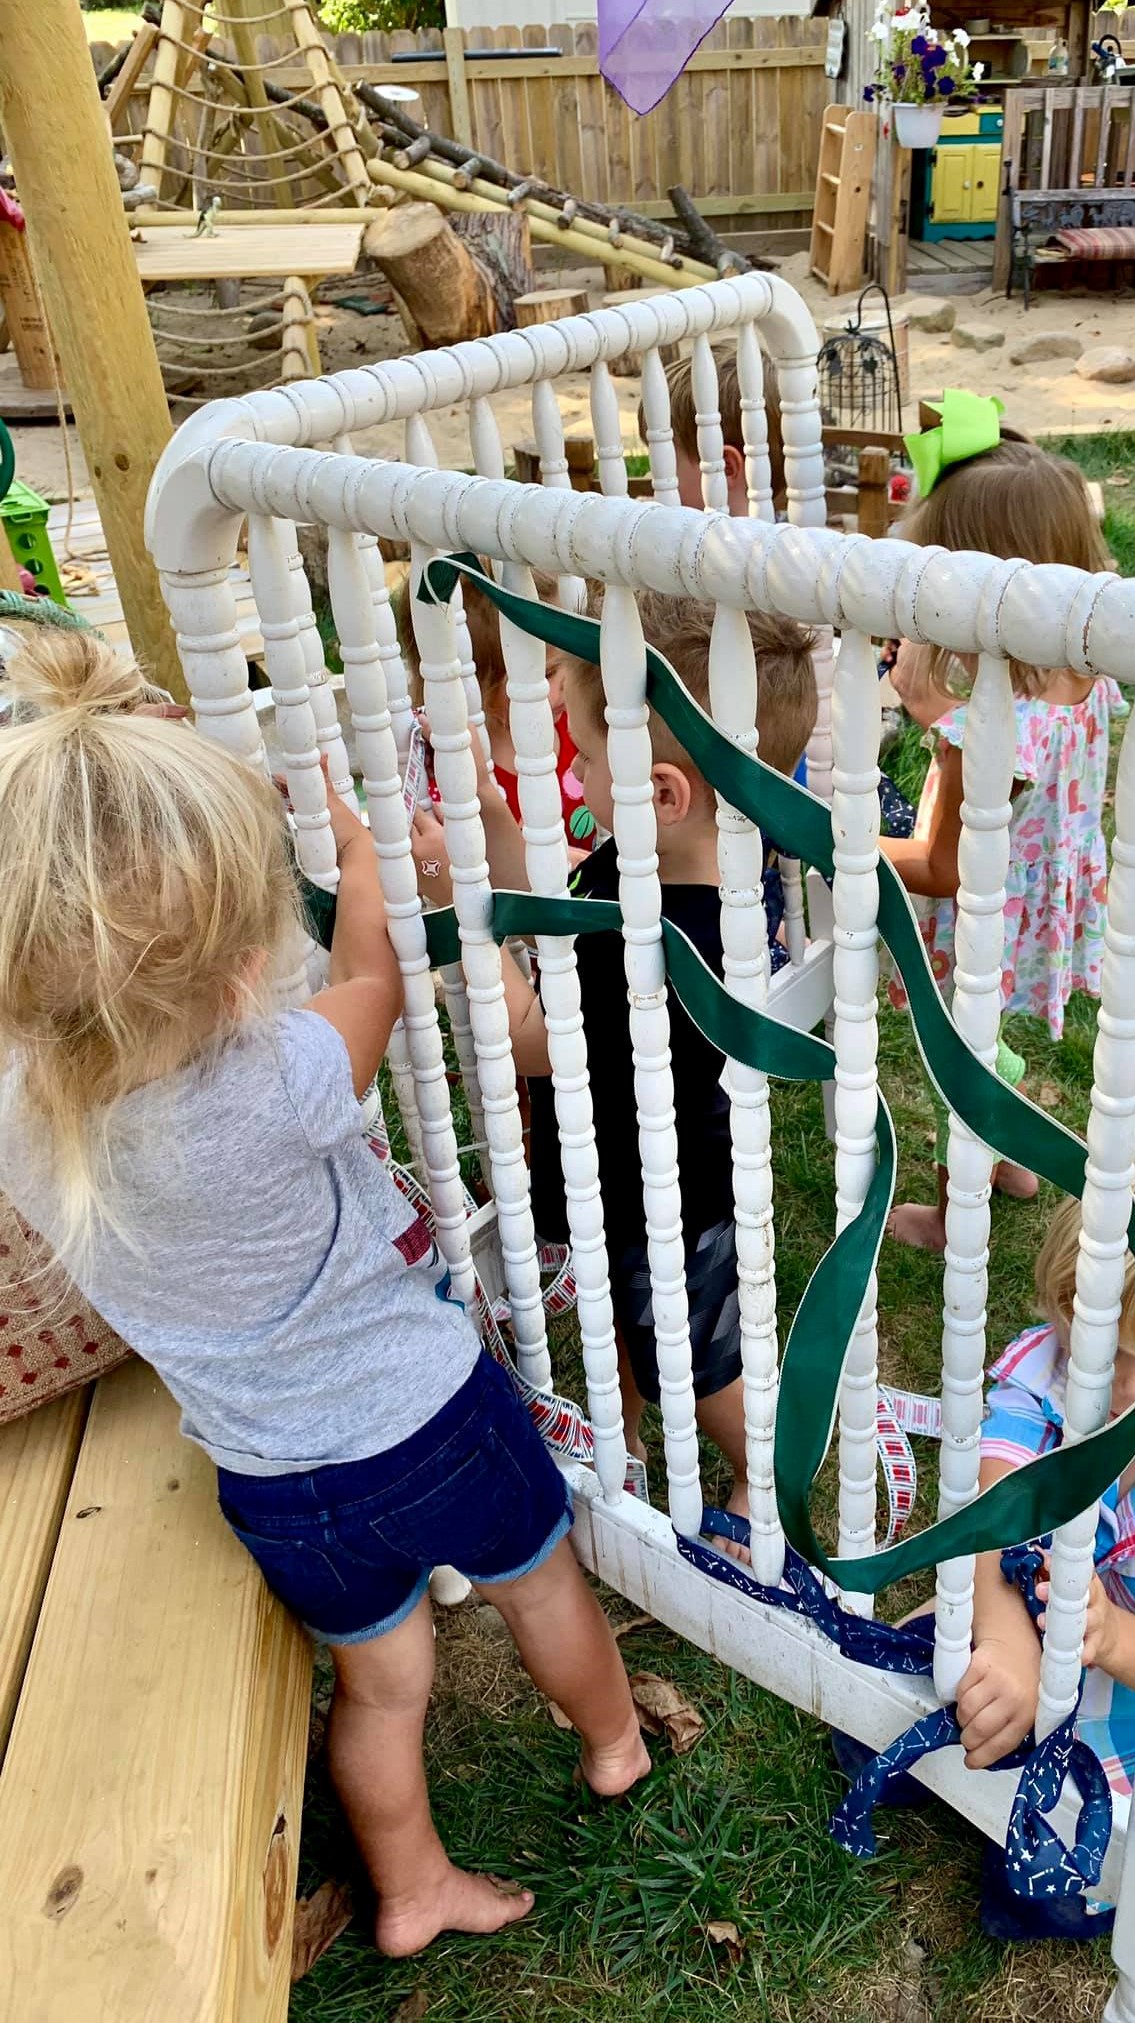
Weaving is a fun, inexpensive activity that aids in developing large and fine motor skills. Focusing on strengthening the thumb and forefinger as children hold on to the ribbon or string and push and pull, coordinating their movement.
The benefits of weaving go beyond just motor development; weaving aids in developing
- Hand & Eye Coordination: encourage children to use the visual information received to coordinate the movement of the hands.
- Concentration: it isn’t an uncommon sight to see children taking their time and concentrate when they weave. There is often silence as they carefully move the material between the rods.
- Creativity: children can get very creative when it comes to weaving. There is no right or wrong way of doing it. They might choose to use different objects or create patterns.
- Understanding patterns: as children choose their ribbon and movement, they will explore patterns. Essential in pre-reading skills and numerical development.
There are several ways to include this activity in your program; Stephanie McKinstry owner of My Caterpillar Clubhouse shares how she incorporates weaving in her program.
” Using a Jenny Lind bed I found down an alley for free. I took out all the hardware and zip-tied the bottom, middle and top together, standing the frames in a V shape, allowing the legs to stand on their own”.
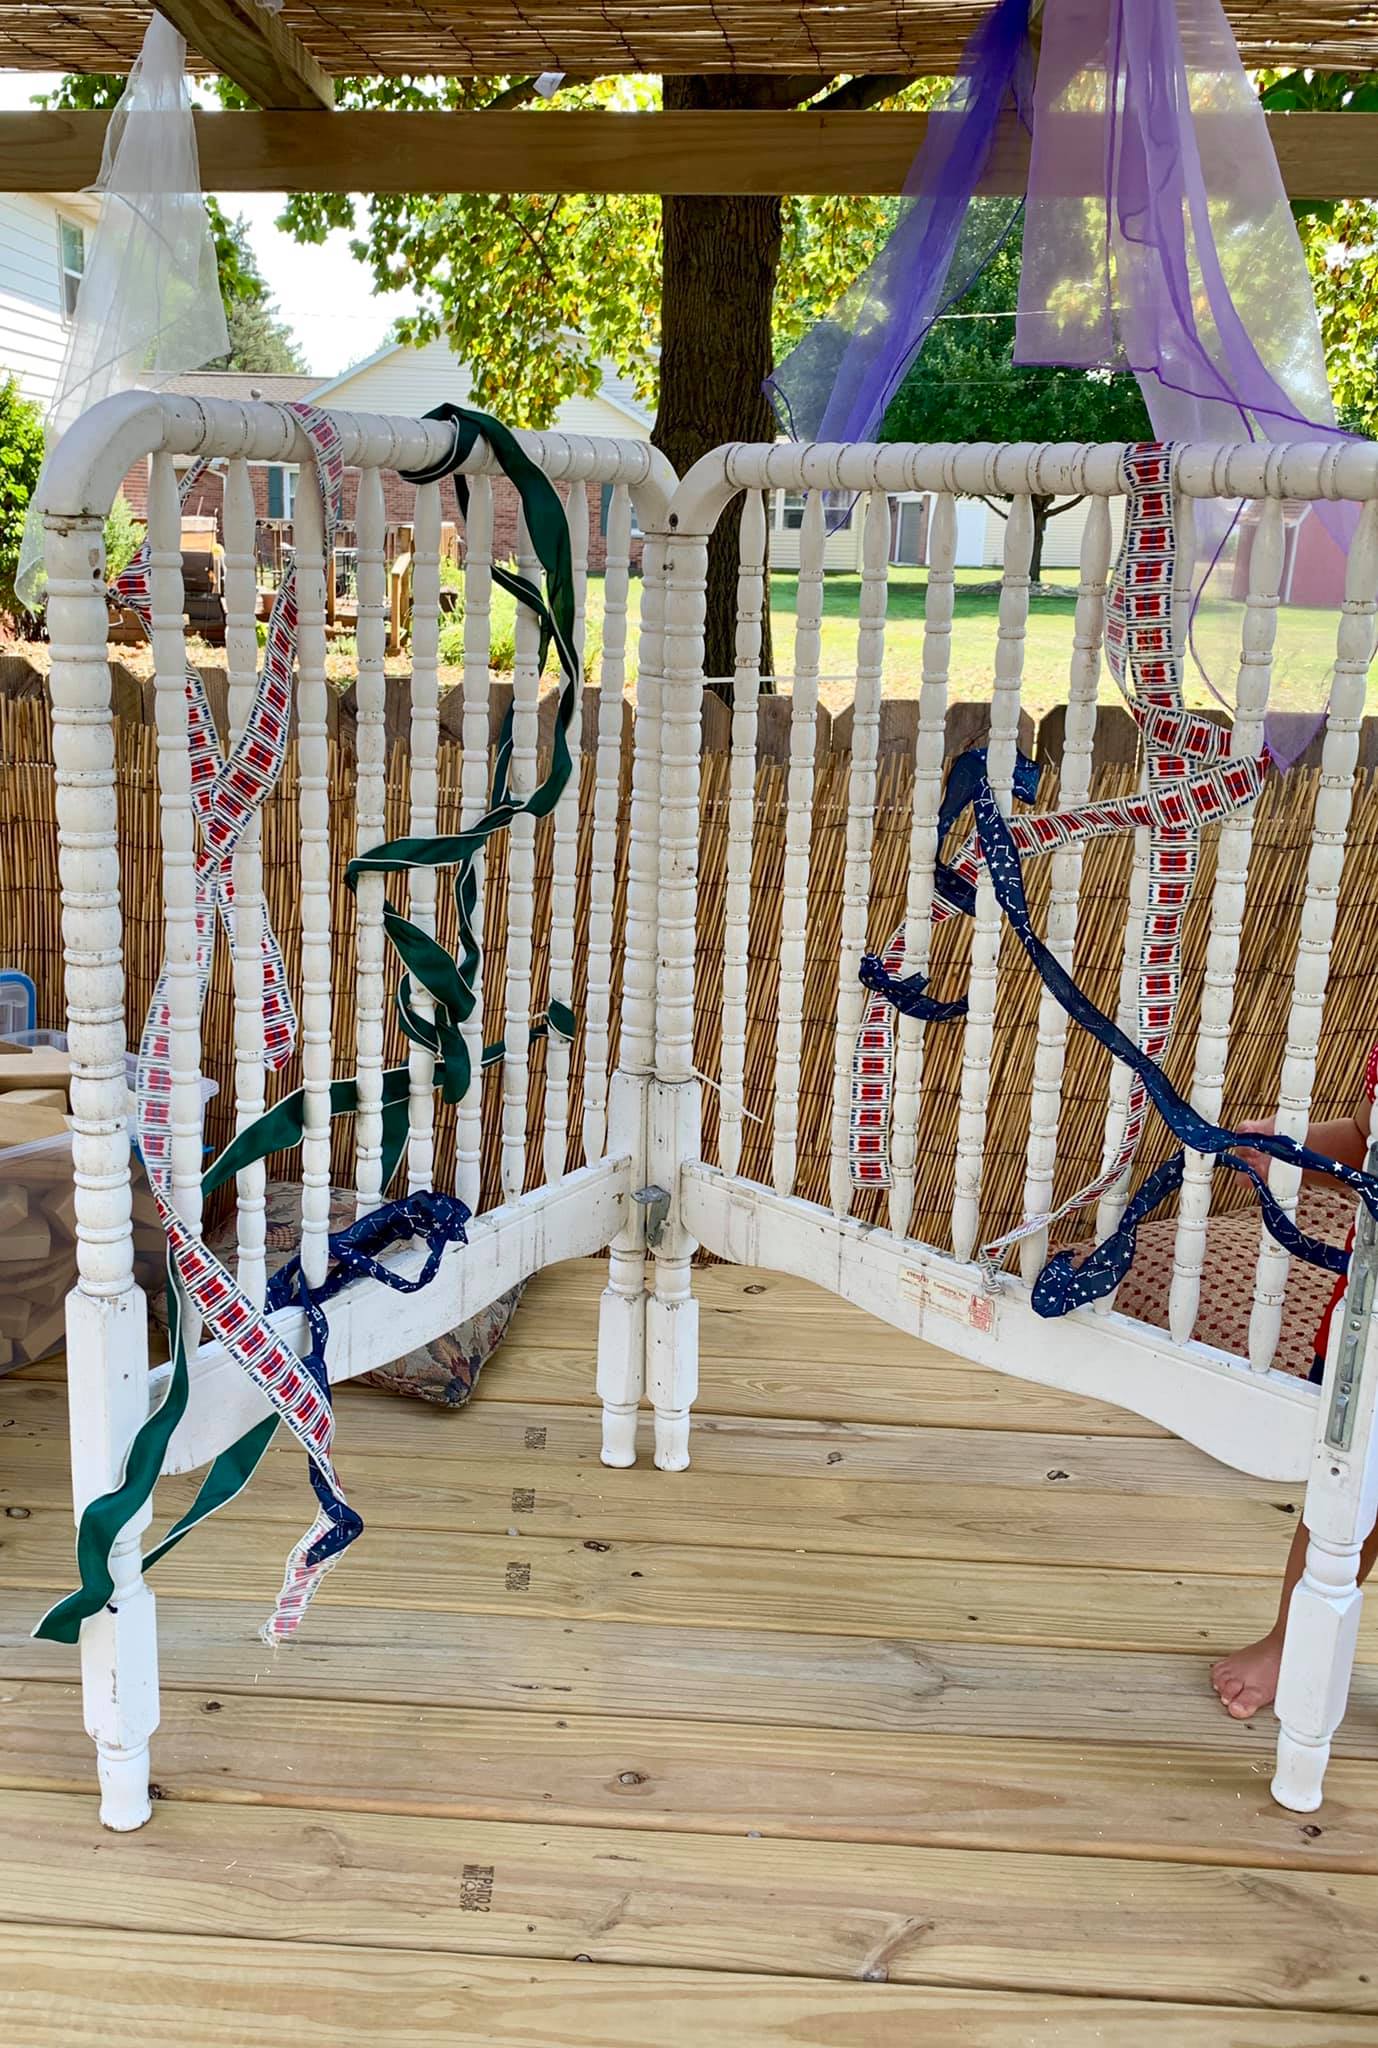
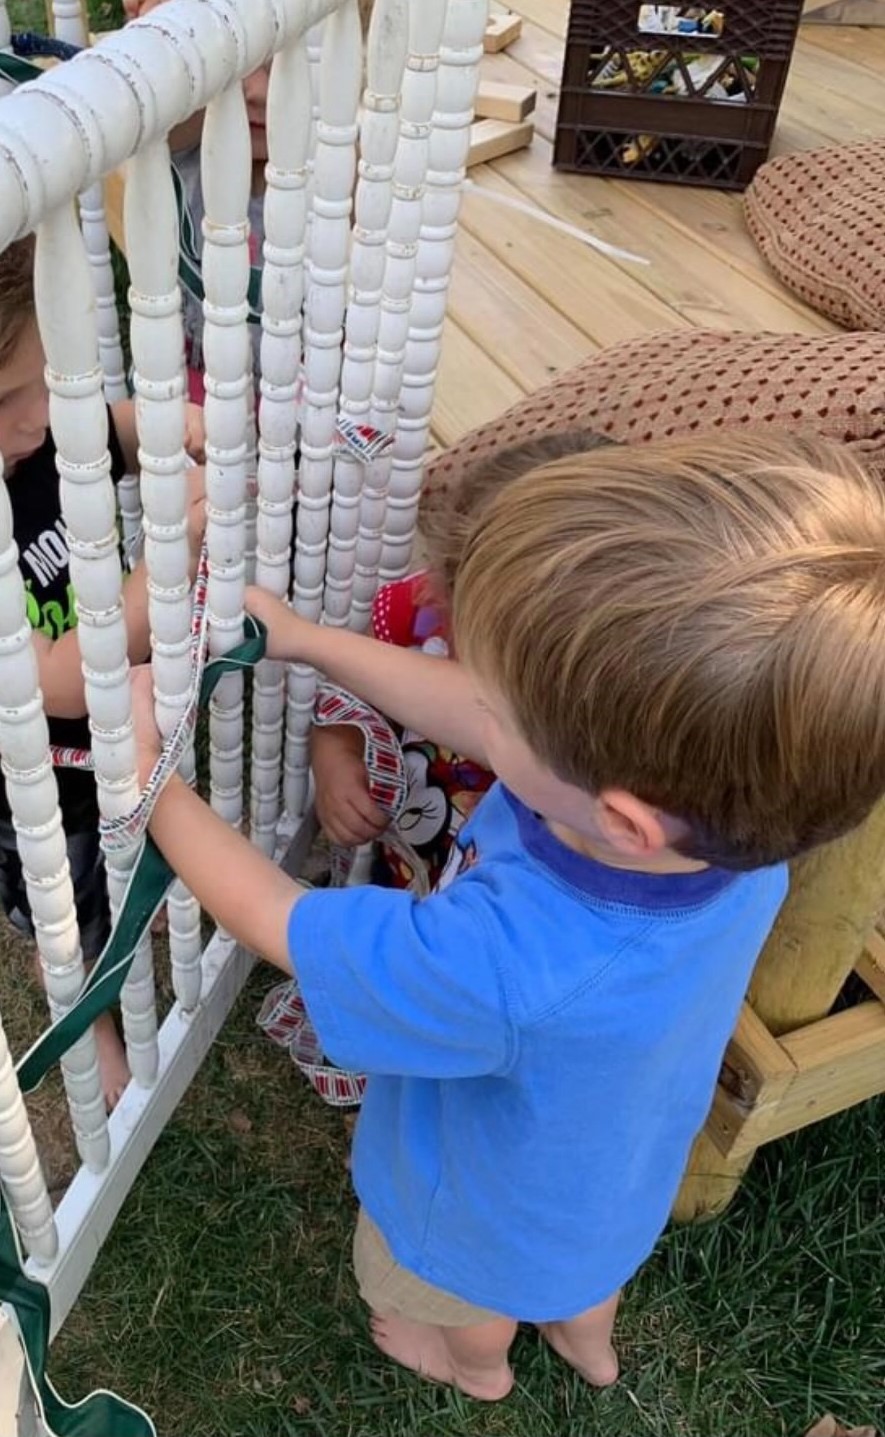
You can also try this with a fence, adding a very decorative touch to your outdoor space.
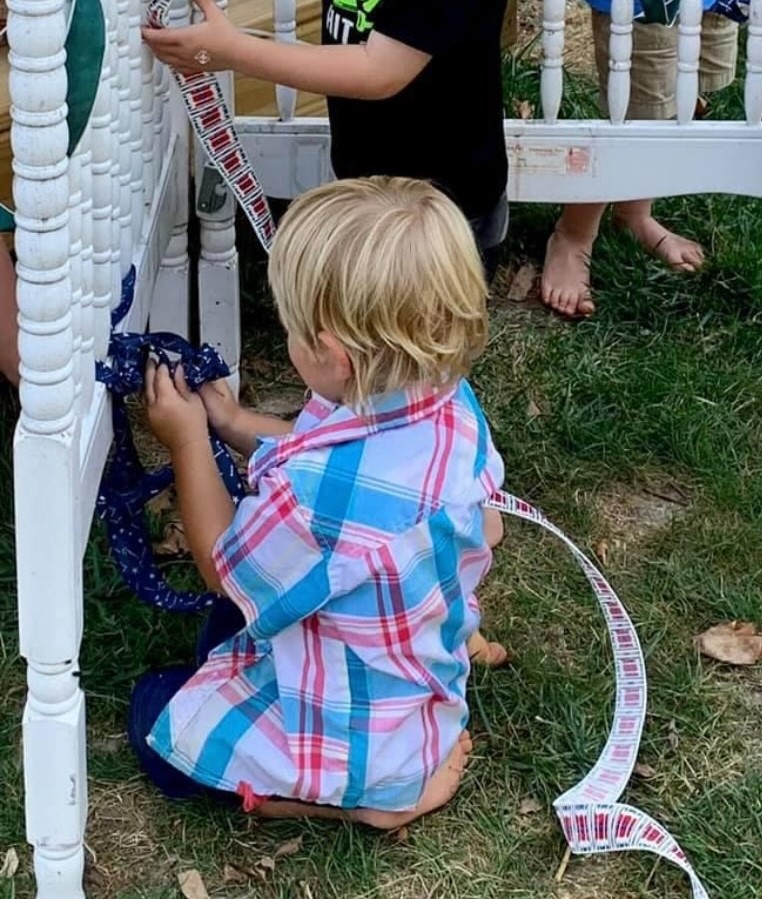
If you have limited space in your program, you can use a laundry basket, a milk crate, or some plastic fencing.
Have you tried weaving in your program? Have a fun activity? Share it with us info@townsquare.org
Welcome Spring!
Let’s take full advantage of the warm weather and have some safe fun outside!
Incorporating arts into the outdoors is a great way to encourage creativity, exploration, self-expression, and mobility skills development, all while enjoying some sun!
Sharing a simple recipe for outdoor chalk paint!
Printer friendly – Chalk Paint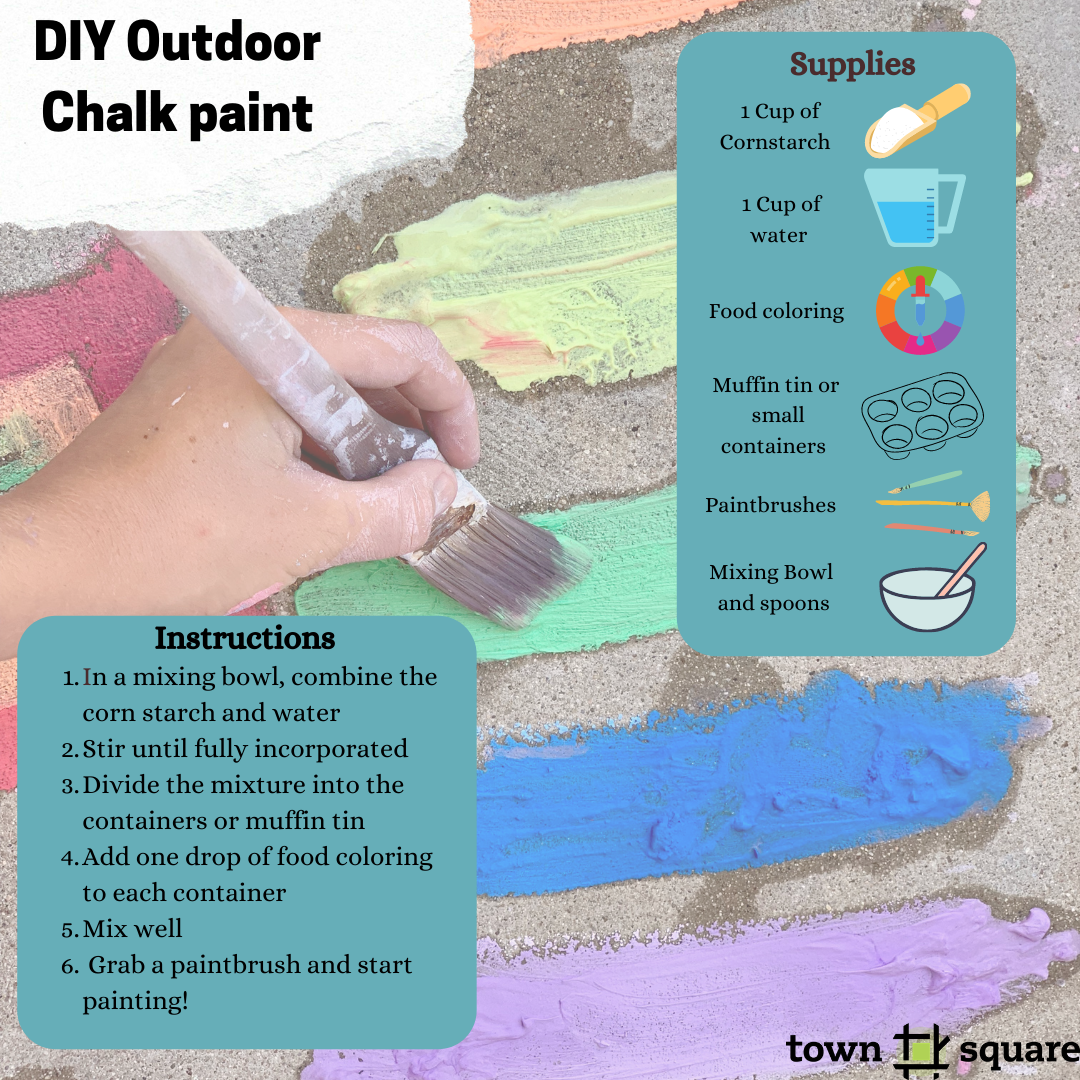
![]()
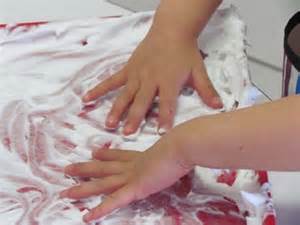
Clear a table or countertop and give the children smocks or aprons to wear. Spray a small mound of shaving cream on the surface in front of each child to spread around and make marks with their fingers. Talk to the children about how the shaving cream feels on their hands, how it smells, and how they can spread it around using their hands.
Goal: Children will use their senses and make marks using their fingers.

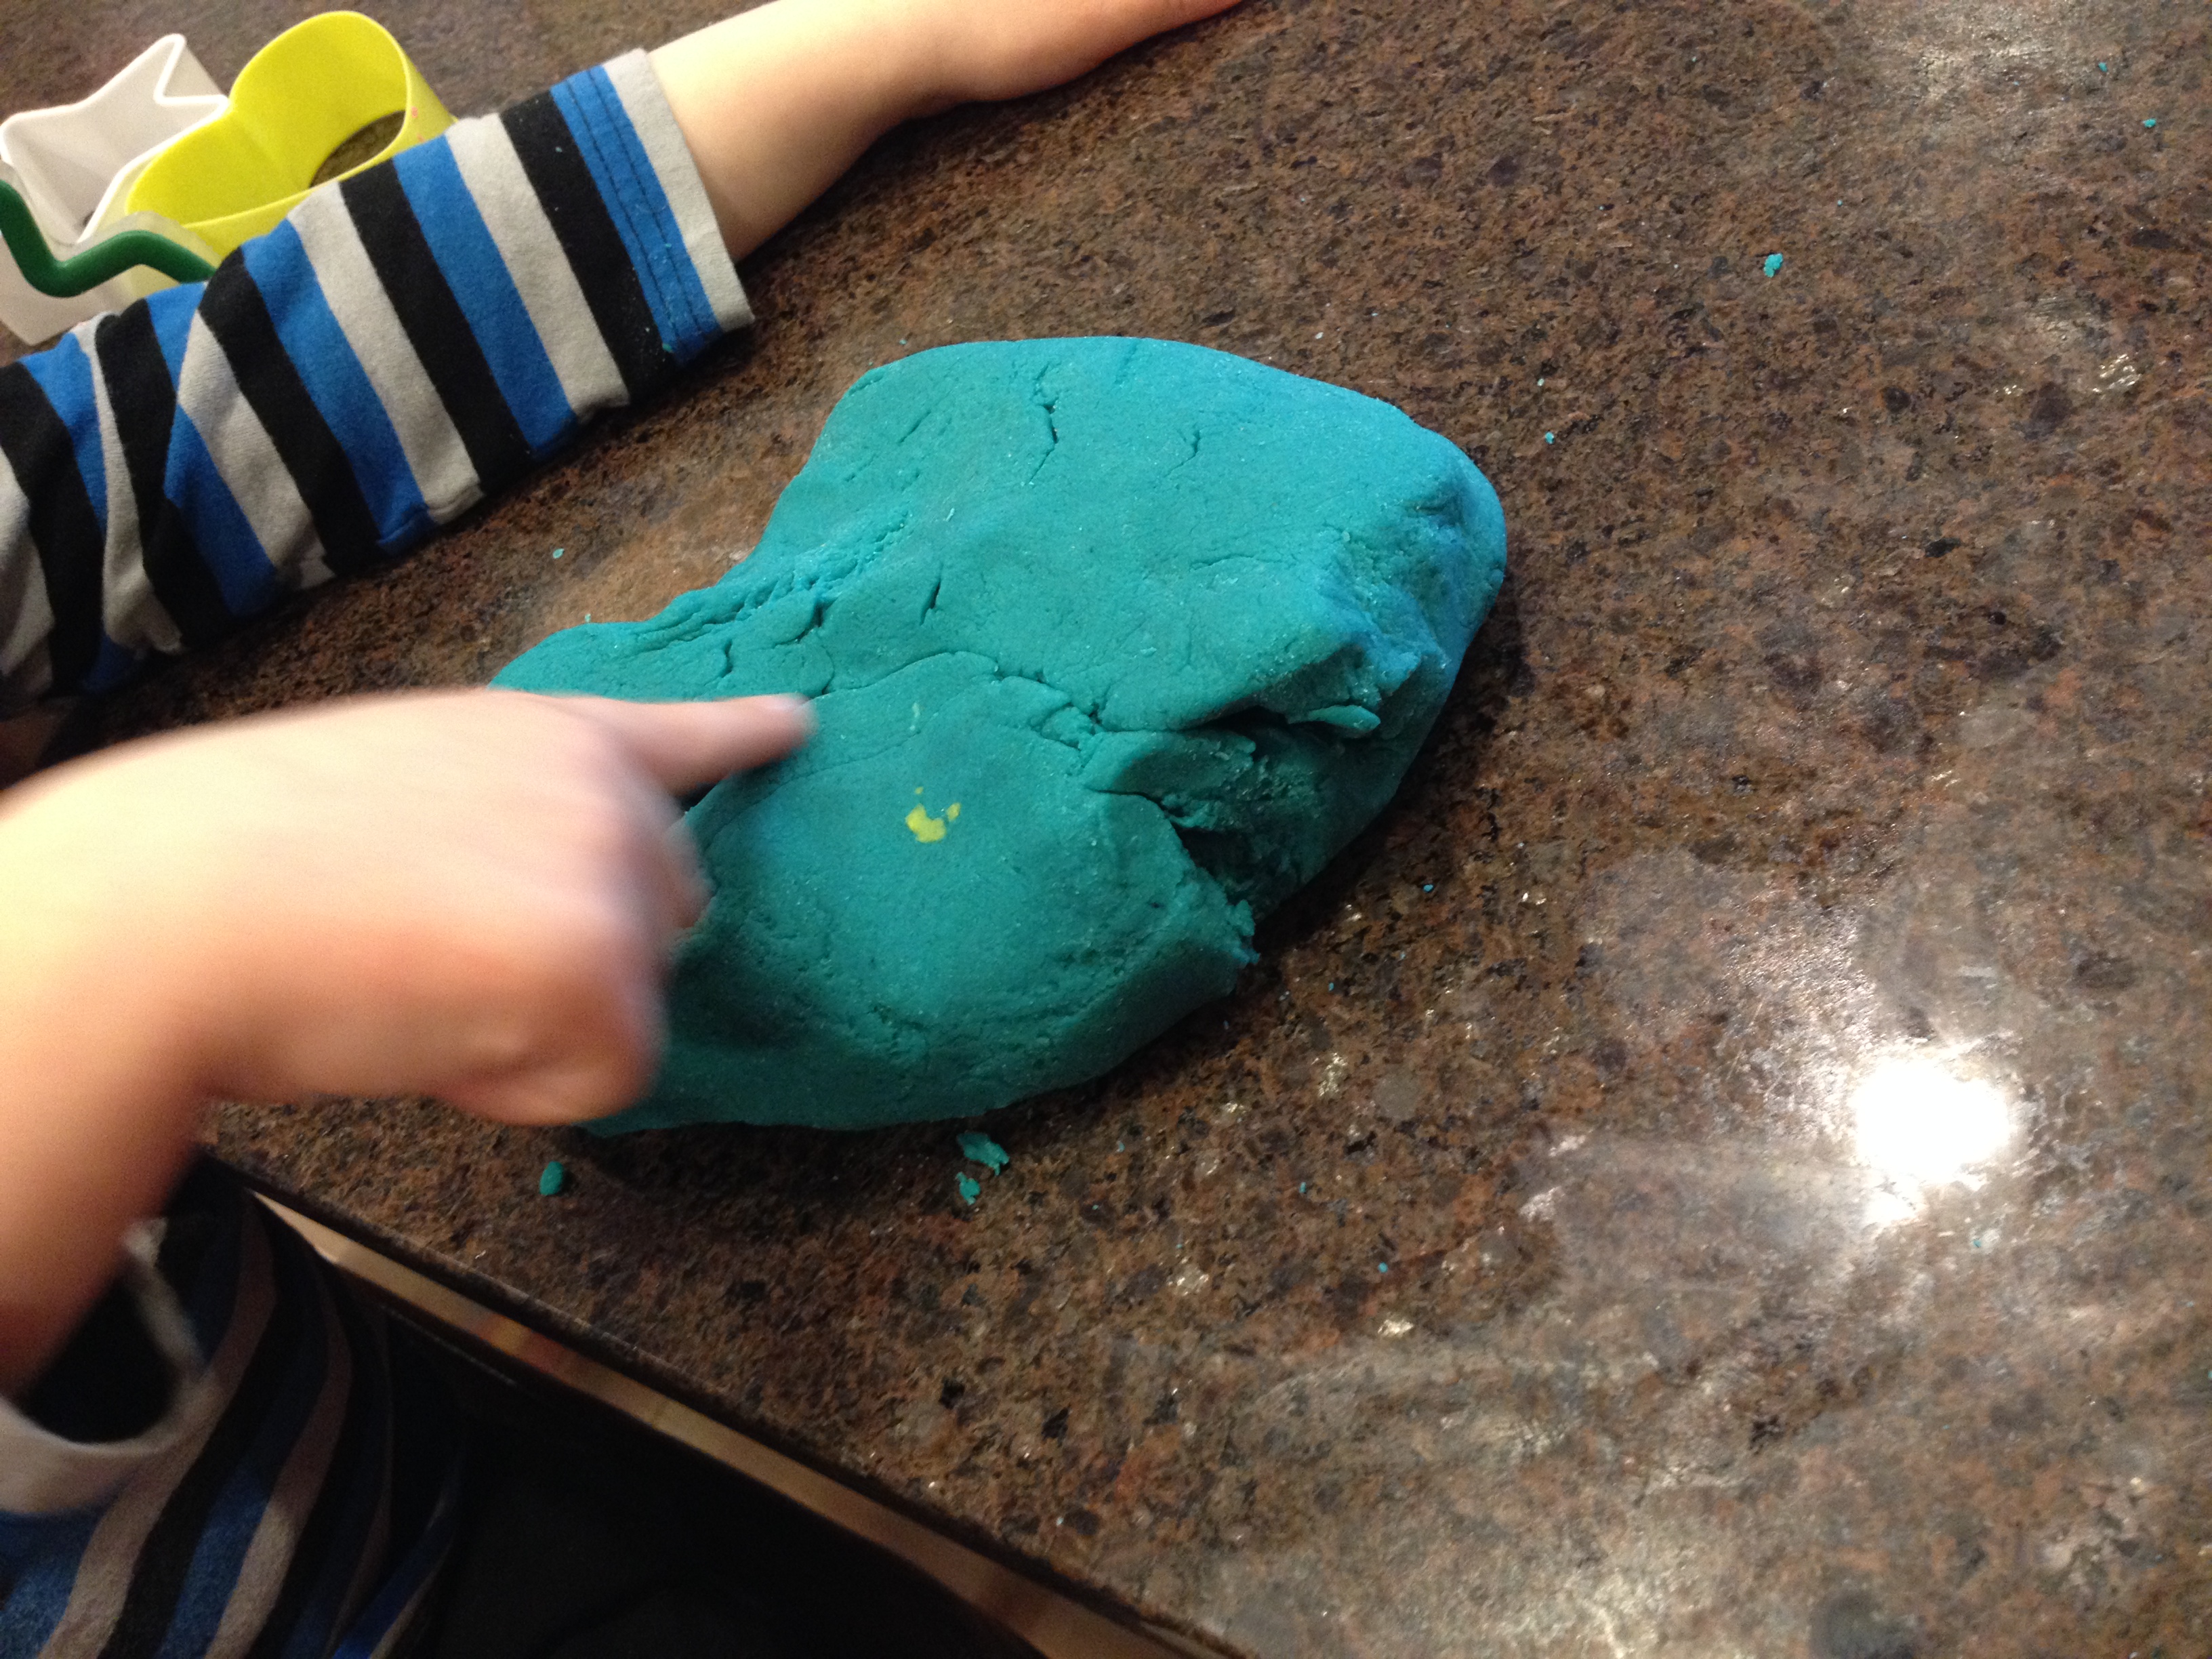
I was thinking about something interesting to do with the kids today and realized that I hadn’t made playdough in quite a while, so looked in the pantry to see if I had the ingredients I needed. The recipe I typically use is this one:
1 cup salt
2 cups flour
4 teaspoons cream of tartar
2 Tablespoons vegetable oil
2 cups water
1 packet of Kool-Aid (or other similar type of drink mix–I buy whatever kind is on sale!)
Put all ingredients into a saucepan and cook over medium heat stirring constantly until the dough comes together. Knead on table or countertop until smooth and cool. Store in a plastic container or zipper lock bag.
As I started to take out the ingredients I found that I didn’t have any packets of Kool-Aid. I like it because it adds color and scent. I did find some food coloring and some cinnamon, and decided to give that a try. It came out smelling great and with a little bit of a different texture than usual, which made it even more interesting. There was almost an hour of play with the dough without any toys, so I imagine there will be more play over the next few weeks as I add some cookie cutters, rollers, plastic knives, and more.
I almost abandoned my idea of making playdough when I didn’t have everything the recipe called for, but I’m so glad that I got creative and took a risk to try using the cinnamon. I was also reminded that revisiting activities that we haven’t done in a while and keeping it simple when reintroducing a material can make for renewed interest and extended play on the part of the child.
Do you have a favorite dough recipe that you use? Do you have interesting substitutions for your regular playdough recipe?

Do you have a fence in your yard?
If you do, you can give children yarn, fabric scraps, streamers, paper strips, and more, to create a weaving in the fence. After children have a chance to explore and get the idea about how to weave the material in the fence openings, you can encourage them to create patterns or scenes.
Goal: Children will refine fine motor skills while creating a pattern through weaving.

