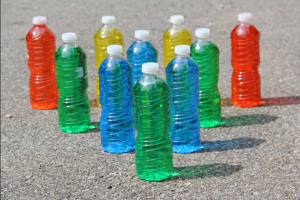
Make your own game of bowling using recycled 1 or 2 liter bottles. make them fun by decorating them with colorful masking tape. Helpful tip, seal the top on with a glue gun so the bottles do not crush easily. Use any ball to knock down the pins.
Goal: Children will develop large motor skills and hand-eye coordination with this activity.
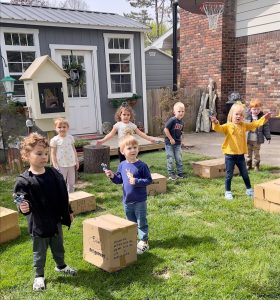
Bringing or building musical instruments outside can be a great way for children to practice coordination, creativity, rhythms, and tones in a setting that allows them to create a great range of auditory experiences.
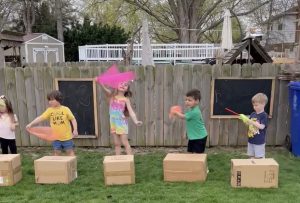
To deepen children’s thinking, encourage them to hit different parts of their drum with the stick to see if the sound changes; note when they make louder/softer sounds, and how the achieved it; and help them to create and test hypotheses about how changing their instrument will change the effect (i.e. what would happen if you put a leaf on your drum, and hit that with the drum stick?). By exploring these different traits of the music they create, children are learning about differences in tone and volume, two important concepts within musicianship. As they drum and dance, they are also practicing bilateral coordination (moving both sides of their bodies at the same time), a big skill for pre-writing.
Your instruments don’t need to be complicated. Some boxes and sticks can go a long way! Consider also including recycled cans (with sharp edges covered!), making shakers from water bottles and beads, or wooden spoons —see LOTS more ideas for a variety of ages here.
Welcome Spring!
Let’s take full advantage of the warm weather and have some safe fun outside!
Incorporating arts into the outdoors is a great way to encourage creativity, exploration, self-expression, and mobility skills development, all while enjoying some sun!
Sharing a simple recipe for outdoor chalk paint!
Printer friendly – Chalk Paint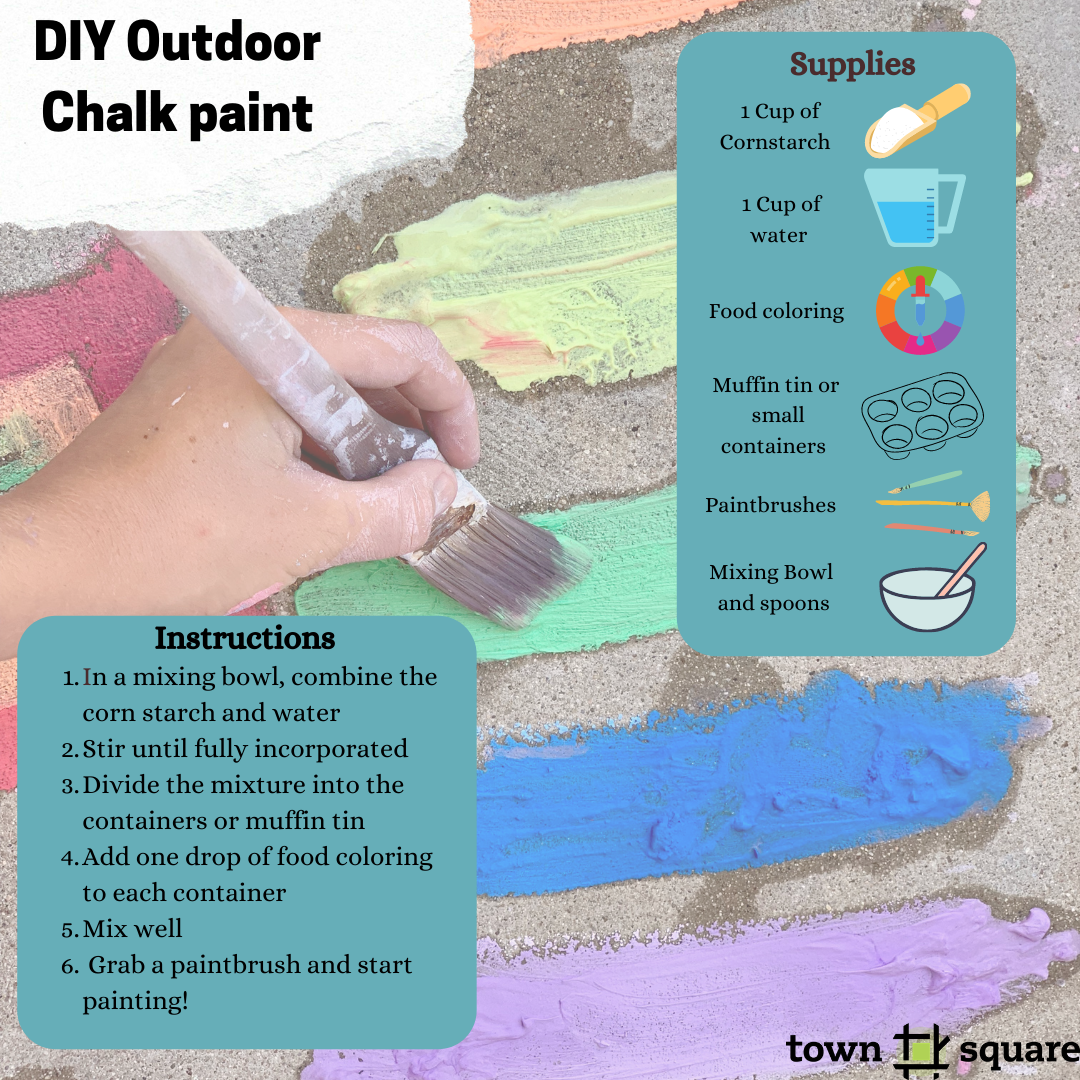
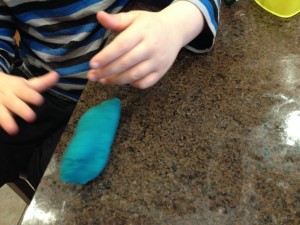
I was thinking about something interesting to do with the kids today and realized that I hadn’t made playdough in quite a while, so looked in the pantry to see if I had the ingredients I needed. The recipe I typically use is this one:
1 cup salt
2 cups flour
4 teaspoons cream of tartar
2 Tablespoons vegetable oil
2 cups water
1 packet of Kool-Aid (or other similar type of drink mix–I buy whatever kind is on sale!)
Put all ingredients into a saucepan and cook over medium heat stirring constantly until the dough comes together. Knead on table or countertop until smooth and cool. Store in a plastic container or zipper lock bag.
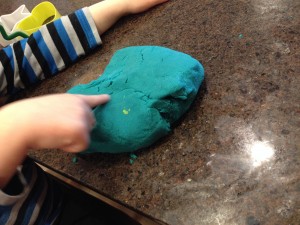
As I started to take out the ingredients I found that I didn’t have any packets of Kool-Aid. I like it because it adds color and scent. I did find some food coloring and some cinnamon, and decided to give that a try. It came out smelling great and with a little bit of a different texture than usual, which made it even more interesting. There was almost an hour of play with the dough without any toys, so I imagine there will be more play over the next few weeks as I add some cookie cutters, rollers, plastic knives, and more.
I almost abandoned my idea of making playdough when I didn’t have everything the recipe called for, but I’m so glad that I got creative and took a risk to try using the cinnamon. I was also reminded that revisiting activities that we haven’t done in a while and keeping it simple when reintroducing a material can make for renewed interest and extended play on the part of the child.
Do you have a favorite dough recipe that you use? Do you have interesting substitutions for your regular playdough recipe?
This space is used for a gathering area for the kids (or a fort/playhouse).

I went to Menards to look for ways to create a natural play house (since I gave away my two plastic little tykes houses). I originally planned to do an arch hut that I saw on Pinterest using a garden arch but when I saw the prices, I just kept walking. I then came up with the idea of using garden trellis, stakes and bamboo fencing. The garden trellis was an accordion type (pictured below), so it can expand to whatever size you want. I already had the rubber pavers, so decided to make it around those and that’s how I determined my size.


Step 1: Hammer the stakes into the ground. (I purchased 4 foot stakes with the rubber coating so they wouldn’t rust). If your sides are long, you would need a stake for each corner and then a stake for each wall for support.

Step 2: Zip tie the accordion fence to the stakes
Step 3: Zip tie bamboo fence on three sides of the structure.
Step 4: Trim off excess bamboo to the height you want the structure to be.


Step 5: Place garden stakes on top to support the bamboo roof. Make sure to measure the width of your structure to know what size stakes to get. I rested them on top of the accordion fence and zip tied them in place.
Step 6: Lay the bamboo fence on top and zip tie it down.

Tip: Measure your space first so you have an idea of how many materials you will need.
Tip: You will need a lot of zip ties to make it sturdy. I purchased natural colored zip tie.
Tip: I did purchase an outdoor rug to place on top of the rubber pavers. This gave them a little bit cozier area and makes it easier to sweep rocks off of.
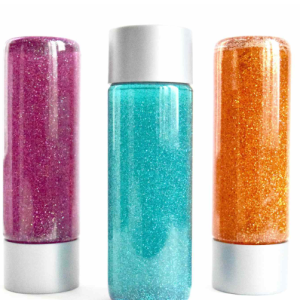
Children can help create sensory calming jars to help them with self-regulation and encourage mindfulness. Use any clear container with a tight fitting lid and help children as needed to fill them with water, oil, glitter, confetti, food coloring, or beads. Secure the lid tightly. You can even use hot glue around the edge of the lid to be sure it is sealed. Then allow children to use them to help them regain focus and be calm by shaking and gazing at the movement and patterns.
Get a clear plastic box with a clear lid and some inexpensive push lights and you can quickly put together a place for children to explore light.
Para ver este recurso en español haga clic aquí

