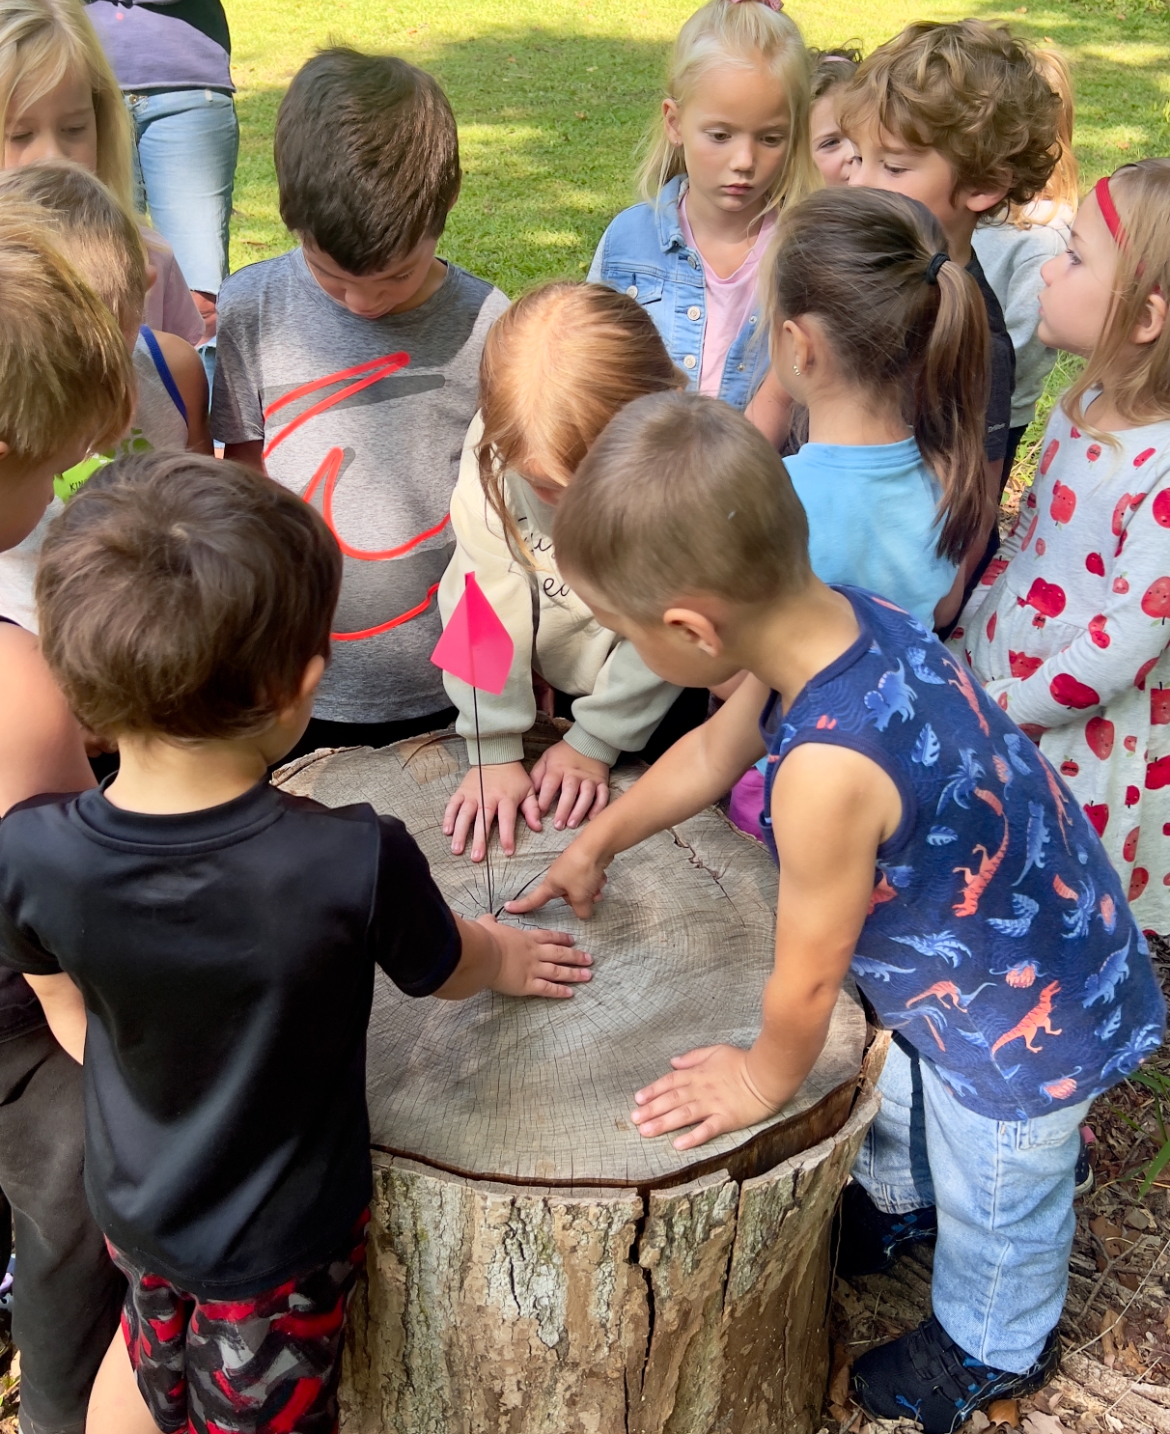
There’s so much more to learn from tree rings than just the tree’s age, making it a fantastic nature study opportunity for children! This activity can be done in any season, as you only need a stump or a wood slice.
Before you get started, here are some basics about dendrochronology.
If you want to get fancy, the scientific term for the study of tree rings is “”dendrochronology.”” At its most basic level, this involves dating a tree by counting its growth rings. However, it’s also about studying the data from observing these rings.
How to Count Tree Rings
When examining a tree stump, you’ll notice thin lines and more expansive spaces between the rings. Trees add a new layer of growth every spring and summer. Trees grow much faster during the spring, so the broader spaces represent this spring growth.
In contrast, the summer (and sometimes fall) growth is slower, resulting in thin lines. Together, these two types of markings represent one year of growth. To get an accurate estimate, focus on counting only the thin lines.
What to Look for in Tree Rings and Their Meanings
When examining tree rings, pay attention to their width. If you notice some rings considerably wider than the others, this likely indicates a year with ample rainfall and growth. In contrast, if there are years where the tree rings are particularly thin, this suggests a drought, bug infestation, or some other factor that stunted growth.
Dark, black marks may indicate that the tree survived a forest fire. Additionally, if the rings are wider on only one side of the stump, it might suggest that something pushed against the tree, causing it to develop extra resistance wood on the opposite side.
Once you discover a tree stump or a tree slice, act like detectives and learn as much as you can from the tree rings. Here are some questions to consider:
- How old is this tree?
- Does it look like the tree experienced any sort of injury? (Forest fire, bug infestation, etc.)
- Ask children to make up and tell a story about the tree’s life!
While walking, try to find several different stumps to compare. Look for the oldest tree or the stump with the most unusual shape!
Extending the Learning
I love to pair related books with activities, so we read *The Berenstain Bears and Too Much Birthday.* It has a couple of pages where Papa Bear cuts down a tree, and the cubs count the rings! This was helpful for the three-year-olds, as it aided in understanding the concept and generated excitement about learning.
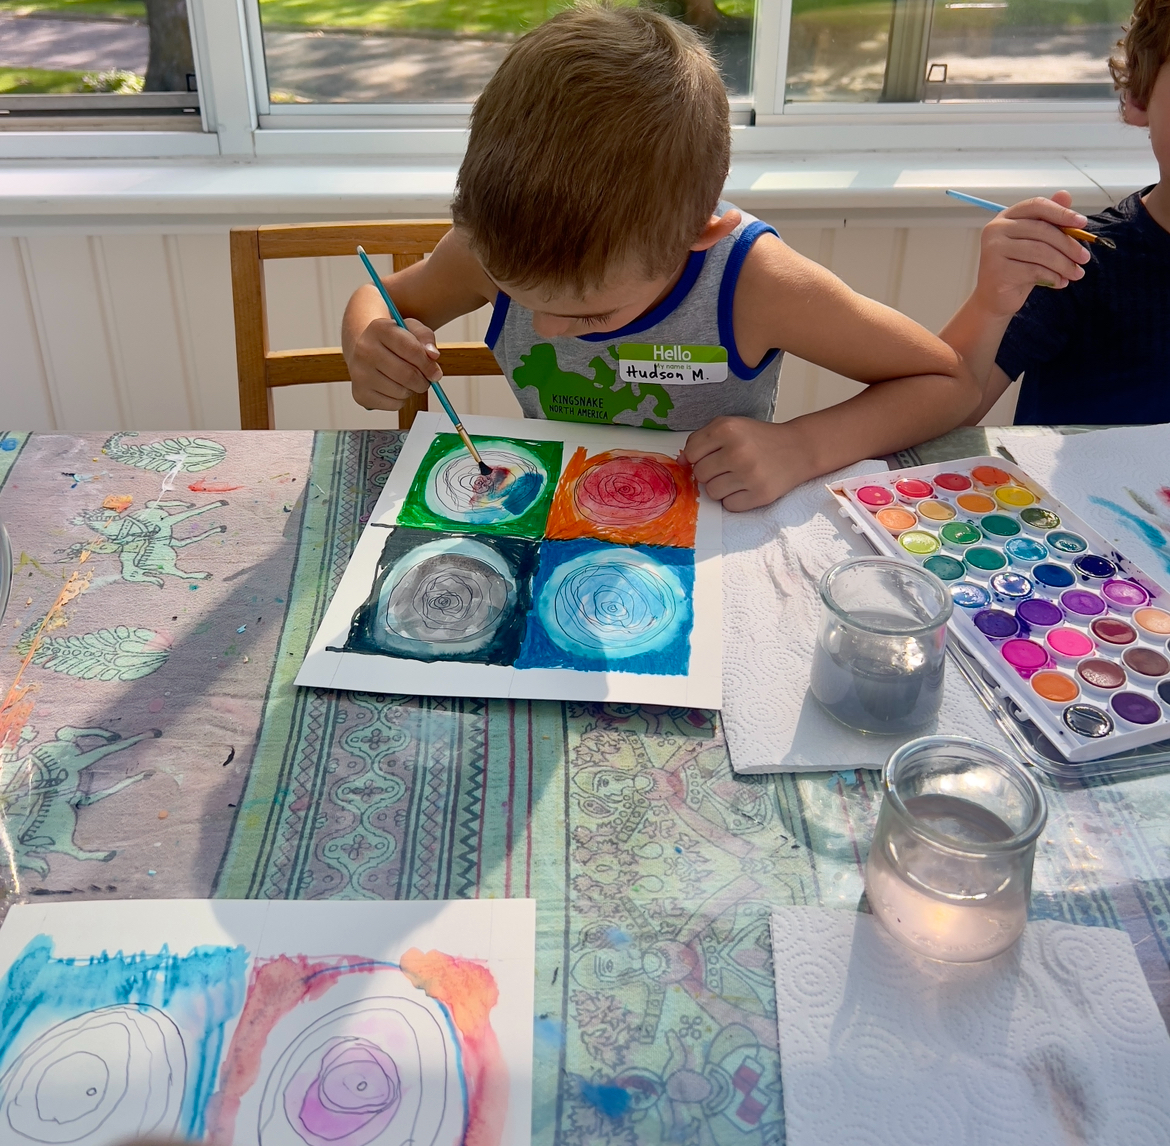
You can also extend this learning by incorporating the arts as I did. Provide children with small cardstock, markers, and watercolor. Ask the children to draw their observations of the tree rings using these materials.
I loved how the artwork turned out!
Image From Analyzing Childrens Art, Rhoda Kellogg, p. 49
When very young children are presented with art materials, whether fingerpaint or crayons, their first instinct is to “scribble.” Often, adults see this scribbling as meaningless until children begin to label their drawings. These early scribbles, though, are as important for their own sake as they are to children’s later development of hand-eye coordination and fine motor skills, as well as the abstract representation they will need to use to understanding reading and writing.
When children scribble, they get the proprioceptive feedback from the tool in their hands (or, in the case of fingerpaint, the hands themselves) and learn how to track and plan the movements of their arms, elbows, wrists, hands, and fingers. Rather than being inferior to identifiable or named drawings, scribbling is a way for children to experiment with their influence on their surroundings.
Scribbling is also joyful and enjoyable! Children are learning about aesthetics and what looks good to them. They might tell stories or name the scribble to represent an idea or person, or they may be interested for just as long as it takes to make the marks on the paper.
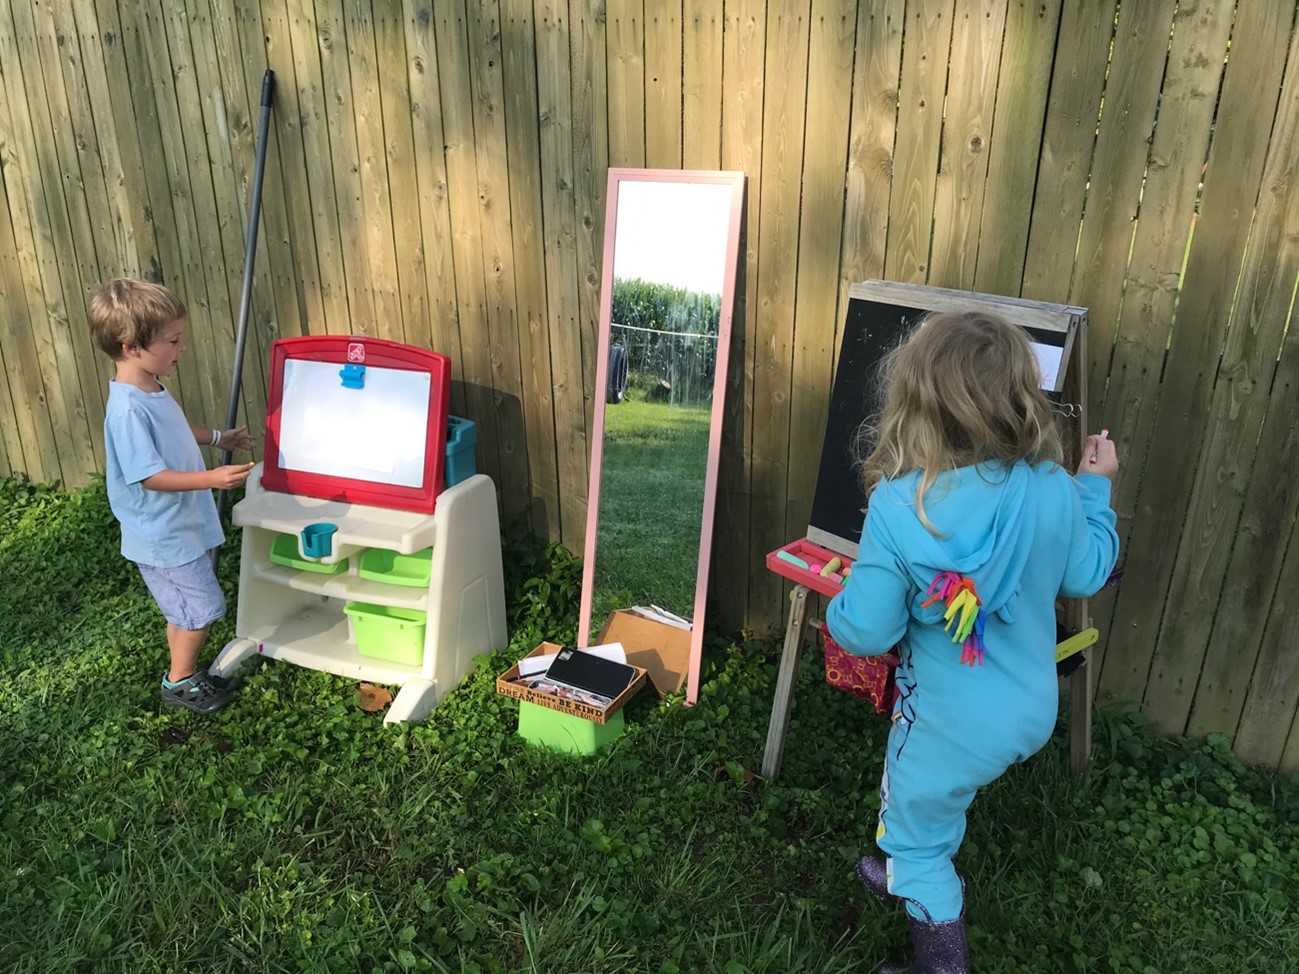
A space to scribble can be simple with just crayons and paper available on a shelf children can access. Outdoors, chalk is a classic, and the large size presents both an interesting challenge and enticing opportunity to cover a much bigger surface than most children can indoors.
For Reflection:
What opportunities do very young children have to scribble in your program? What materials can they use?
How do you respond to children’s scribbles? Do you display them?
Bring the mirrors outdoors and enjoy this simple and rewarding activity! During the early years, children are enamored with their own reflections. Providing this opportunity to study themselves, and create art, encompasses many different skill sets for young children.
Infants: Infants will enjoy simply looking at themselves in a mirror. Offer a hand mirror on a blanket where they can gaze and practice tummy time!
Toddlers: Help toddlers label their own features in the mirror. Encourage them to explore different art materials without concern about the final product. Focus on correctly holding utensils (pencil between fore finger and thumb).
Older Toddlers: Encourage older toddlers to recognize simple shapes in their features and transcribe those shapes on their drawing. Encourage correct handling of utensils, and help children write their names.
Pre-K: Encourage children to write their names and label their features when finished with their portraits.
Have you tried self portraits in your program? Have a fun activity? Share it with us info@townsquare.org
Provide children with a large sheet of butcher paper and small trays or plates with paint to explore dipping and making marks with recycled materials such as toilet paper or paper towel tubes, containers of various shapes and sizes, materials with different textures, etc. This could be an activity that is available over several days that children can experiment with in a variety of ways.
Goal: Children will work collaboratively, use fine motor skills, and explore making marks with paint using a variety of recyclable materials.
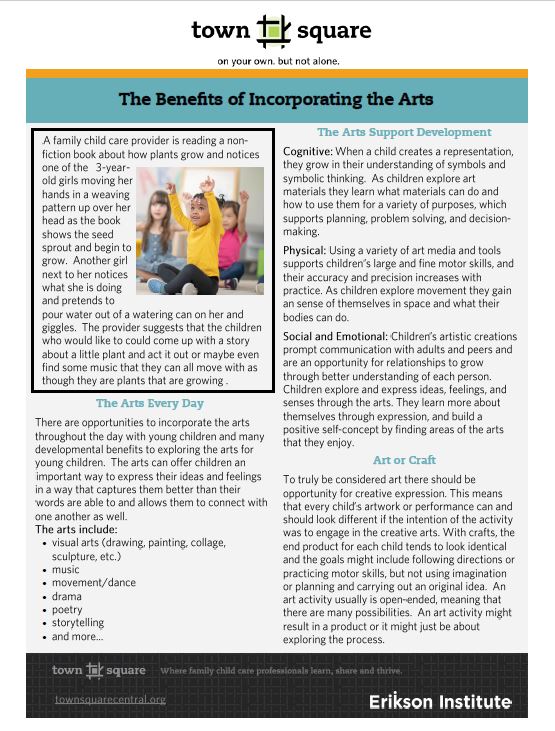
The arts offer children a vital way to express their ideas and feelings. As providers, we can encourage the arts by being intentional in how we present art materials and support children as they create. This Town Square research to practice resource outlines the benefits of the arts for young children and showcases ways to explore the arts.
RtoP The Benefits of Incorporating the Arts
Welcome Spring!
Let’s take full advantage of the warm weather and have some safe fun outside!
Incorporating arts into the outdoors is a great way to encourage creativity, exploration, self-expression, and mobility skills development, all while enjoying some sun!
Sharing a simple recipe for outdoor chalk paint!
Printer friendly – Chalk Paint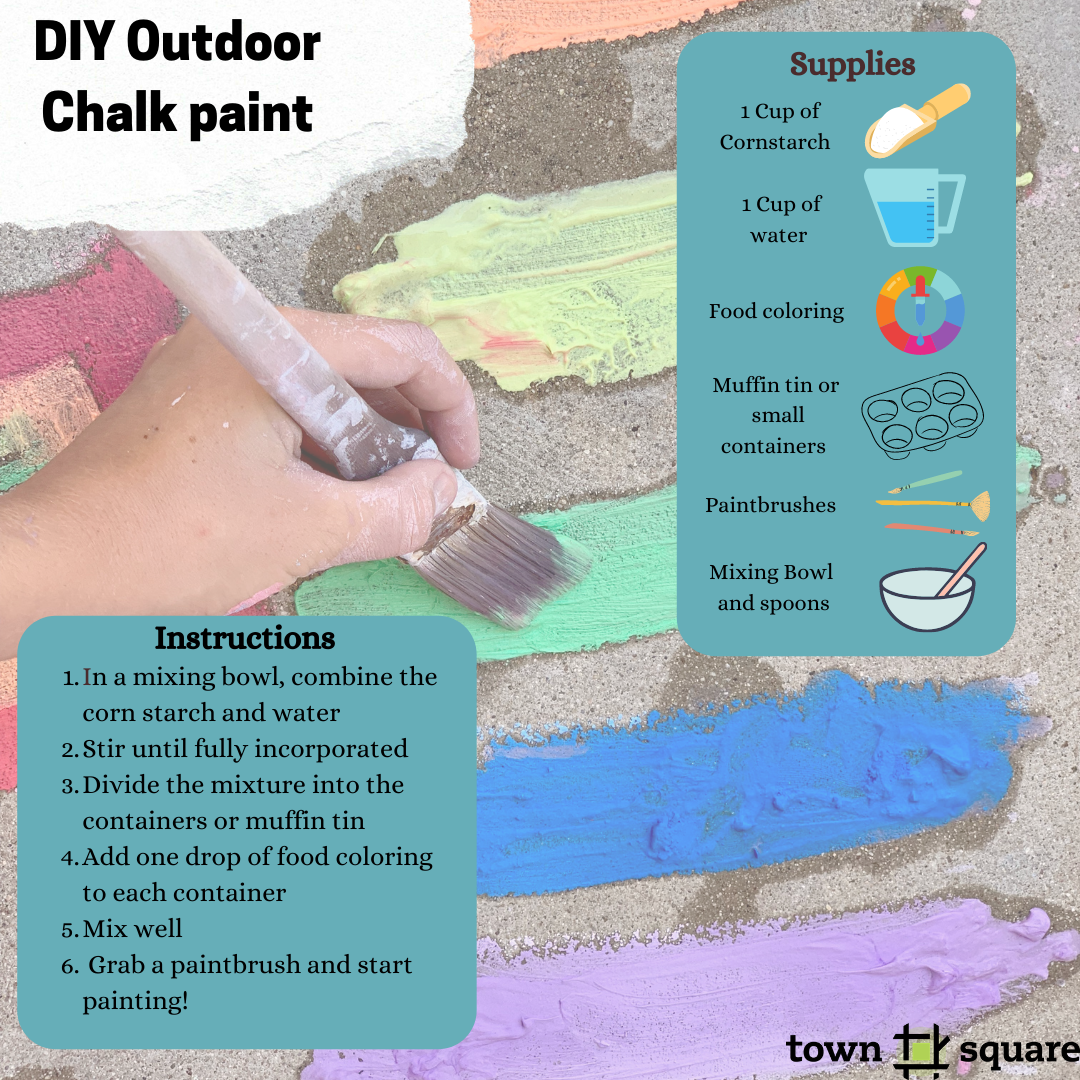
Explore choosing art materials and the art process in this virtual training for family child care providers. Develop an understanding of process art, explore various materials that support drawing, painting, and 3D art, and finally, identify your role in facilitating exploration.
Objectives:
- Providers will develop an understanding of process art
- Providers will explore a variety of materials that support drawing painting and 3D art
- Providers will identify their roles in facilitating exploration of art materials
Town Square Indiana modules can be found in Indiana Learning Paths. Please follow the link below to log into your I-lead account and click on “Start Your Indiana Learning Path”. Once in Indiana Learning Paths please search for:
Town Square – Art and Materials in Family Child Care
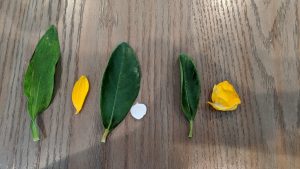
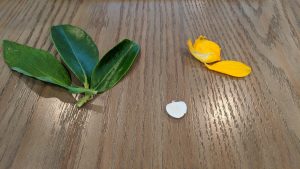
Explore your neighborhood or back yard if available and find leaf or petals, then once inside have fun with these 5 activities
- SORTING: Ask the children to sort the leaves and petals any way they want and then explain to the other children what their sorting rule was. (For example, one child might sort by color while another sorts by shape).
- COUNTING: Count the leaves and petals that each child has collected, or the number of leaves or petals in each category from the sorting activity above.
- RUBBING: Create leaf rubbing by placing paper on top of a leaf with the vein side up and using the side of a peeled crayon to rub over the leaf onto the paper and reveal the vein pattern.
- PRESSING: Have children arrange leaves and petals on a piece of waxed paper and place another sheet of waxed paper over the top. A grown up can use an iron to press the waxed paper pieces together sealing the leaves inside. (Clear contact paper could also be used).
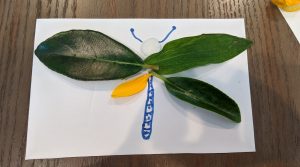
- CREATING: Children can glue leaves and petals to paper in arrangements that look like insects, animals, birds, or whatever they imagine. They can use markers to add details to their creation.
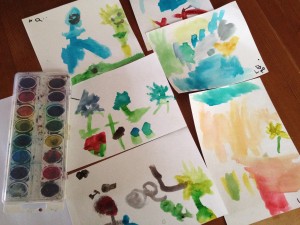
We had a morning that was high energy and bordering on craziness and it wasn’t even 8am. The forecast was calling for rain and the weather change had the kids running around and acting silly. I was trying to think of something to redirect their energy and opened the art cabinet. I found some scraps of watercolor paper and pulled out the tray of watercolor paints and some brushes.
As soon as they got started the place calmed right down. I asked them to think about what they wanted to paint before they got started and then reminded them about dipping the brush in the water first and then rubbing it on the watercolor cake to pick up the color. One of the kids was unhappy with a color he had put on his paper and we tried wetting it with water and dabbing it with a paper towel and most of the color came right off.
They stayed with the painting for almost 40 minutes and it really changed the tone of the whole day! It was a great reminder about how soothing and calming watercolor painting can be for children.


